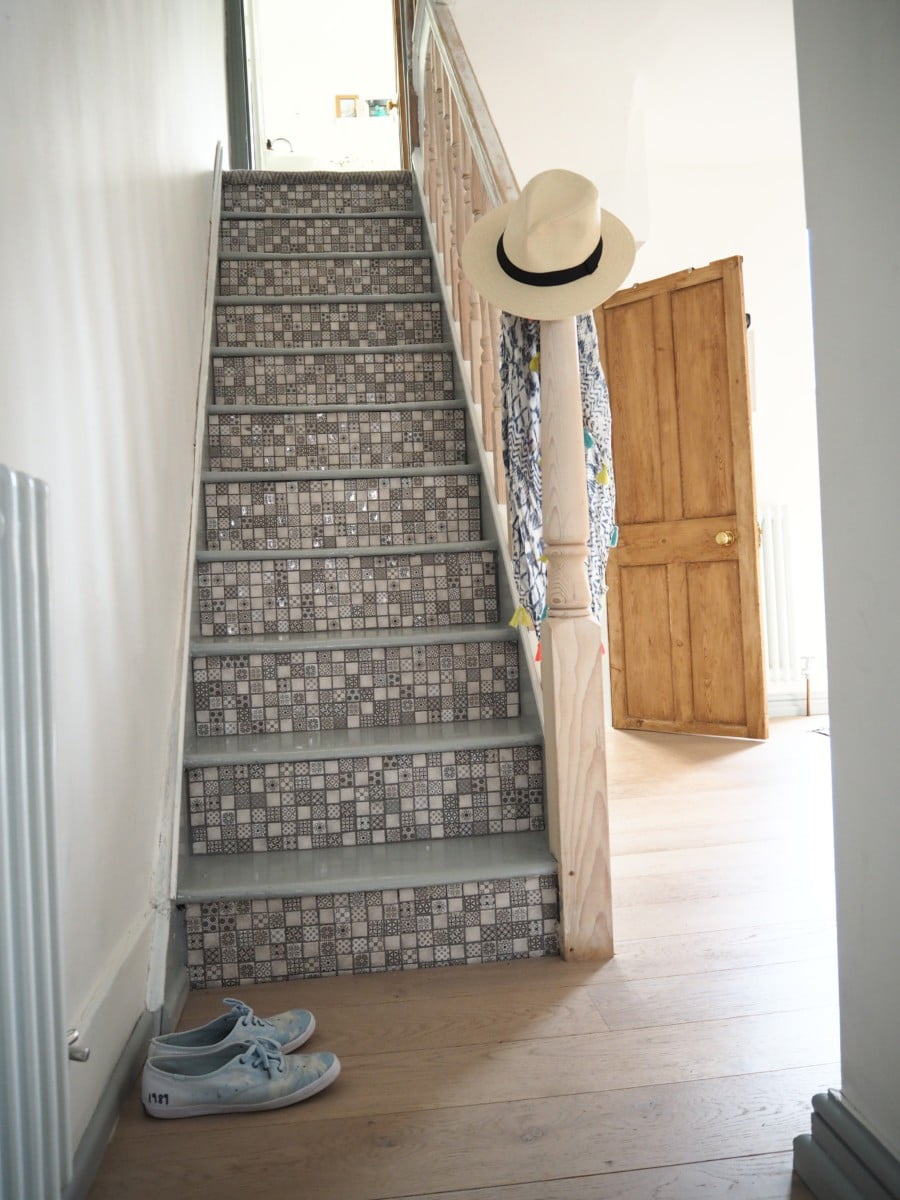
Followers of my blog would have heard of my staircase woes. Finally, after a year and half of solid work it is nearly finished (well nearly, nearly). I’ve invested so much time and love into this area of my home. This post reveals my tiled staircase. Was it a good idea? You be the judge.
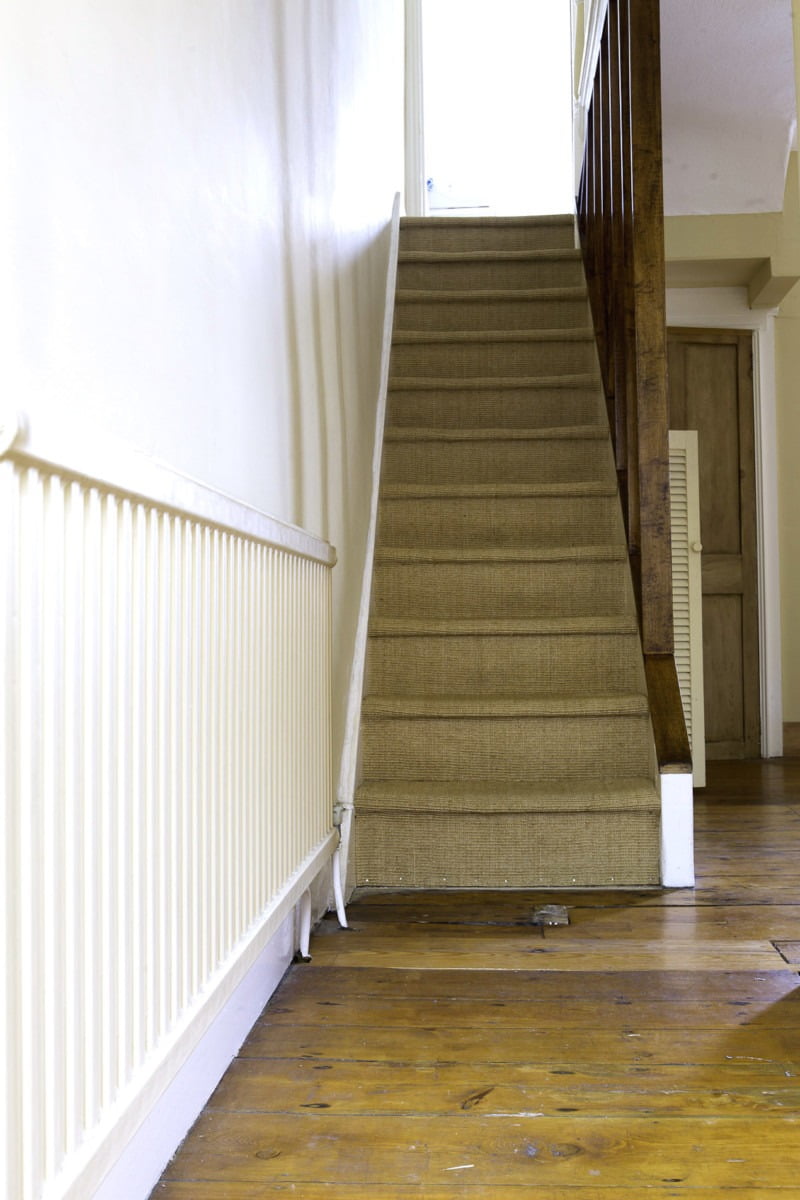 The BEFORE – My Stairs on Moving-In Day
Here’s what I was faced with on moving in day back in Feb 2016.
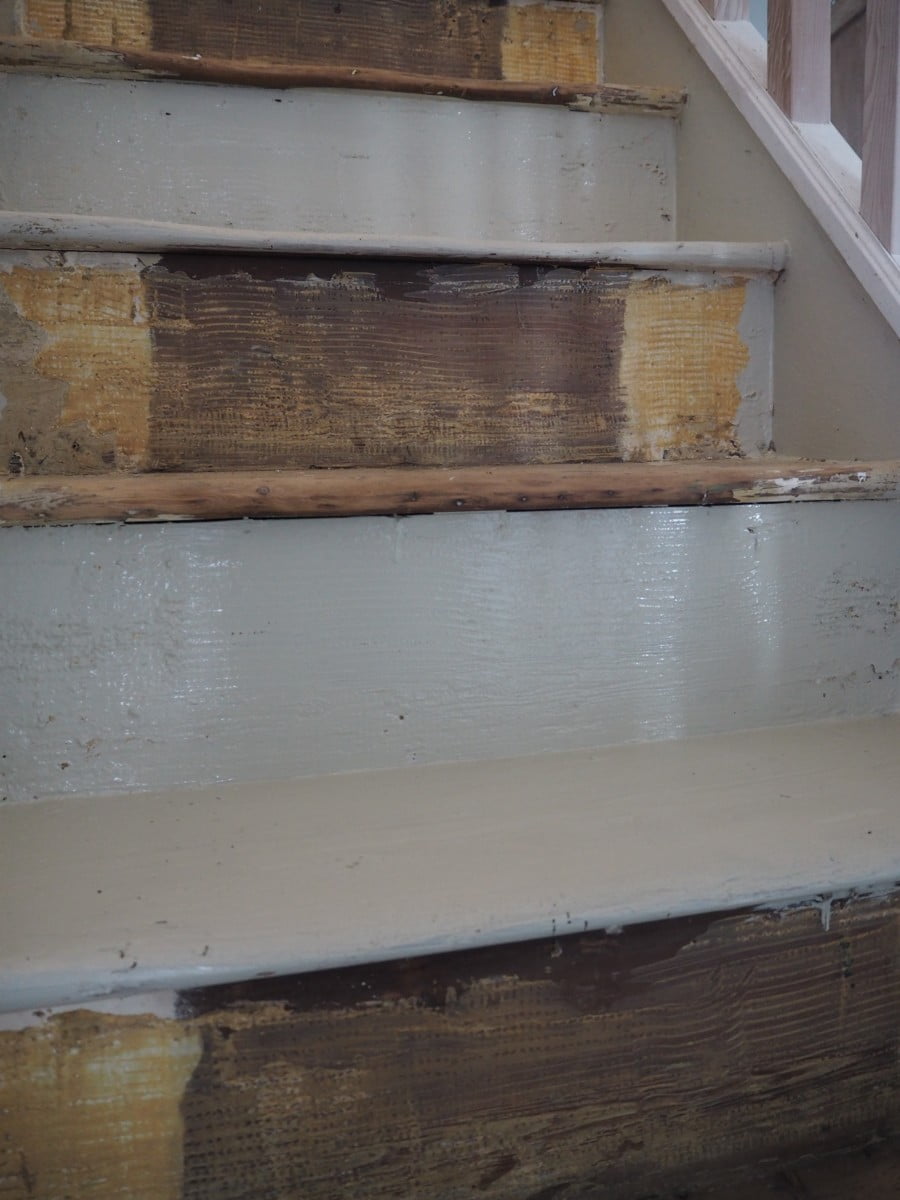
Nasty, lumpy hessian carpet. URGH!
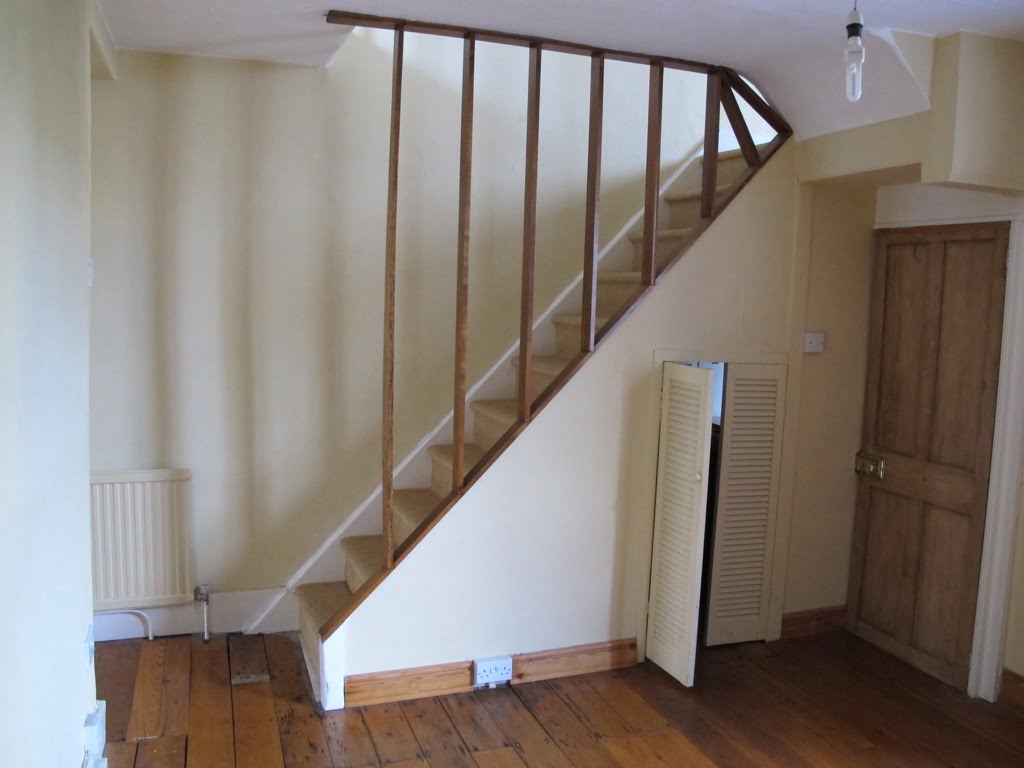
Before: Dangerous staircase anyone?
I know, as I fell down it one night and smashed my coccyx slipping down these mothers.
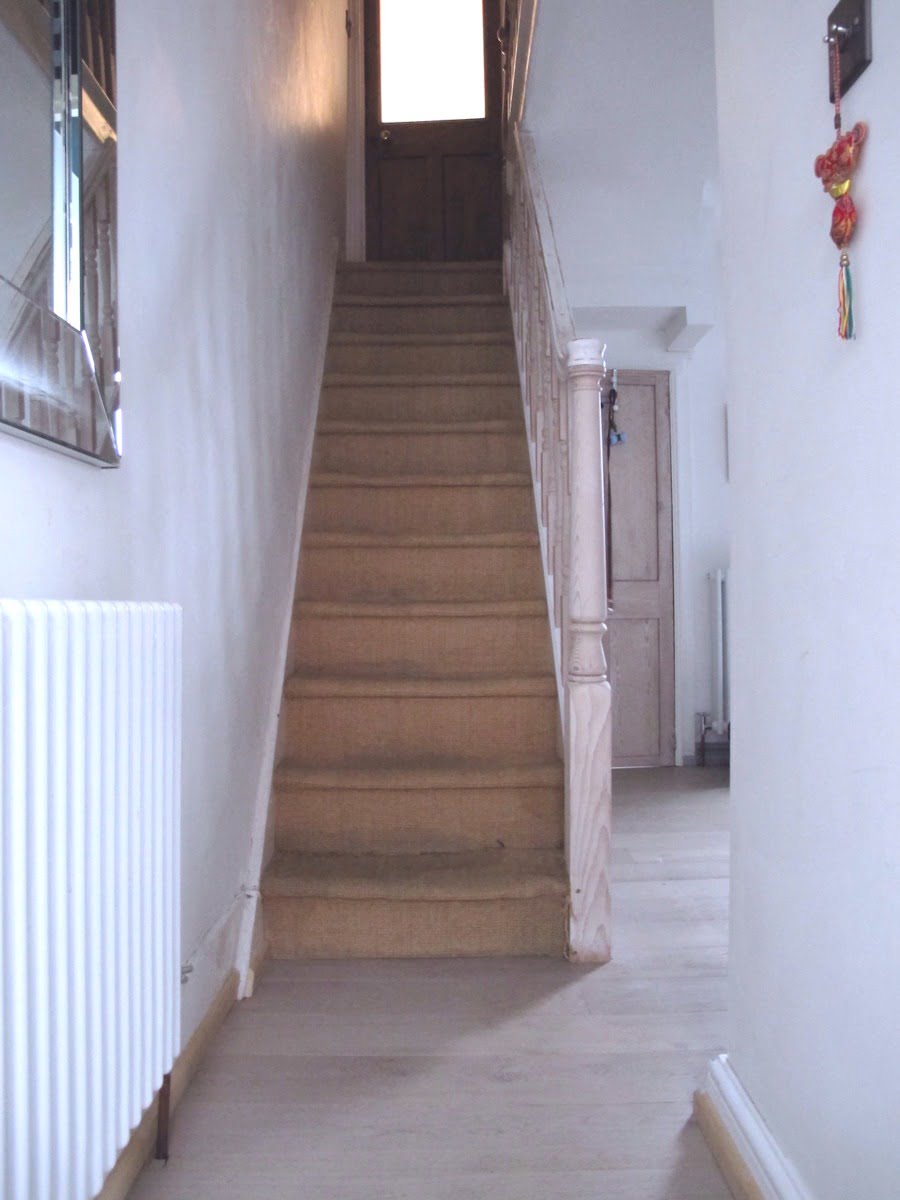
A year down the line – February 2017 – and yes this is all looking better. We’ve said bye bye to the ugly radiator for a new-but-looks-old one from here. I’ve swapped the orange pine floorboards for engineered oak floorboards from here.
Let’s all give my new hand rail a big wave!
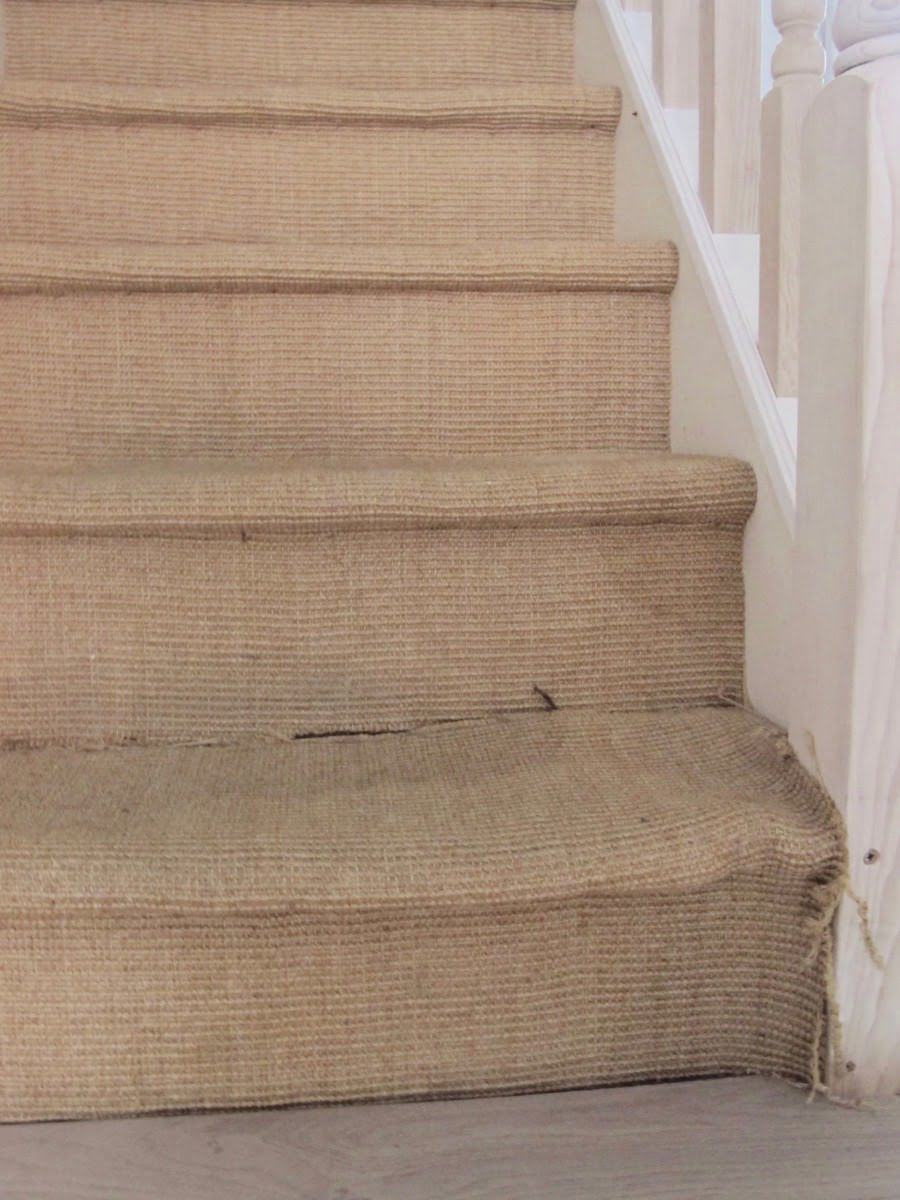 I still had my disguising natural seagrass carpet.
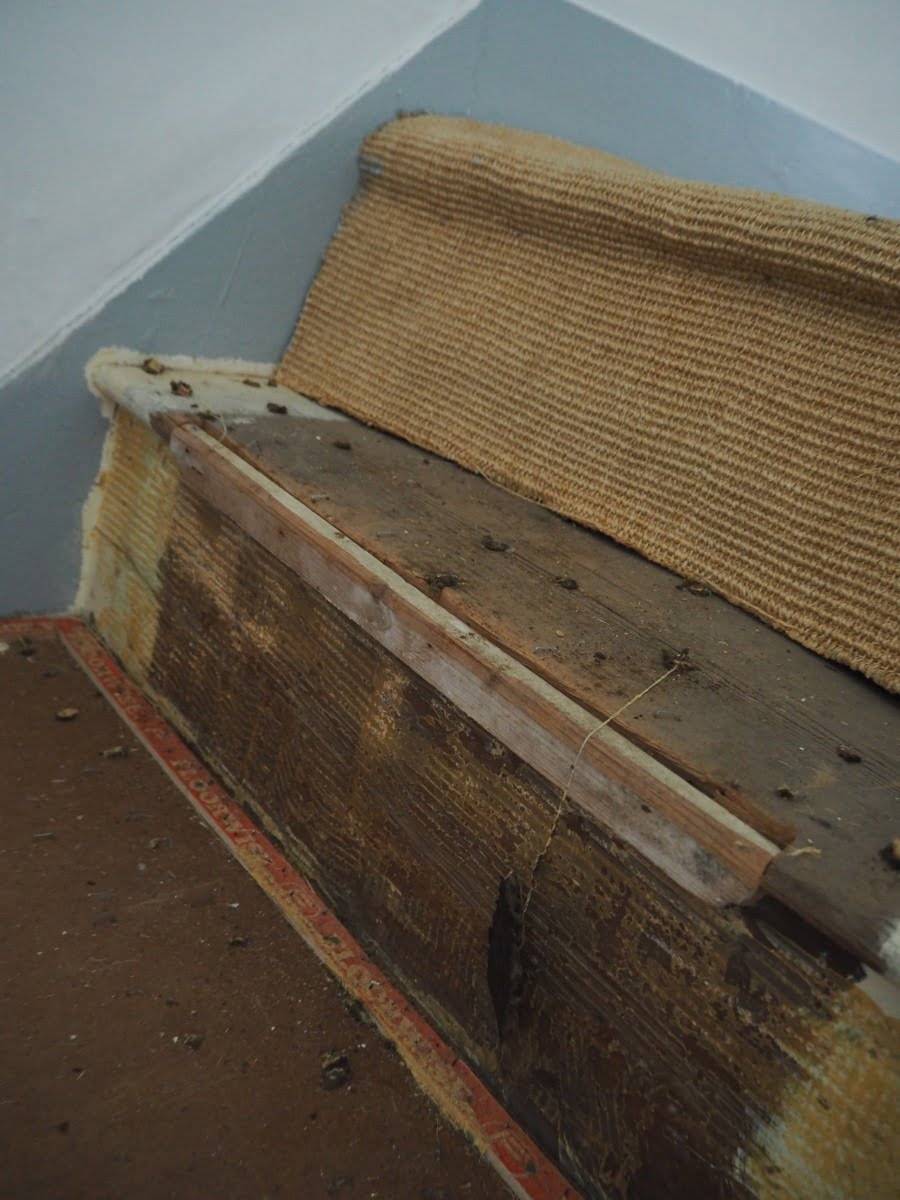 None of us can forget the day I decided to rip up the carpet to reveal the wood. With a hangover. I though that day would never end.
That green stuff still haunts me in my nightmares. I had no finger nails left after I was done scrubbing. Oh, and then the sanding. And then more scrubbing.
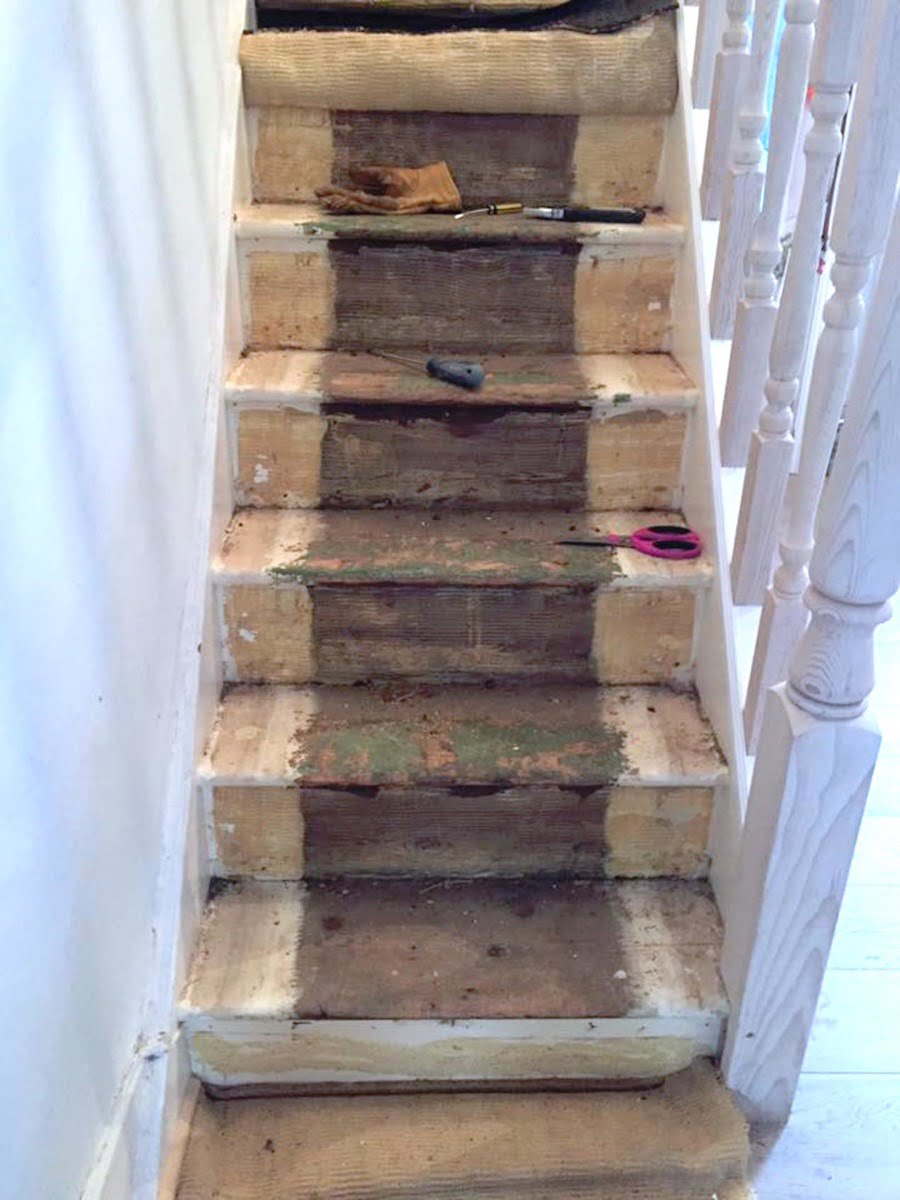
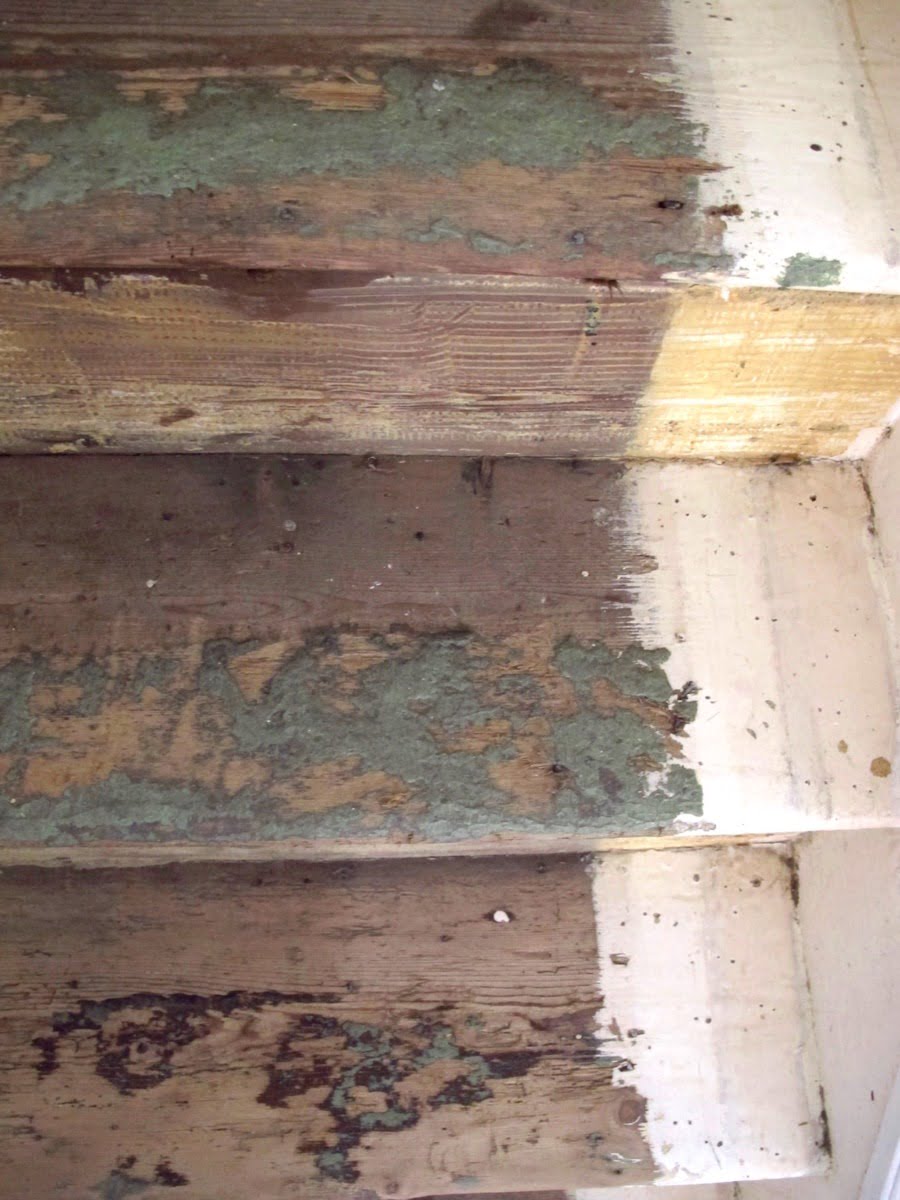
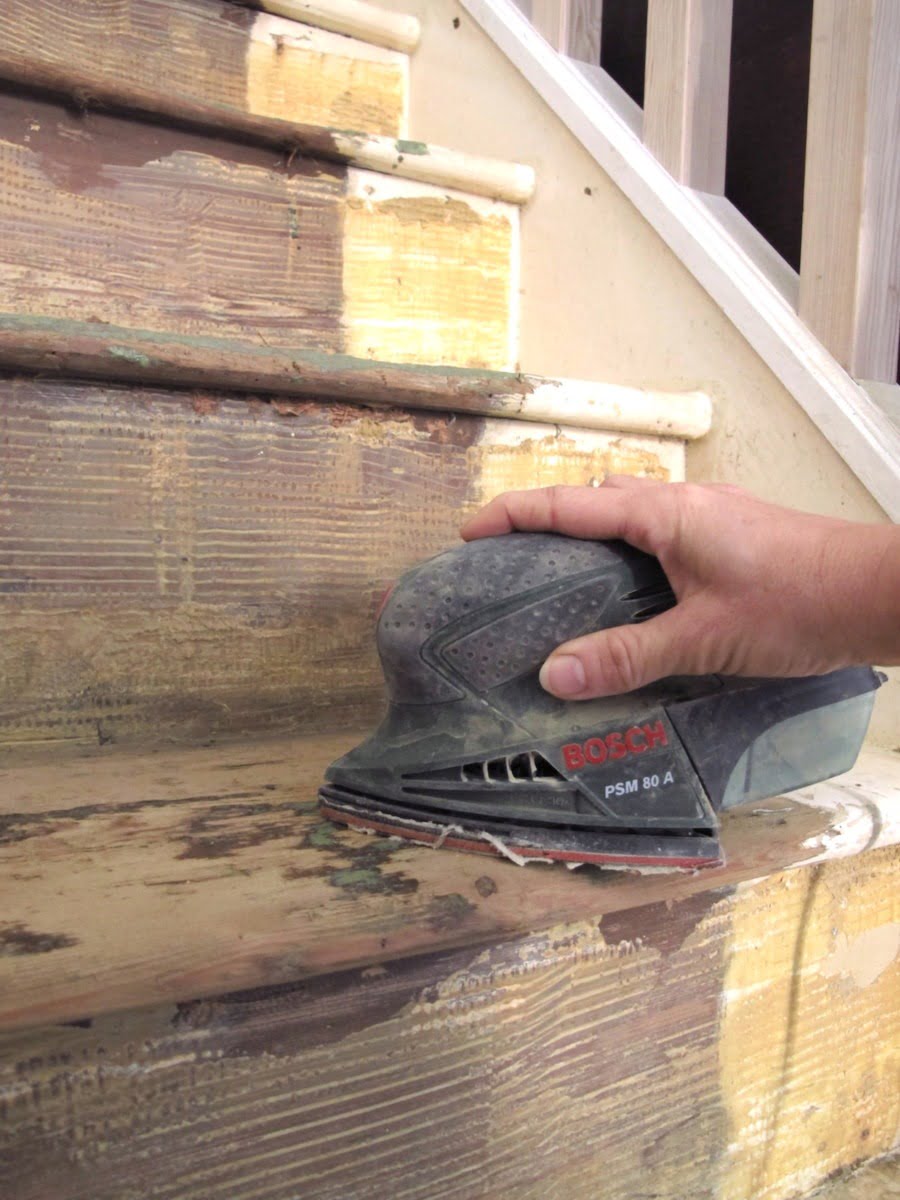
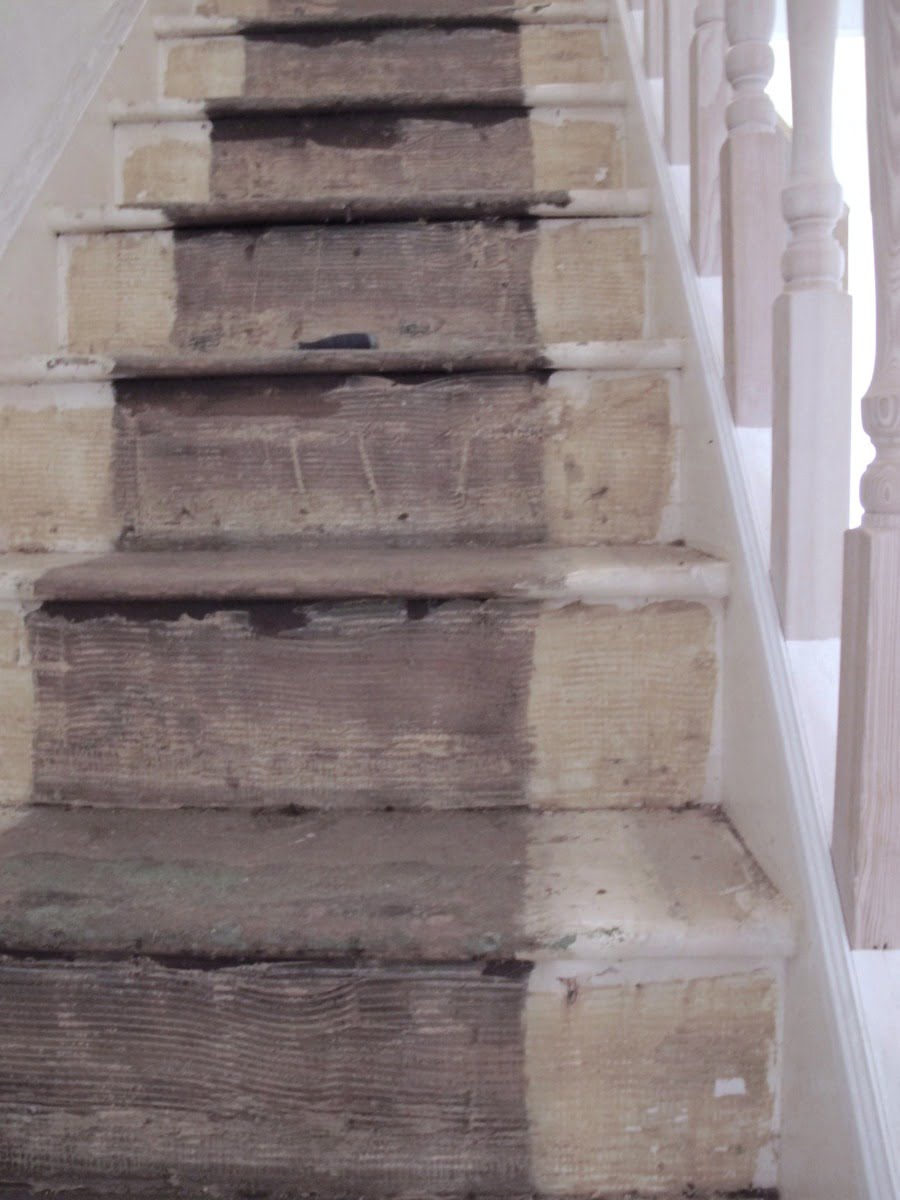
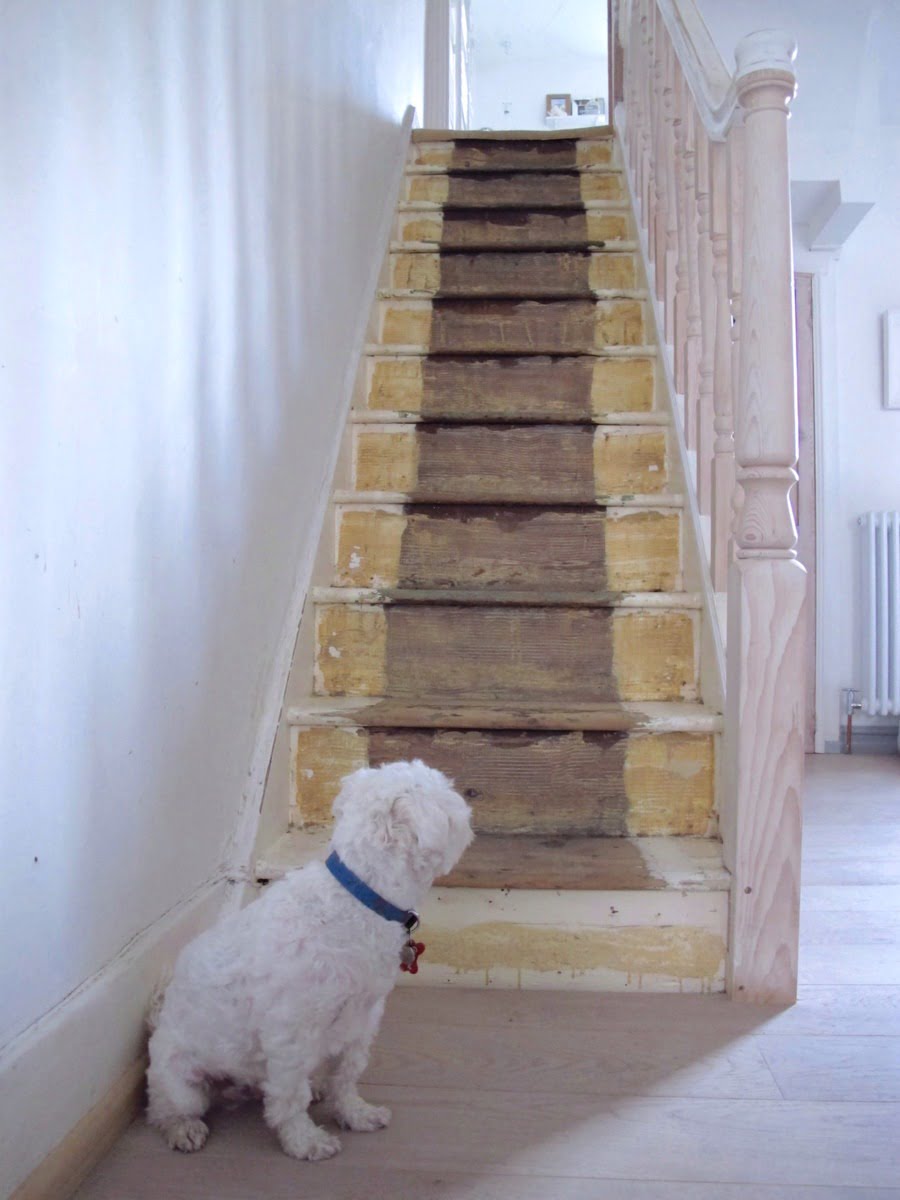
That was Feb 2017 DIY jobs sorted. Look how proud Teddy is of our stairs. Or is he thinking what she done now?
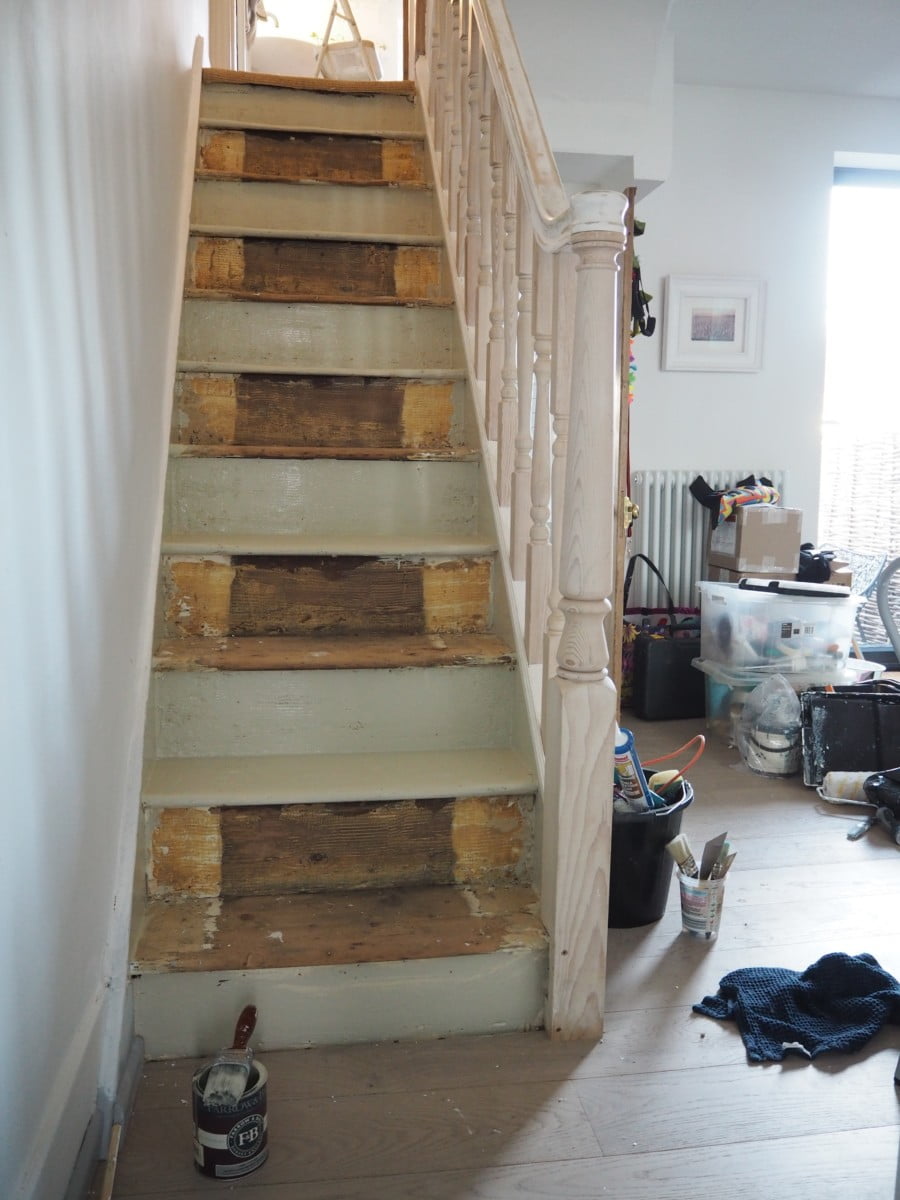 Tips on painting your stairs
Now, what they don’t tell you is that when you paint your stairs is how to get up and down them. My tip: paint every other step – then you can nip up and down them while they dry.
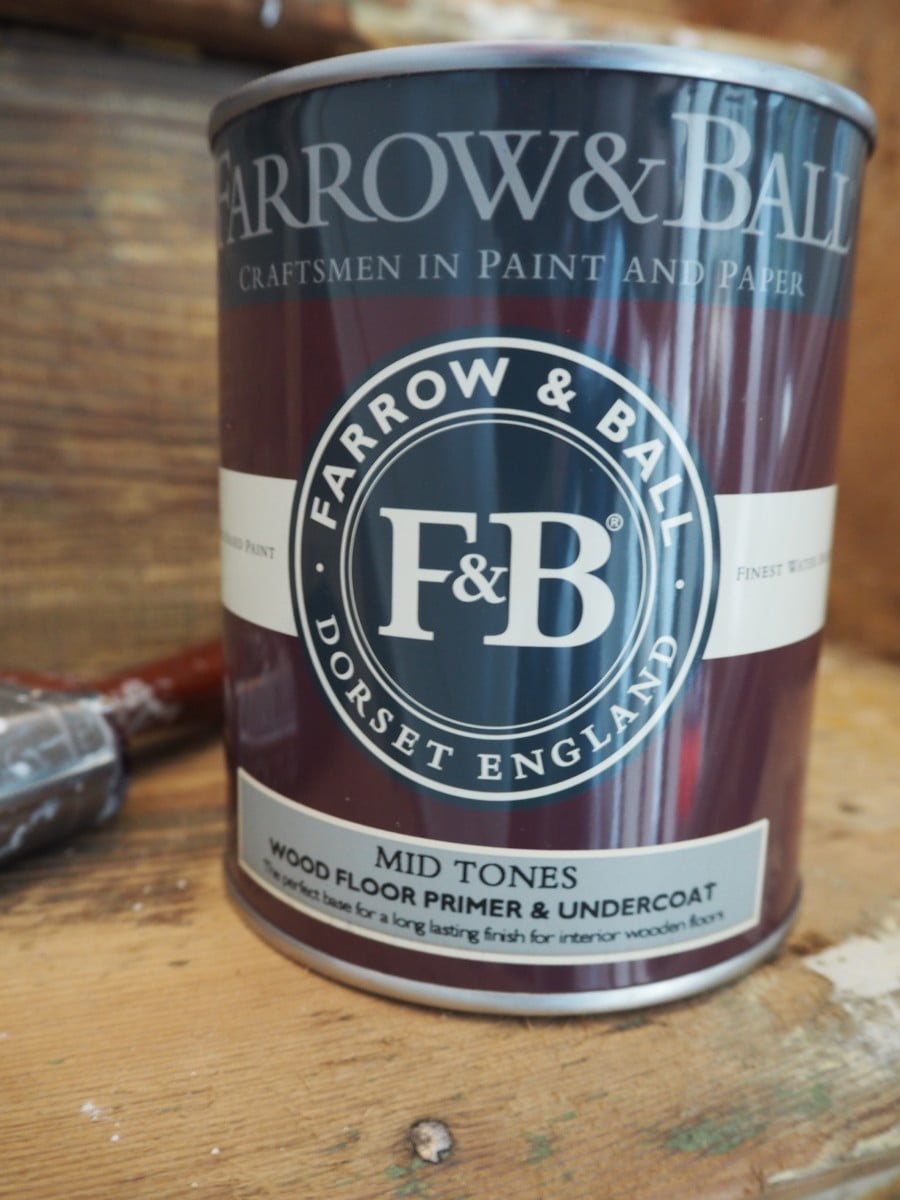
In high traffic areas, like a staircase please for-the-love-of-god use a good floor paint primer. And one in a shade that works with your top coat. I’m going to give a shout out to Farrow & Ball mid-tones floor primer. It’s tough as hell and the finish with your top coat is crisp and enduring.
I used the same top coat of paint as the woodwork in my open-plan living room so everything matched – Scree by Little Greene Paint Company. It’s an old-school kind of grey – very battleship but it really works in my home (cos everything is grey).
My Tip: Don’t wasting time going back and forth to DIY stores (I seem to loose hours in them). Instead, to get the job done in a weekend, I pre-ordered all my paint brushes, masking tape, dust sheets and working gloves on-line the week before. It worked out cheaper too – with some of the brushes only costing £1 each. Try Engelbert Strauss who stock pretty much everything you need for a home DIY project on-line.
 Tiling the stairs
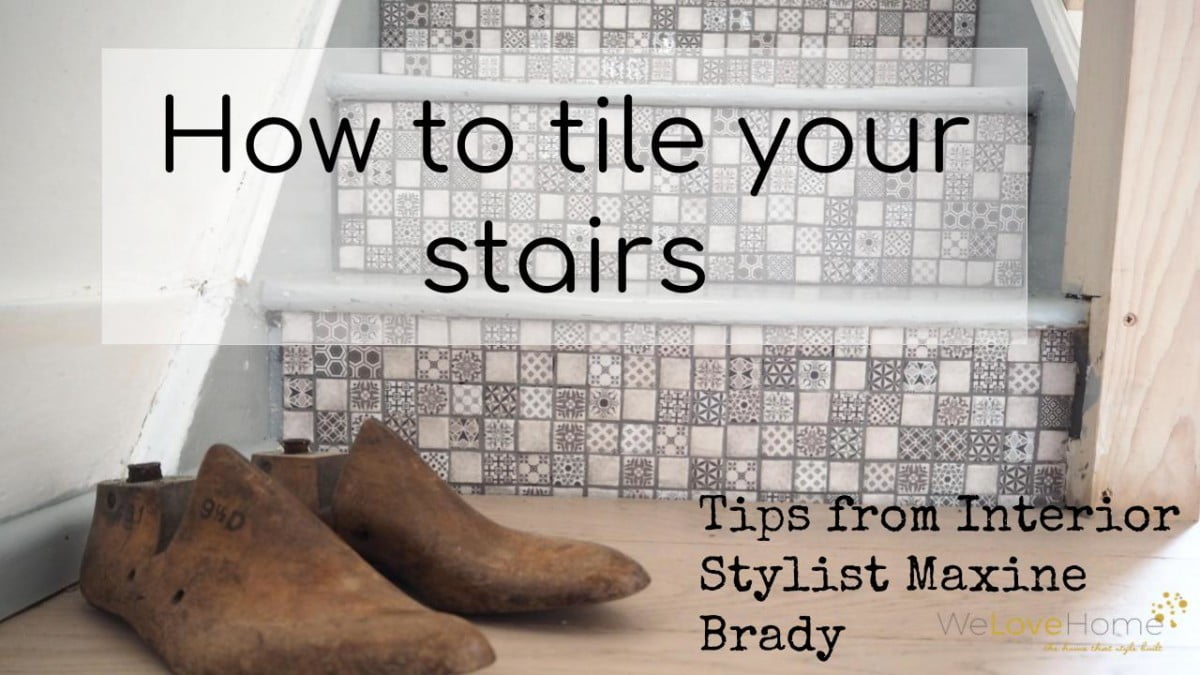
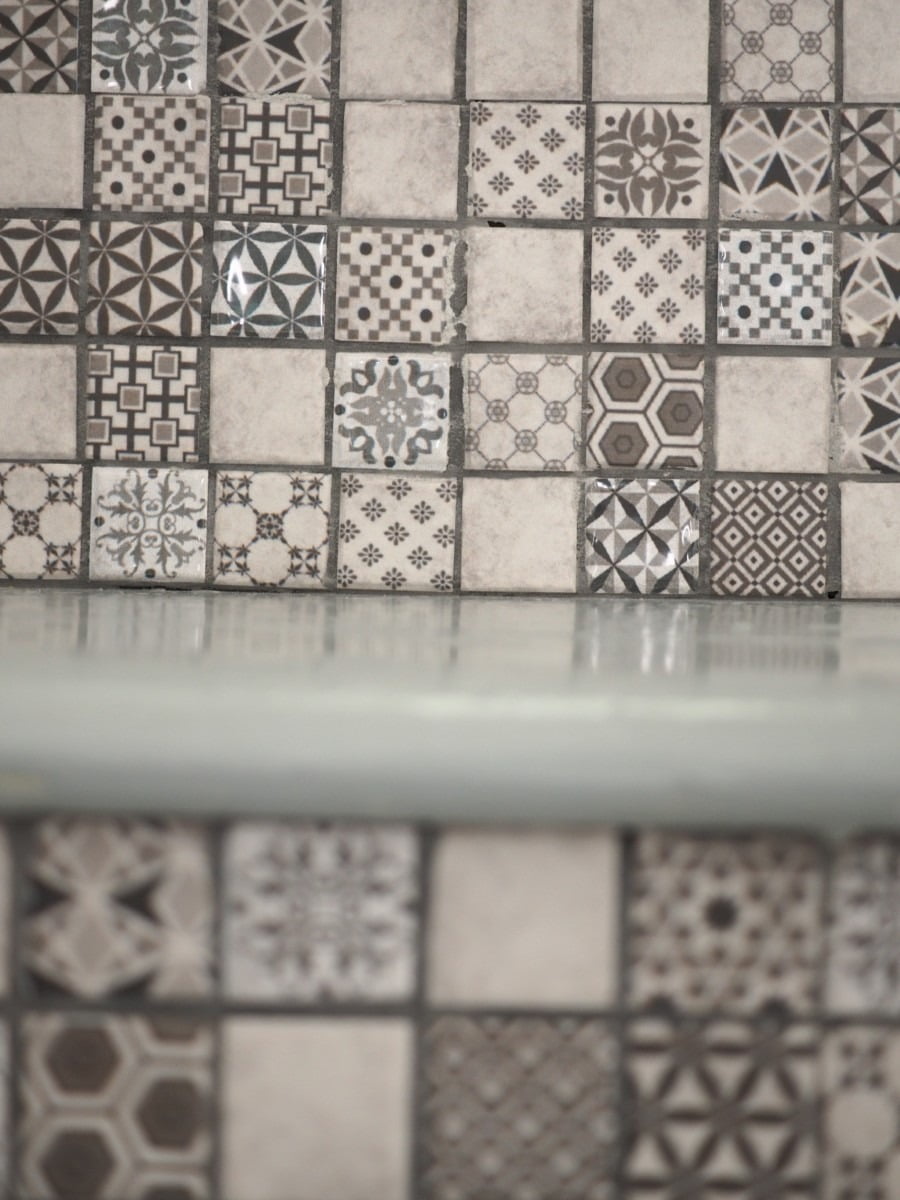
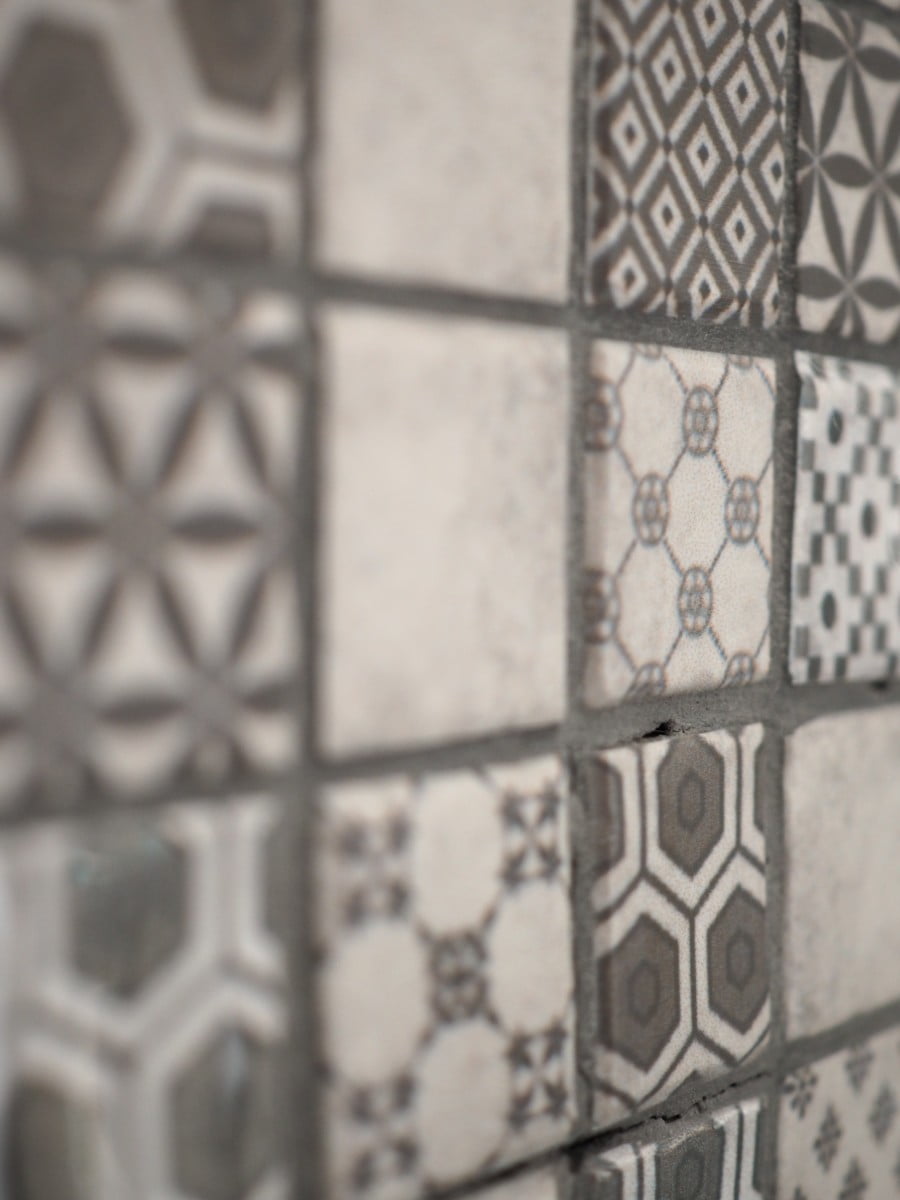
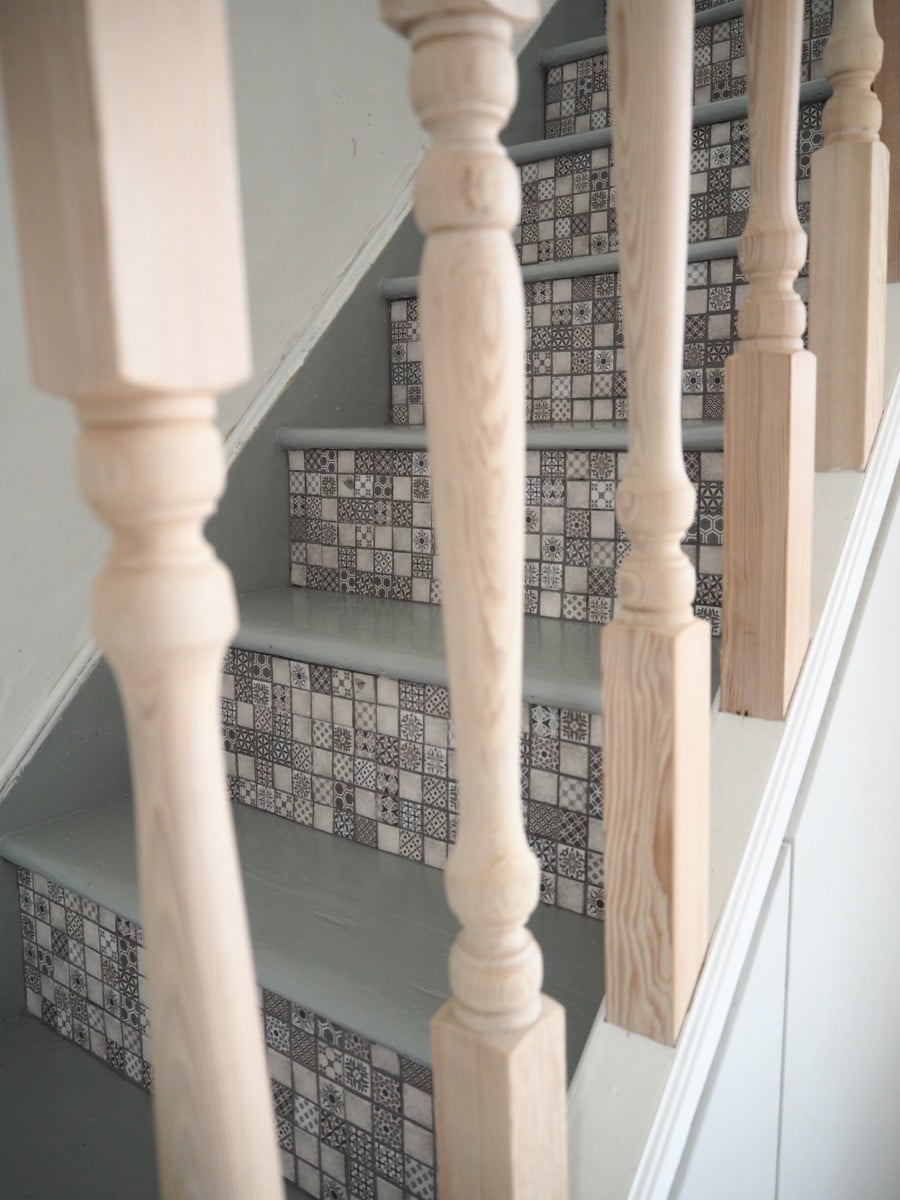
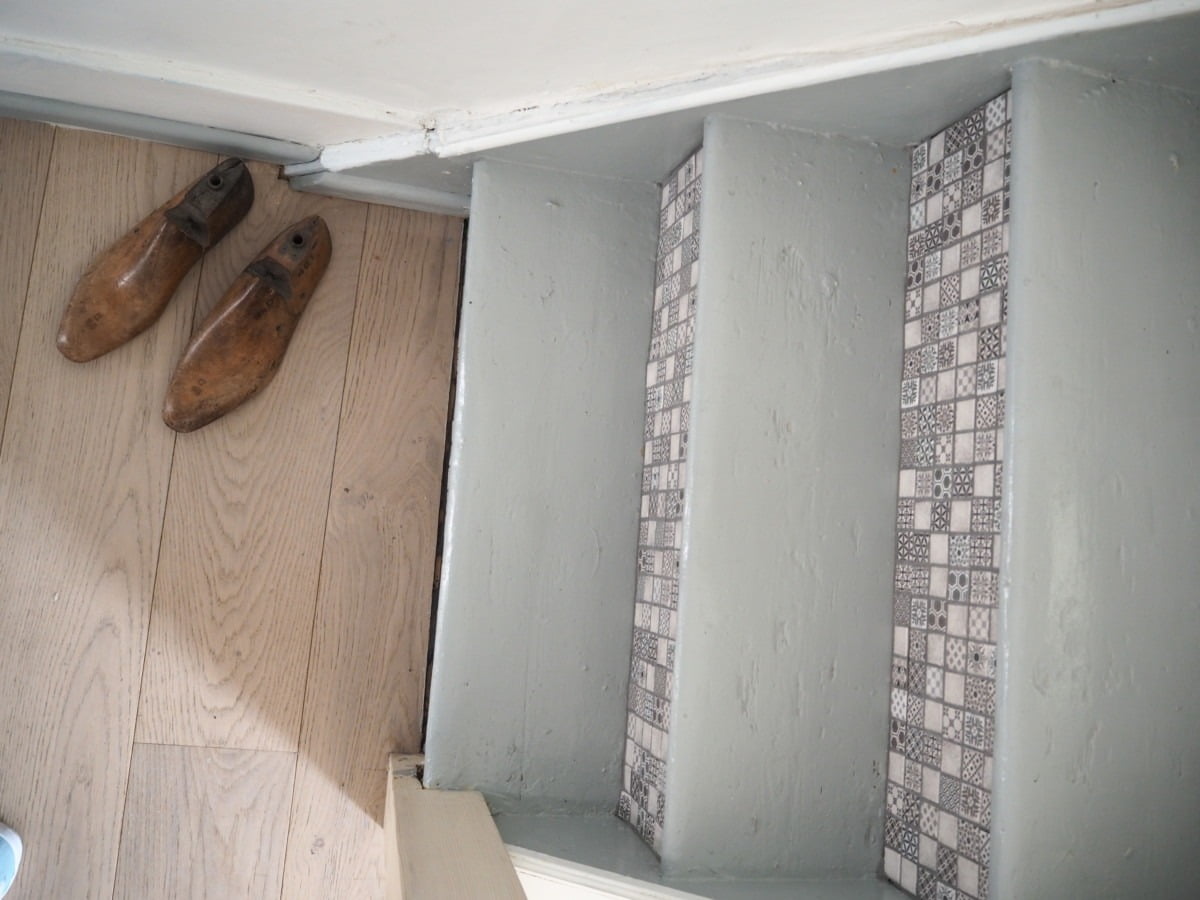
After doing a video for Tile Giant, I fell in love with the Vintage White Mosaic tiles (£25.35 a sheet). I wanted to use them to tile the risers of my stairs which I had seen all over Pinterest.
I so badly wanted to get in a tiler to do the stairs but not one single guy I called would do it.
I had to don my rubber gloves and do it myself. How did I do this. Honestly? I watched a ton of DIY youtube videos. Went to my local tiling shop with a photo of what I wanted to do and I just did it.
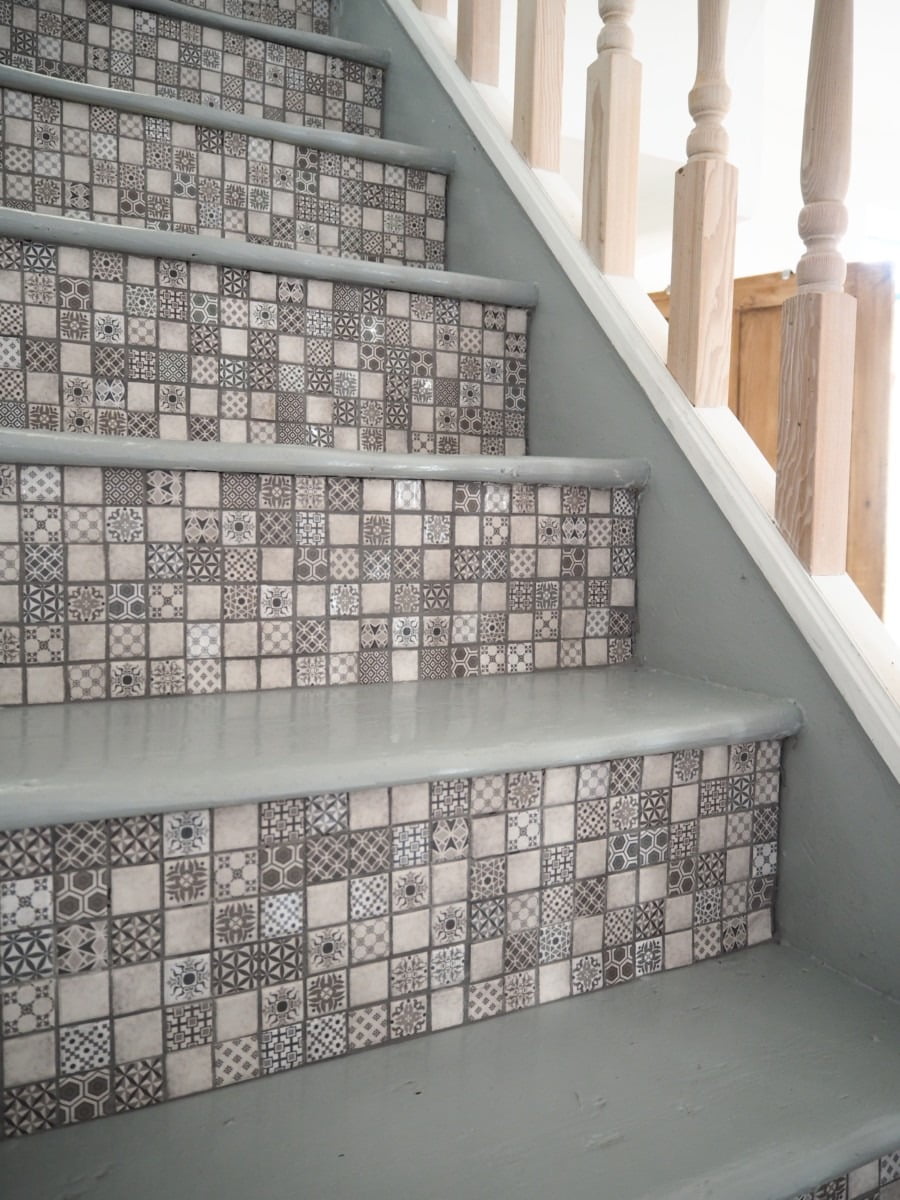
Mosaics means no cutting (woop) but it means they show every lump and bump – and my stairs are very lumpy and bumpy! I’m not a perfectionist, I just like things done so for me I was happy.
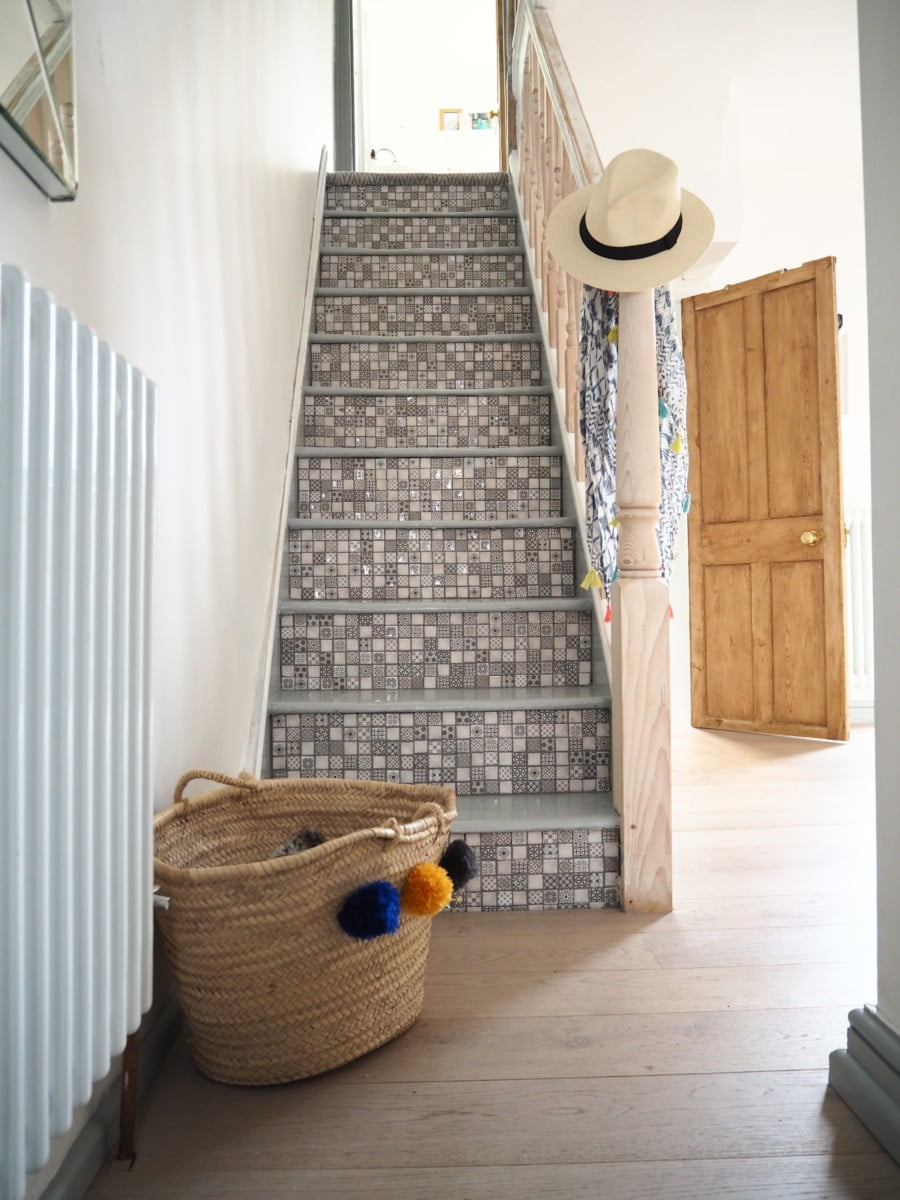
Do you know what – considering I have tiled nothing before in my life. I think I did pretty well. Don’t look too close, obvs but hey, my stairs looks pretty freaking awesome.
Don’t forget to watch my youtube video which shows you how to actually tile them in detail. Watch me get covered in grout! And then I have done a million posts on my actual staircases.
And I still have a few more to go blog posts on this area to go.
I’m going to reveal my landing makeover, as well as my new mirror and then I have to talk to you about my under the cupboards. All to come. Keep checking back on the blog for more stairway magic. In the meantime, pin this image here to save this post for later >>>>
** Disclaimer: This is a sponsored content. I was also gifted product for this makeover. All thoughts, opinions and photos are my own.

I love the makeover, looks great, and unless someone face plants it, they’ll never notice any lumps and bumps. Very bright and welcoming! well done!
Thank you Vicki
Beautifully done! I am such a big fan of your work and loved the mosiac tiling used on the staircase! I am working on a similar concept for a sideboard table as well and your ideas and colour combinations are desperately and inspiration! Thank you so much
I like your article, Thanks
Seemore: https://docuthientien.com