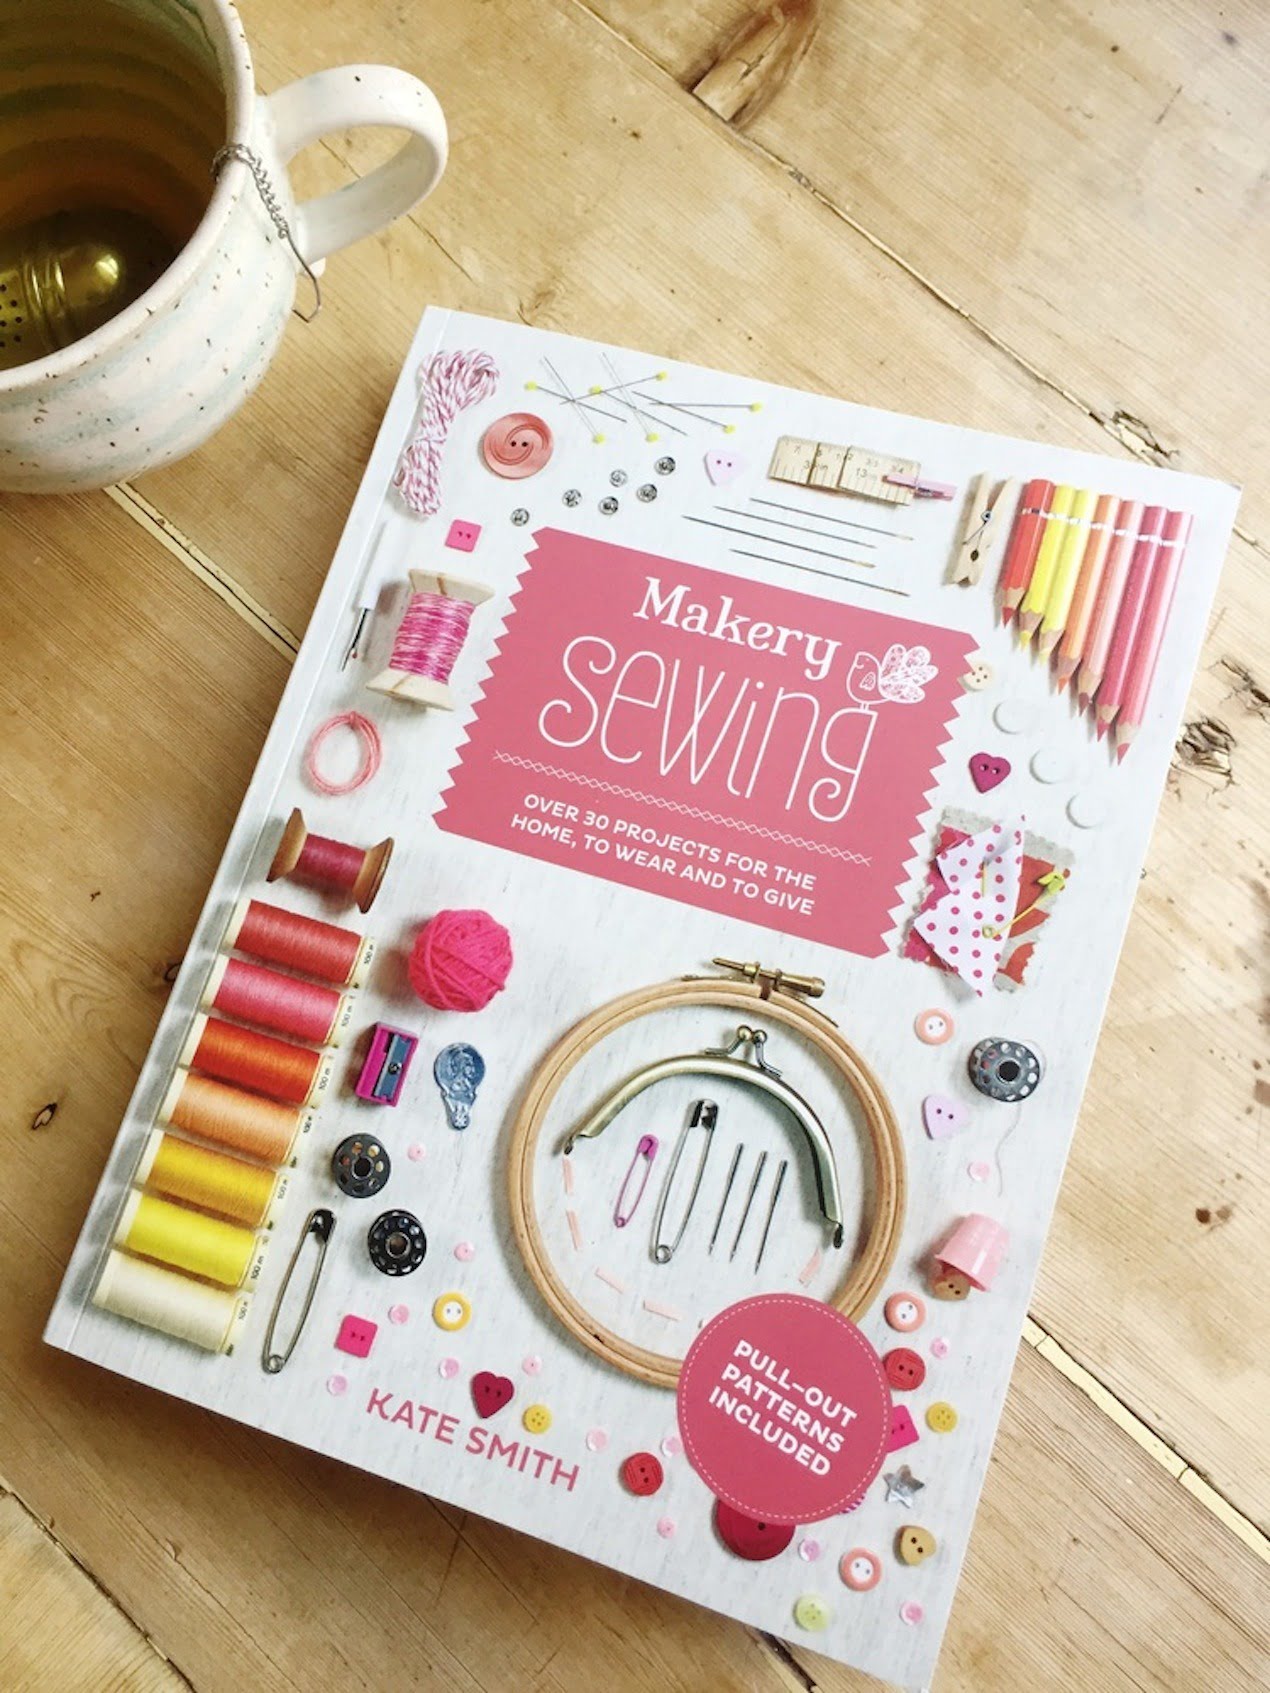
 Who loves laundry? I would never call myself a ‘fan’ – but after spotting this rather dapper laundry bag in Kate Smith’s book – Makery Sewing I’ve become a convert. Kate who runs the Makery in Bath where she runs sewing workshops has come up with this brilliant little sewing bag which will take the pain out of the weekly wash. Make one – and then see who can throw their dirty socks through the hoop and straight into the bag! Here’s how:
TIME: Kate thinks a couple of evenings at your machines should do it. So a perfect winter project then.

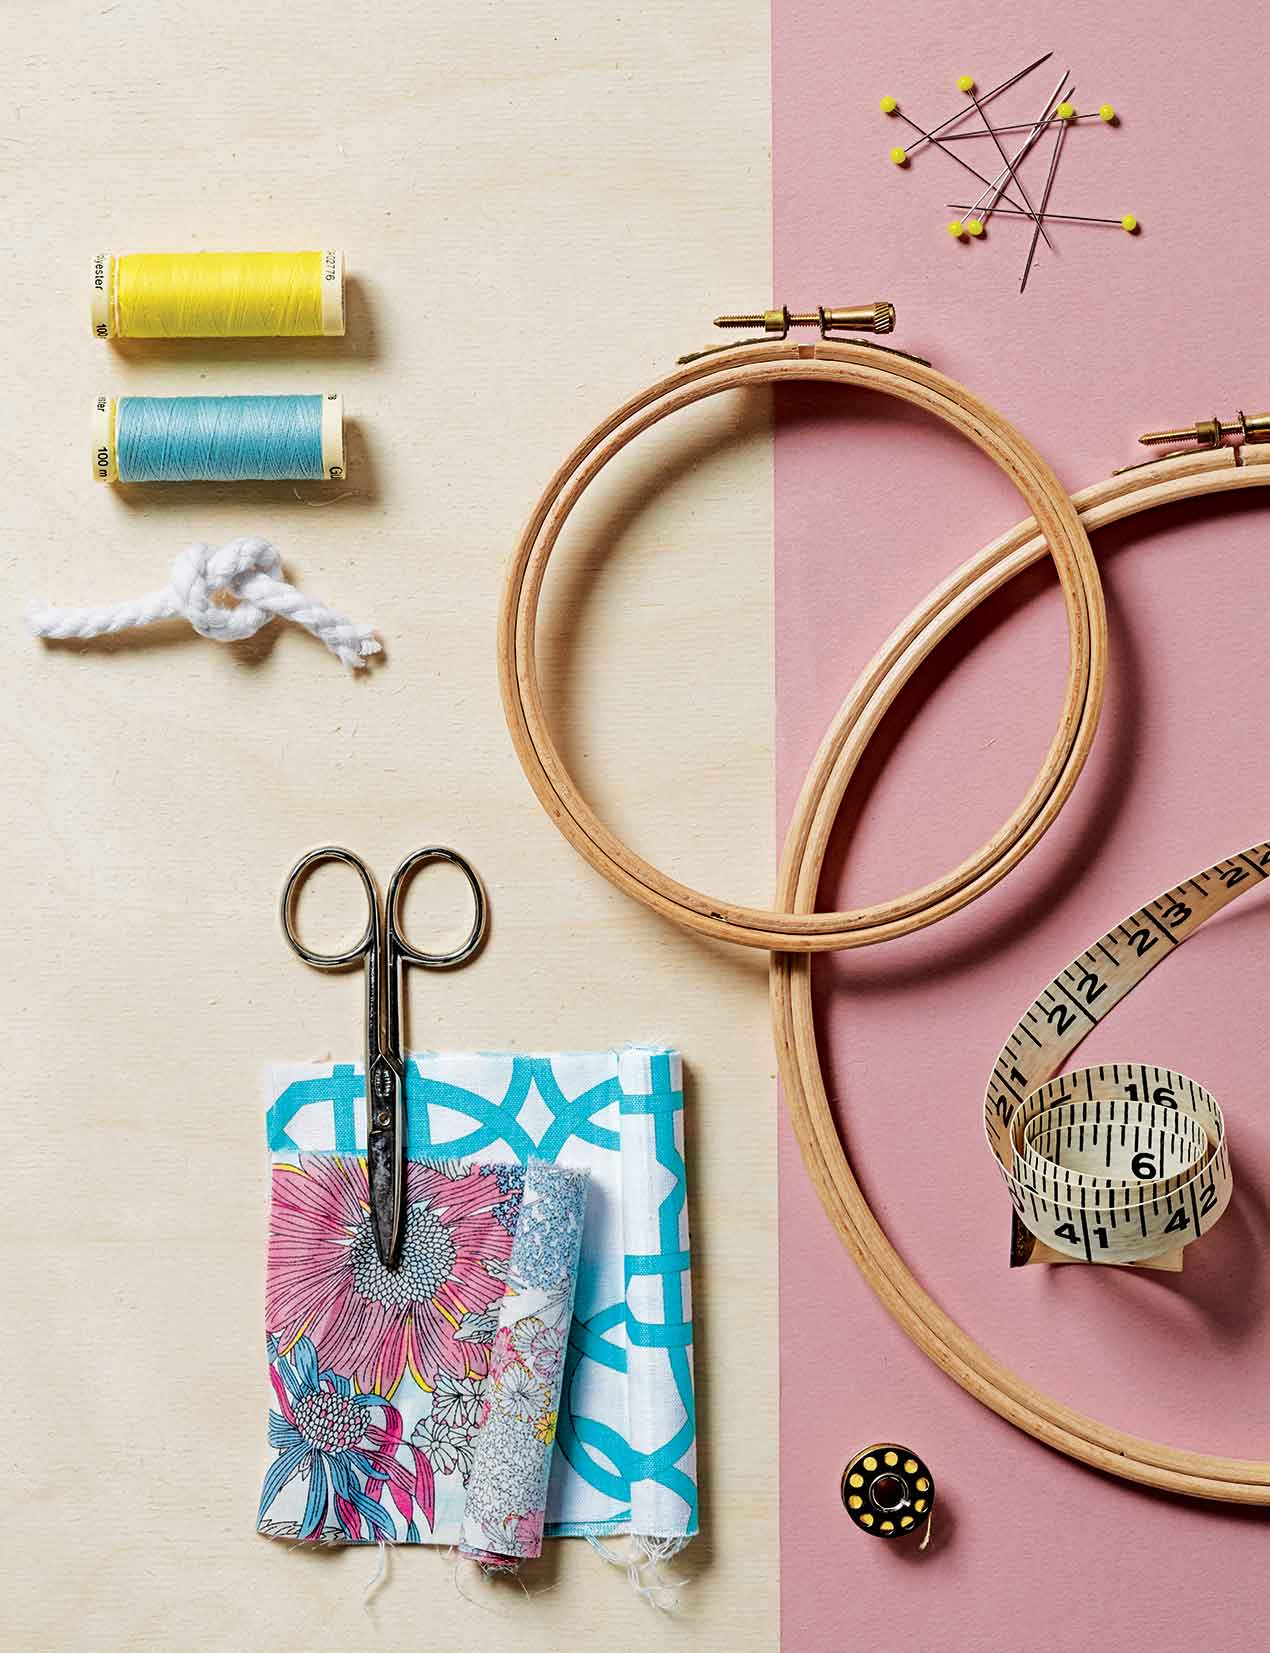
MATERIALS: OUTER LIGHTWEIGHT COTTON, FABRIC: 40CM X 110CM (16IN X 44IN). LINING LIGHTWEIGHT COTTON, FABRIC: 40CM X 110CM (16IN X 44IN), PIPING CORD: 150CM (60IN), CO-ORDINATING, POLYESTER THREAD, EMBROIDERY HOOP:, 23CM (9IN) DIAMETER
TOOLS: TAPE MEASURE, TAILOR’S CHALK OR ERASABLE, FABRIC PEN, FABRIC SCISSORS, PINS, SEWING MACHINE, IRON, SAFETY PIN.

MAKE THE BAG
- Fold your outer fabric in half widthways, right sides together – you’ll have a rectangle measuring 40cm x 55cm (16in x 21½ in). Pin down the two long sides (making sure you leave the top edge open). Repeat for the lining fabric.
- With your sewing machine set to straight stitch, sew down the long sides of the outer fabric with a 1cm (¼ in) seam allowance. Iron the seams open, making sure they sit nice and flat. This is your outer bag. Repeat for the lining.
- Turn the outer bag right side out, and insert it into the lining bag so that the right sides of both bags are touching and the side seams match up.
- Pin the lining to the outer around the top open edge. Machine stitch around the top of the bag 1cm (¼ in) down from the edge, and leaving a 10cm (4in) gap to turn the bag through. Reverse stitch at the beginning and end to secure.
- Turn the whole bag the right way out, through the 10cm (4in) gap. Flatten out the bag, and iron the top seam so that the crease is nice and crisp.

INSERT THE DRAWSTRING AND HOOP
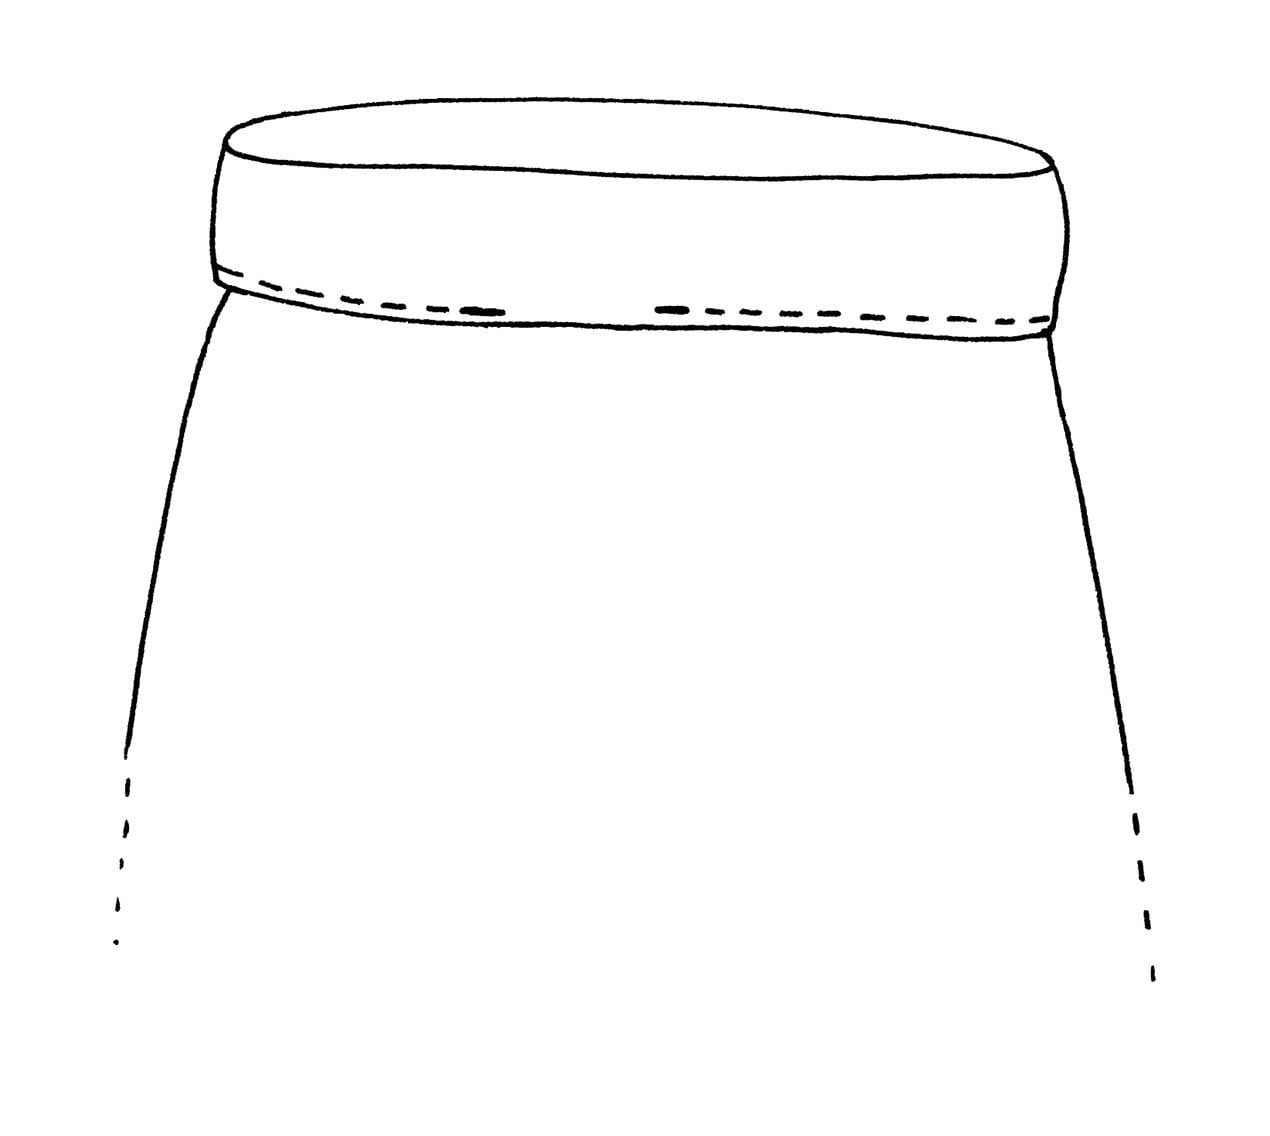
- Turn the top edge over toward the outside by 7cm (2 ¾ in), like a cuff, so that the lining fabric shows on the outside of the bag. Pin in place. Starting 17cm (6 ¾ in) from one of the side seams, machine stitch along the lower edge of the cuff, leaving a 0.5cm (⅛in) seam allowance and finishing your stitching 4cm (1½ in) before you get back to the start to leave gap (see Figure 1). Reverse stitch at the start and end to secure.
- Attach a safety pin to the end of the piping cord and thread it through the gap, feeding it all the way through the channel and out again. Even up the exposed lengths of piping cord and knot the ends together. You now have a drawstring bag.
- To fit the top of your bag into the embroidery hoop, pop the smaller hoop inside the top edge of the bag, just under the piping cord. Loosen the larger hoop and pop it on the outside of the bag, at the same point as the smaller hoop. Tighten it in place. Hang up your bag and let the sock-throwing games commence!
TIP
You don’t need to include the embroidery hoop if you’d rather not – you could stop at the last step 2 and have a drawstring laundry bag instead. Come to think of it, you can use the drawstring bag for any purpose you like.
I met Kate at a press show in the summer and loved her work. She has also written two books (by Octopus Publishing) full of simple craft projects for you and your home. If you are interested in more, visit her website or her facebook page for more ideas and inspiration.
If you love this – then check out her Sweetie Tin footstool – and keep popping back here to discover more of her easy sew ideas like her placemats. We’ll she showing more of them over the next few months. I’m also planning to give away her fab book on Monday. If you want to enjoy more of her projects in the flesh – check it out.

What a great idea! Know what I will be doing this weekend