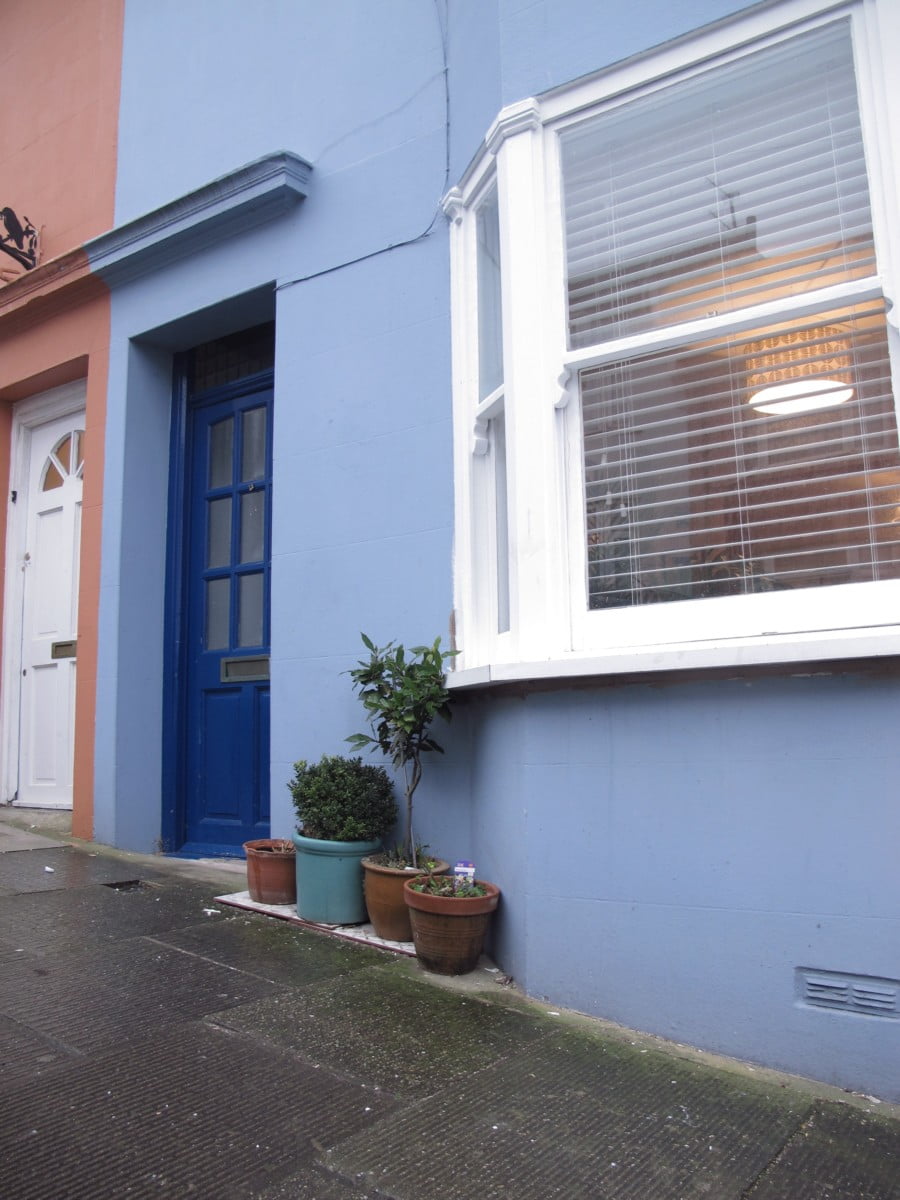
I live in the most colourful area of Brighton. The streets around me are filled with little terrace houses which have been lovingly painted in sunshine shades. Well, all the houses apart from mine. My house was run down and tired. It needed a much needed face-life to give it – in estate agent speak – ‘Curb Appeal’. Here’s how I vamped it up in 6 steps.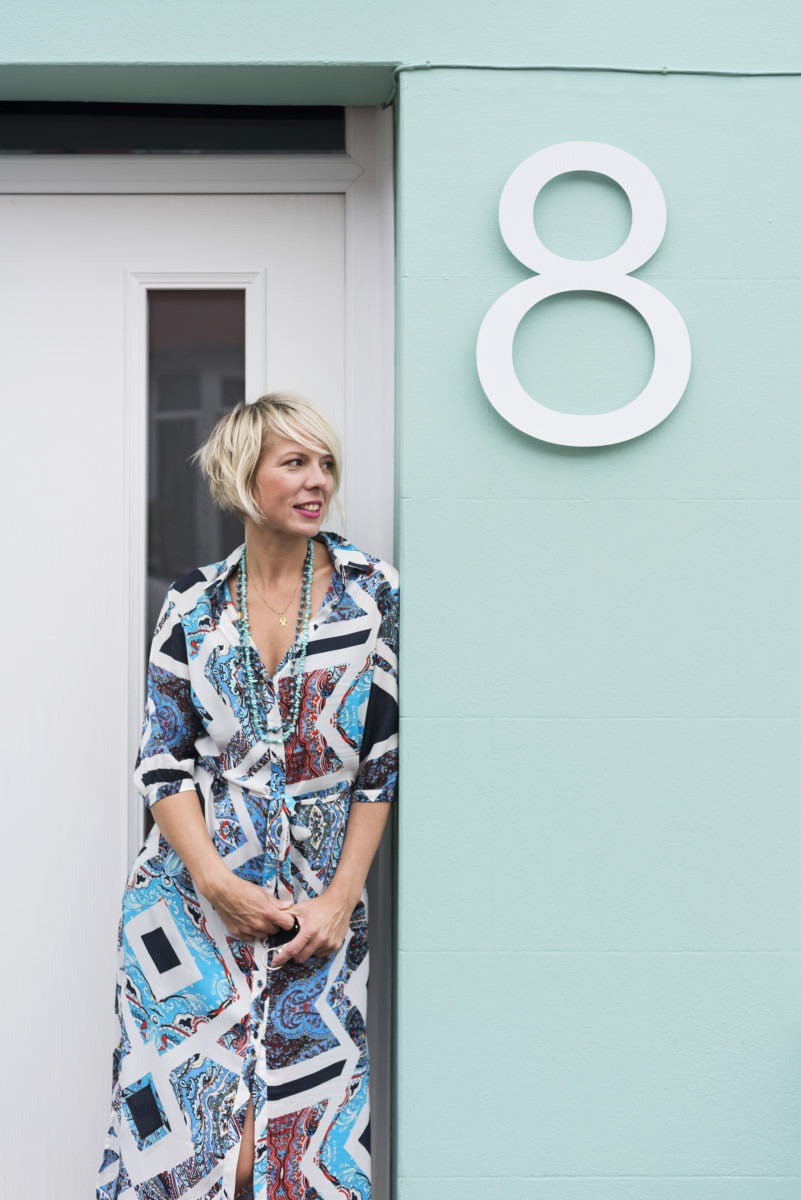
BEFORE
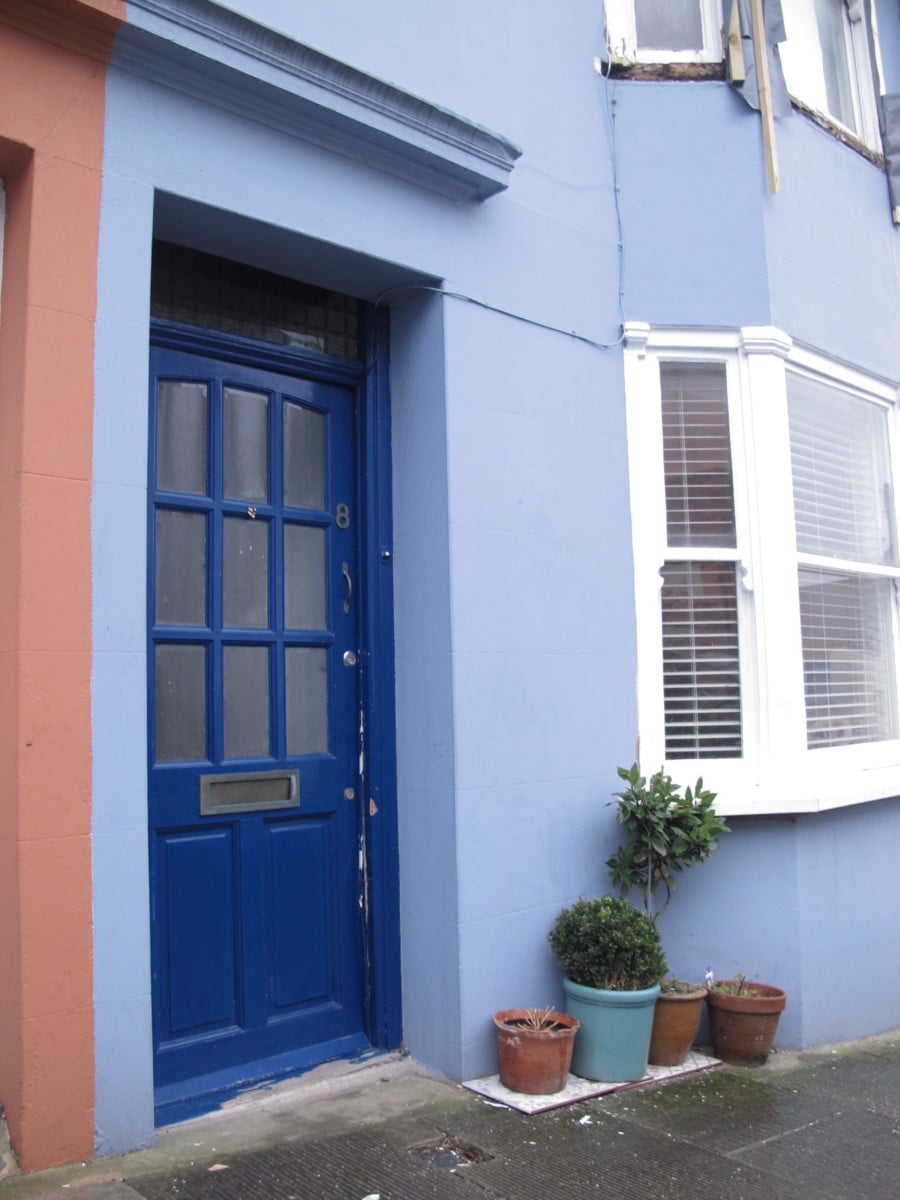
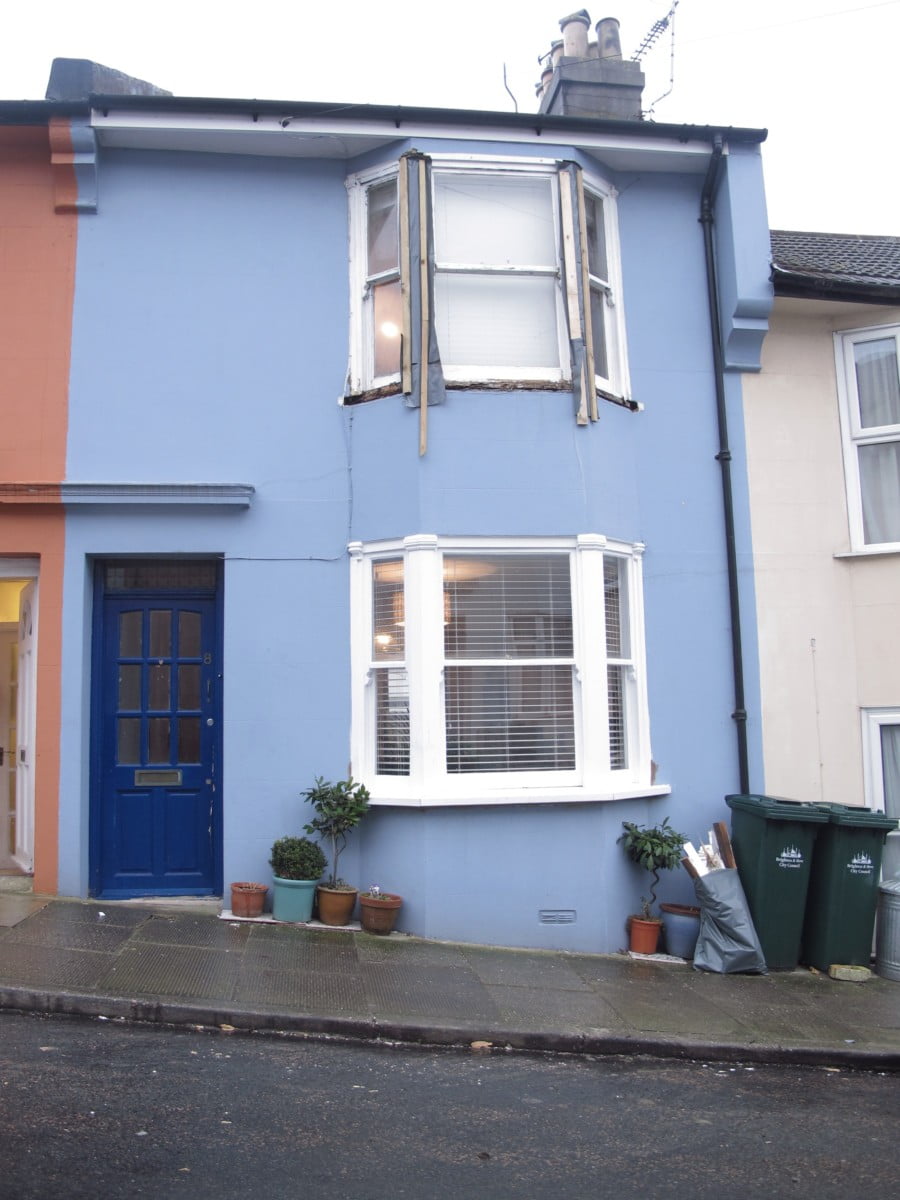
This is my home in March or April in 2015. I know, not great. I did my best with a few plant pots. I cleaned the door free of dust and dirt. I know, very shabby.
The problems:
- The front door was very ‘sticky’. It had warped over the years so it got stuck in the frame. You had to literally kick it down to get in the house. There was a gap under the door making it draughty on windy days.
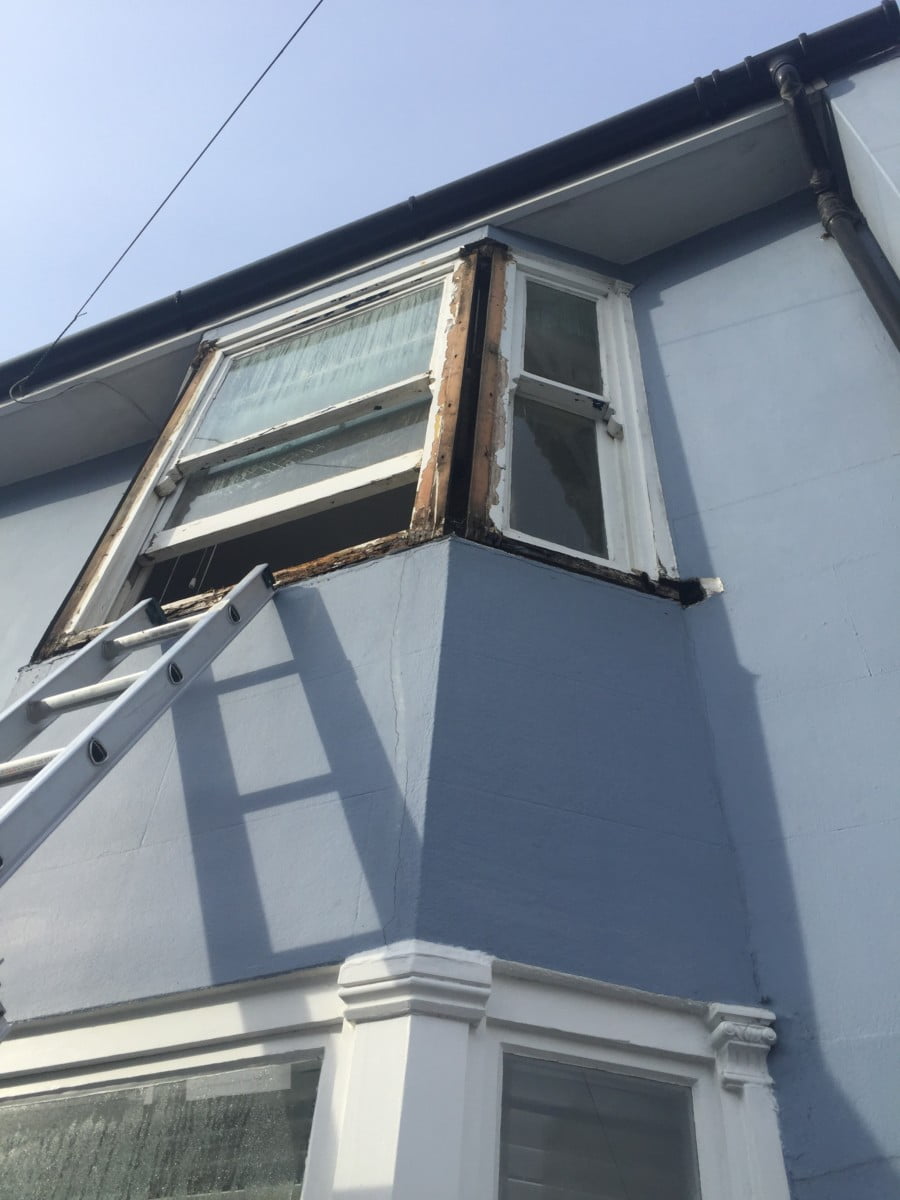
- Both my sash windows were rotten.
- My original Victorian metal guttering leaked water down the front of the house (potential cause of the damp in my bedroom).
- TV wires dangled off the front of my house.
- Ugly bin. I HATE it.
- Shady paintwork
- Dirty facets (the white wooden bits guttering rests on)
Who can spot the hammer resting on top of the chimney pot?
 Step 1 – Windows
Waaaaaaah! Them windows. Whole world of pain right there.
Before I could do anything with the house. I had to get both lots restored, renovated and painted. The first set was made my Ventrolla – in spring 2015. I was so proud of it I even did a short youtube video on them). I did this pretty much as soon as I move in.
After a rather wet and miserable January 2016, it was bleeding obvious that the upstairs sash windows needed to be done too.
As you can see during the spring of 2016 my upstairs windows were held together with plastic and bits of wood. This was because my windows had been carefully taken apart by my sash window restorer John. he had beautiful new frames custom-made for me.
If you want to see what work goes into restoring a sash window and you are planning to get yours done too then you need to click>>> here).
Step 2 – The Front Door
One of my neighbours in a nearby street had an eye-catching uber modern door. it blew my socks off – it looked that cool.
I stalked the door. Seriously.
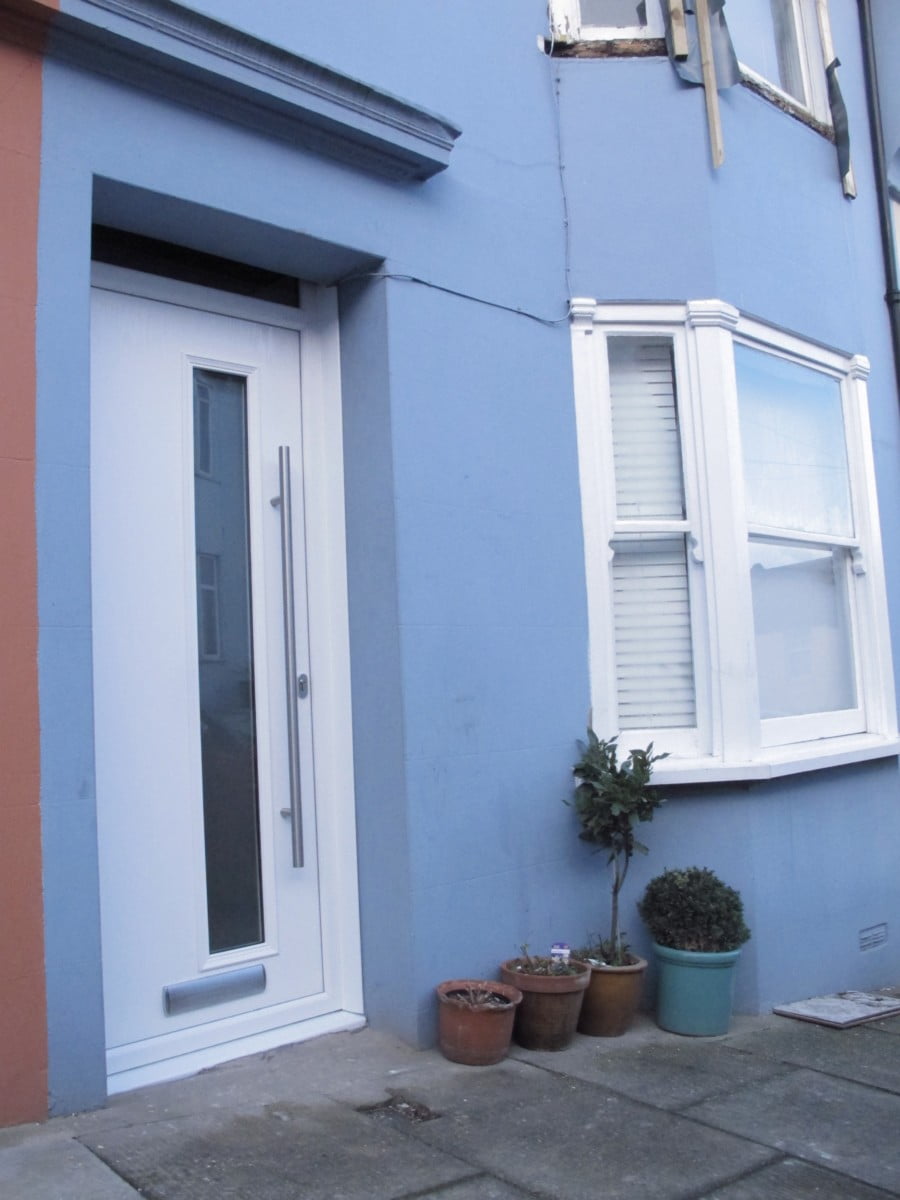
I trawled the net to find an identical one – and it’s made by Adored Doors. It was fitted in a day in June 2016 – and I dedicated a whole blog post just to my door. I love it that much.
I know it is not true to the age of the house but it looks epic. I love the clean lines and the massive handle. Also it is made out of tough composite material which doesn’t need painting. Handy when you live by the seaside and your home is forever being weatherbeaten by salty coastal air.
I’m not the only door-stalker BTW. Six of the houses by me have now replaced their doors with identical ones to me!
Step 3 – Painting the house
It’s so hard for me to pick a colour for the front of my house. It couldn’t clash with the terracotta next door and my other neighbour’s house is cream. If I had gone fresh white or grey my house would have looked MEH!
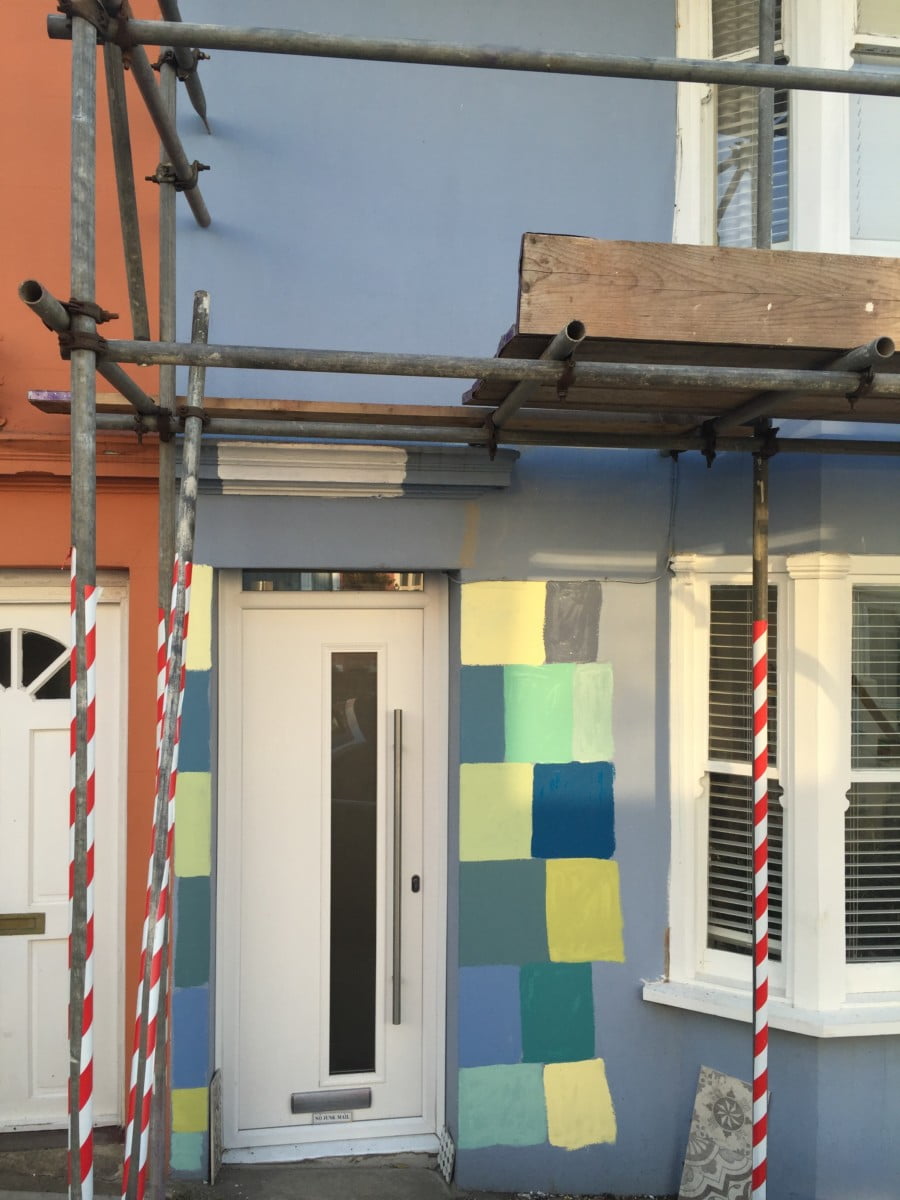
My go-to paint company of choice was Little Greene Paint Company. Their exterior masonary paint colour range is huge. My problem was picking a shade. I did what every interior stylist does – I painted 100s squares of colours on the walls. Then still couldn’t decide.
I think I lived like this for about two months – it was most colourful house in Brighton for a while.
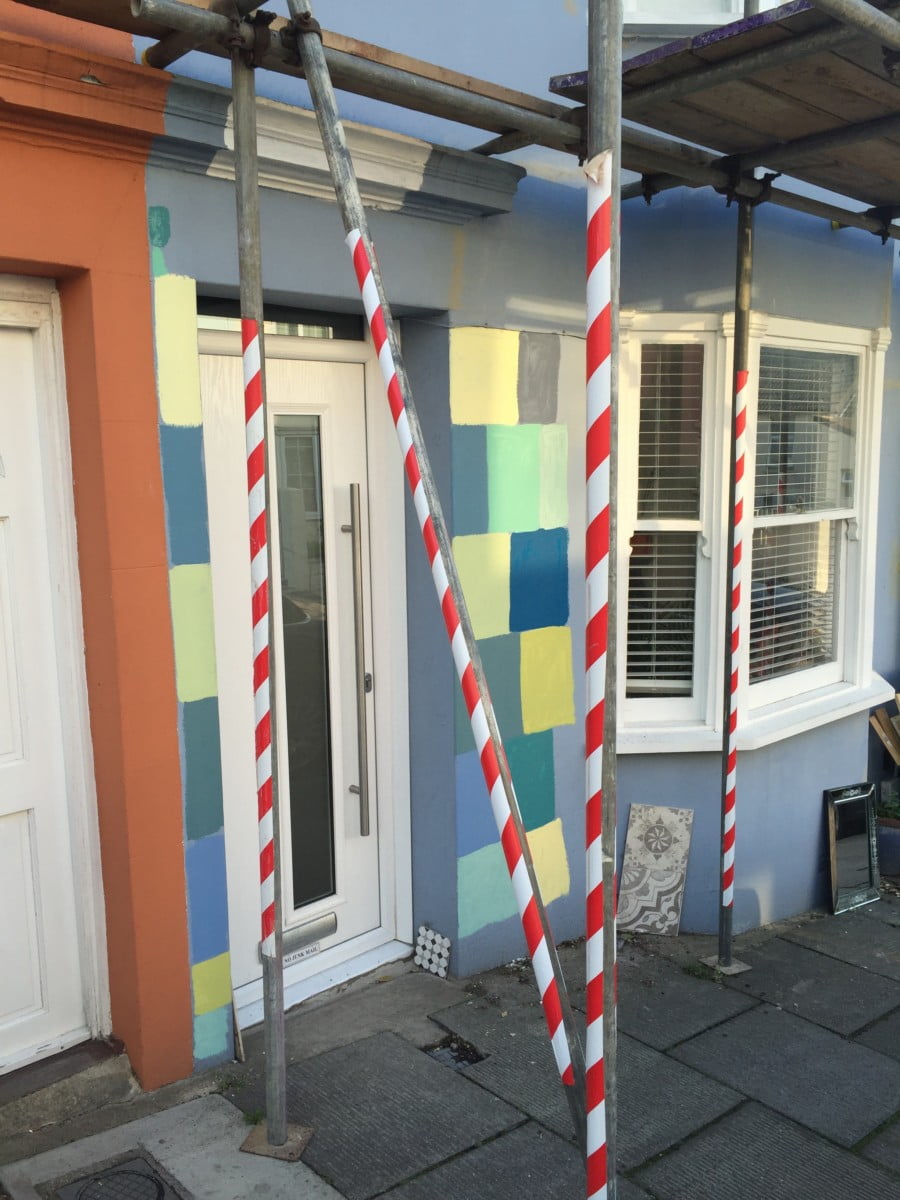
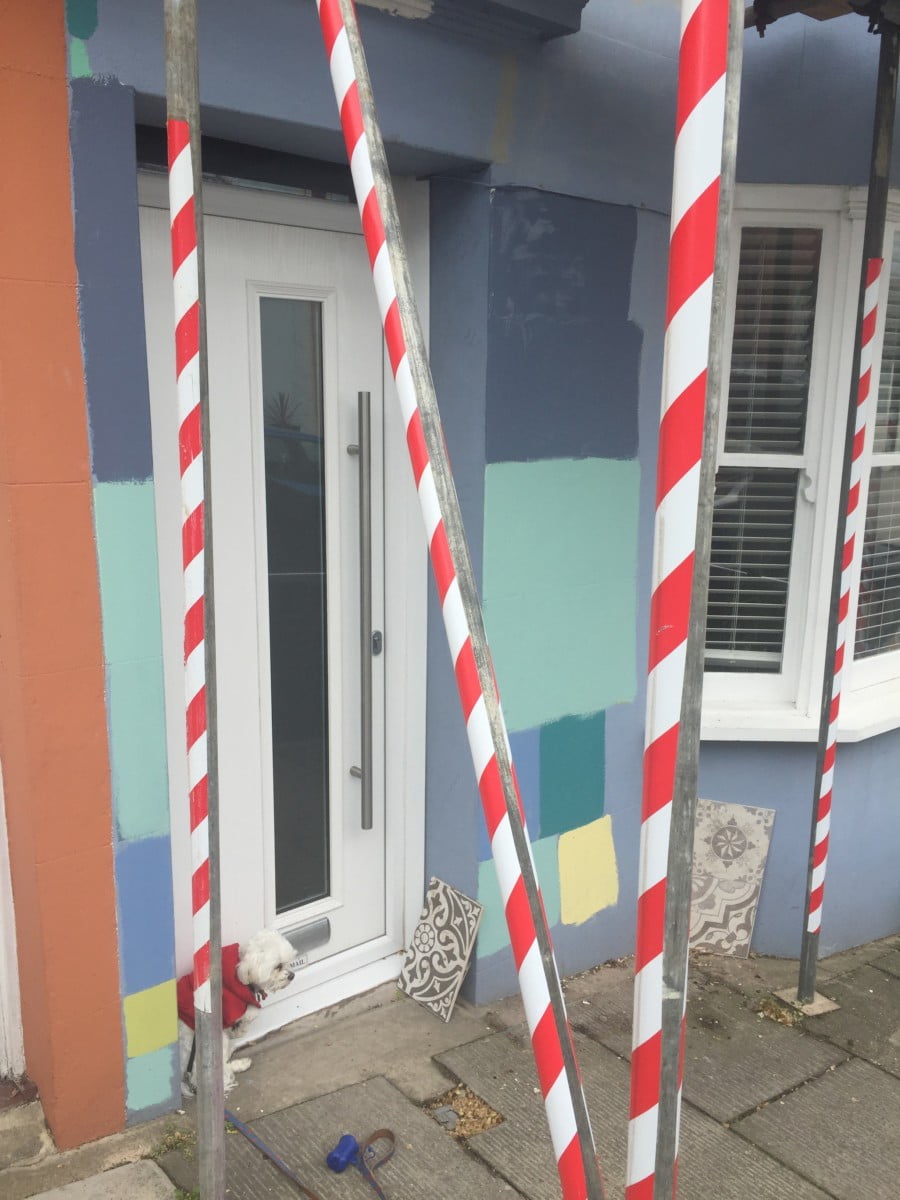
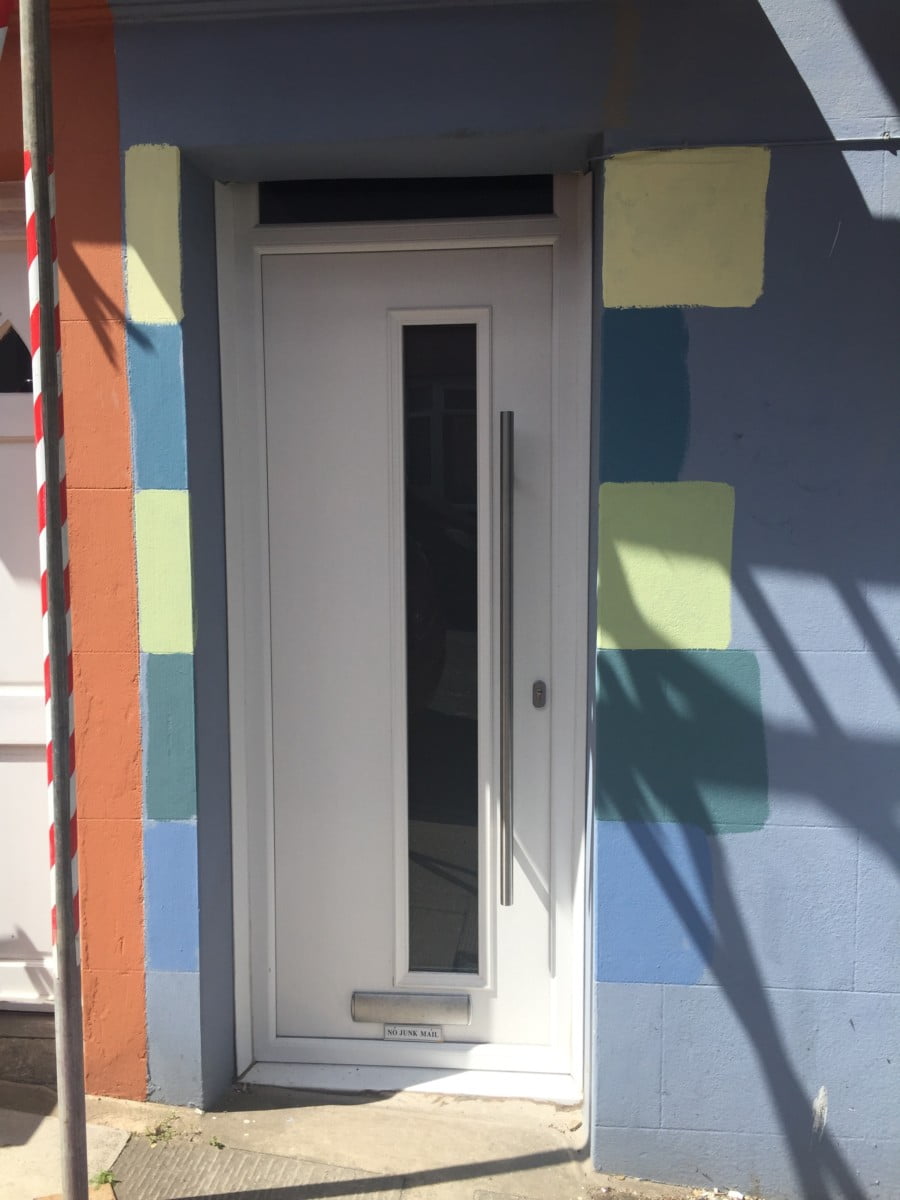
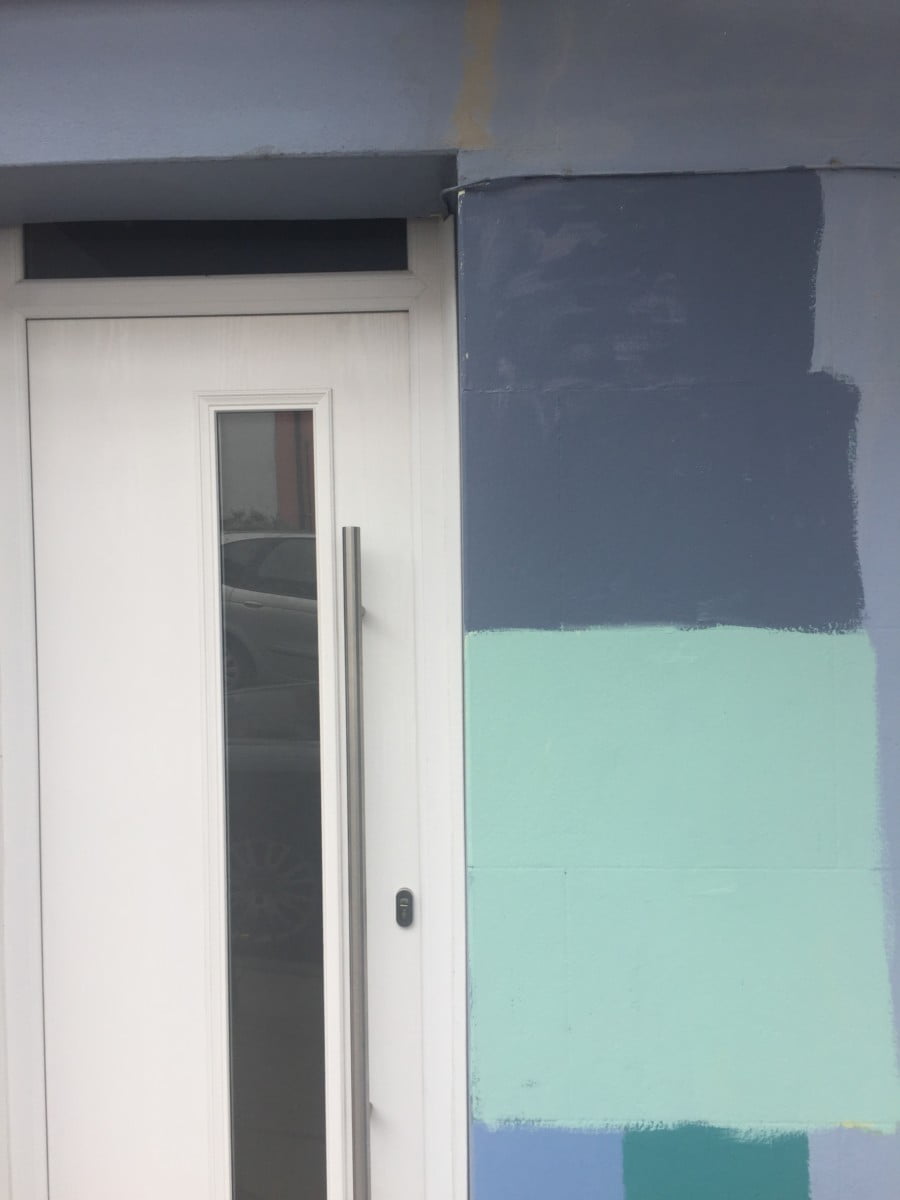
I put it the final choice up on my WeLoveHomeBlog Facebook page – and everyone gave me their thoughts. With the help of my facebook followers, I managed to narrow it down to Dock Blue (top) and Spearmint (bottom).
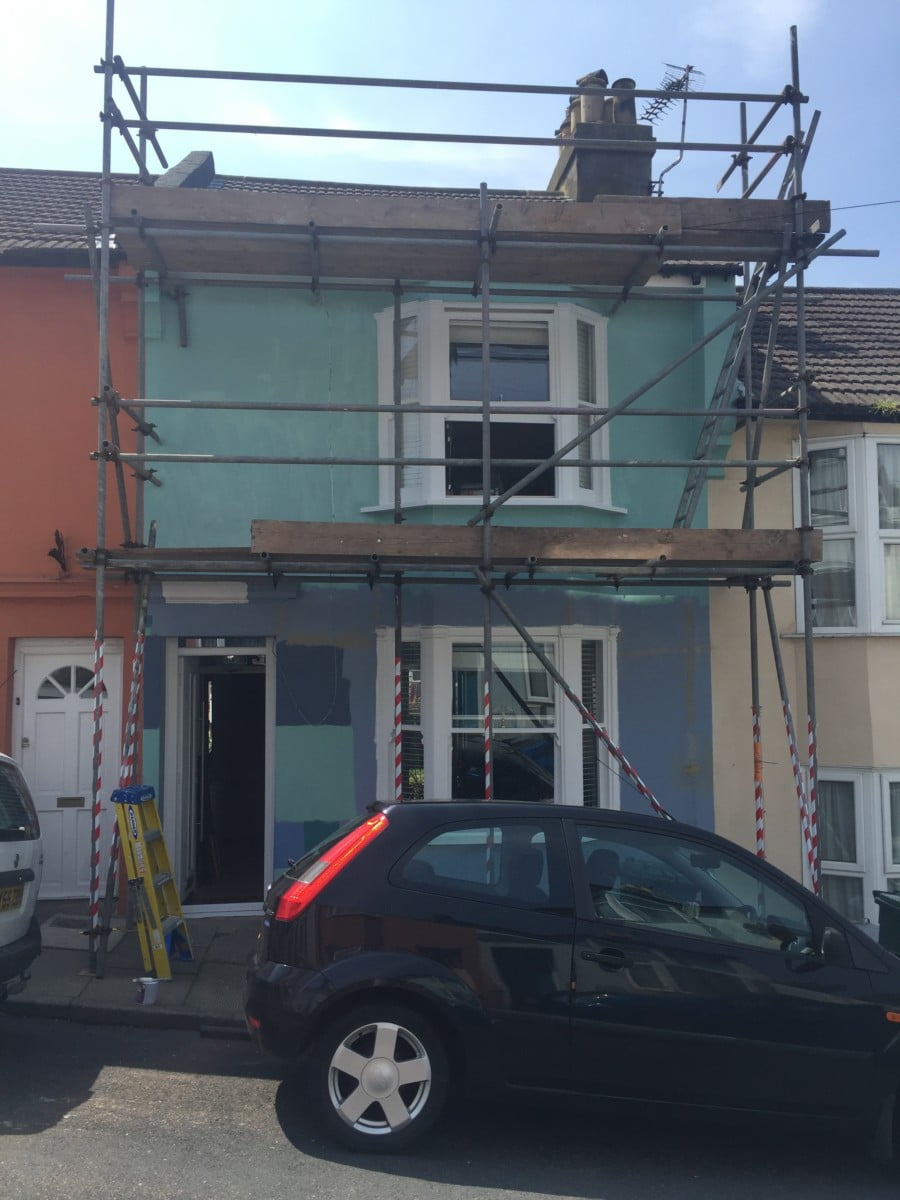
And the winner is…..Spearmint!
Look how gwad dam zingy it is. It’s very bright and colourful. The colour makes me smile every time I stroll up to my house. I’m smiling right now just looking at these photos.
My painter neatened up the electrical wires, and painted the upstairs windows too. The facets were repaired and then painted white too. I got the guttering fixed at the same time. This was all in August 2016 when we had all that beautiful weather.
My friend suggested painting the mantle above my door white to match my windows and new door.
Looking sharp.
 Step 4 – House Sign
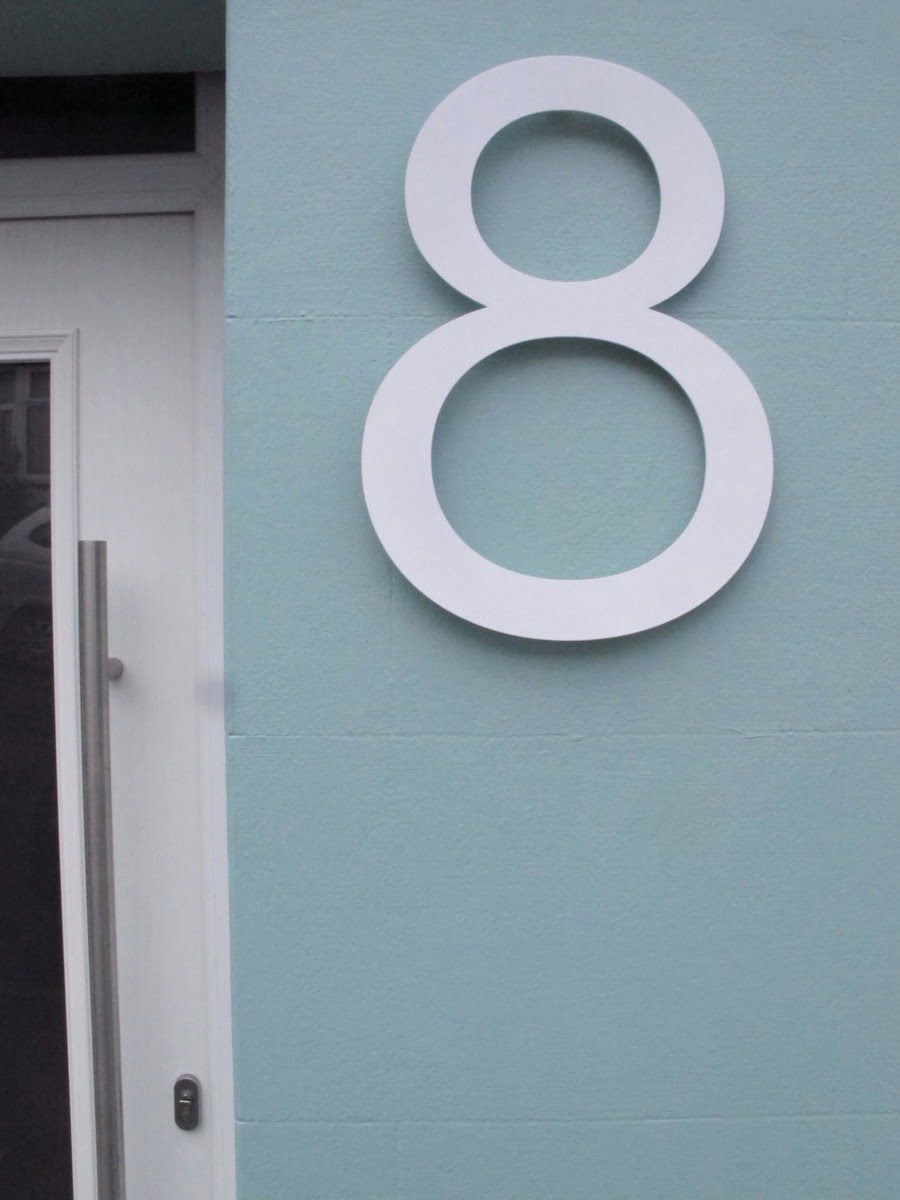
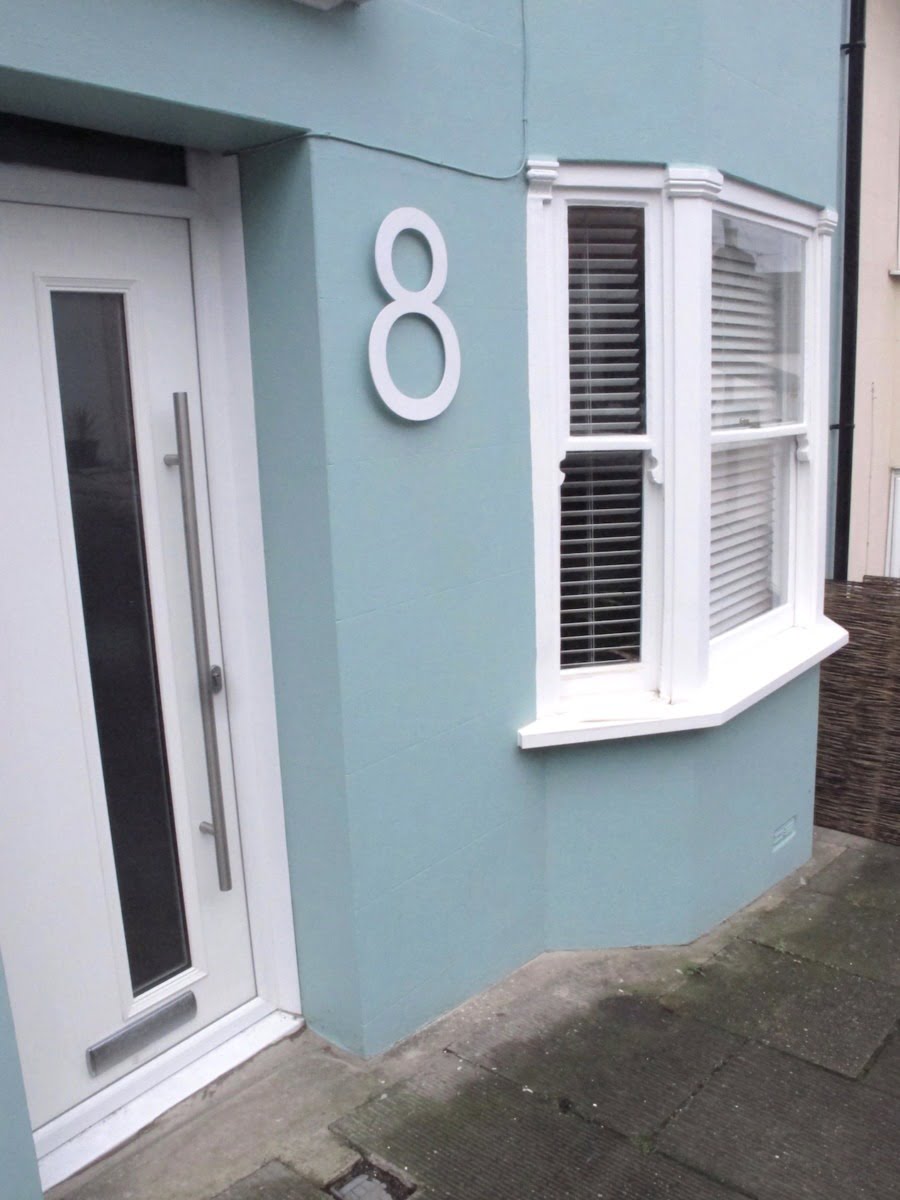
I wanted to make a BIG impression with my house sign. I’m not sure where this idea came from but I wanted a huge house number. I’m kinda short sighted so that may have been a factor. Or it could have been to make it easy for taxi’s to find me when they pick me up.
Here he is – the biggest house sign that House Numbers have every made. (They kept ringing me back to check that I had got the measurement right.)
It was easy to install. So easy, I did it **dusts shoulders**
 Step 5 – Finishing touches
This is where I have come to a full-stop. I know I need to finish off the front properly. I’m on the look out for the perfect pot to put out the front. I’m thinking of an olive tree or a large Bay or even a shrub. It just can’t blow over in the wind. There are a few other things I want to.
Let me show you:
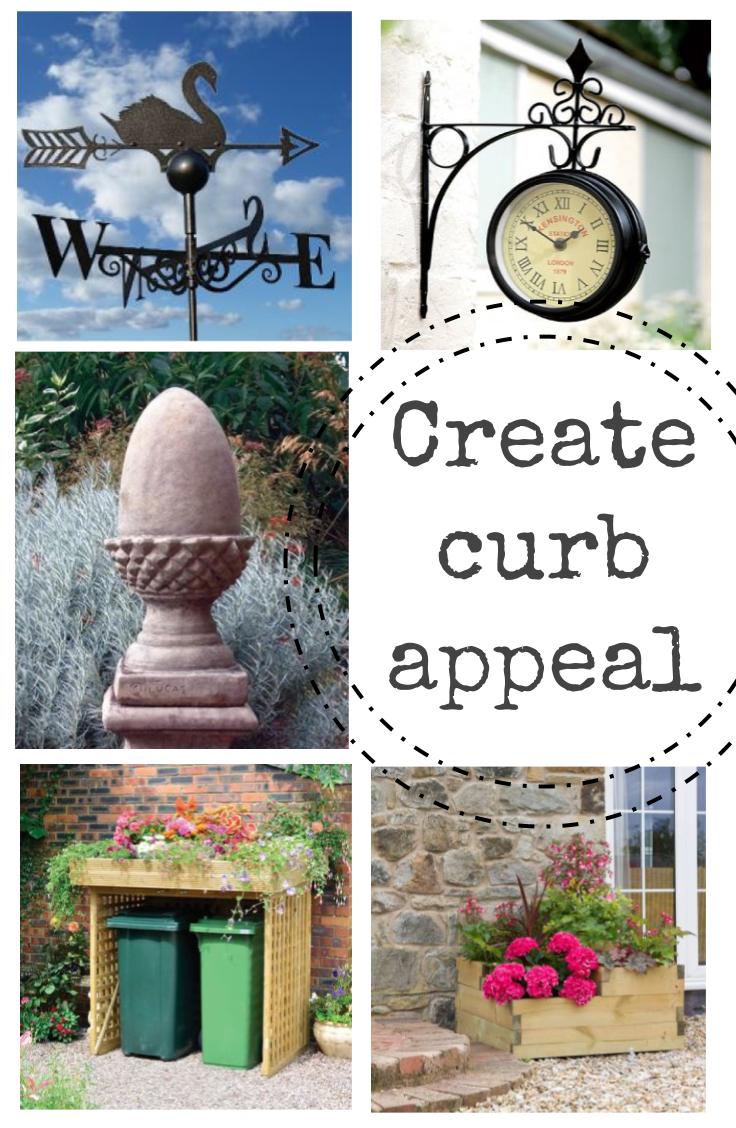
Curb Appeal Shopping List // I want to add some colour with a 3 tiered plant pot filled with flowers// Not sure if this is pushing it a bit for a Brighton town house but I would love a Swan Weather Vane // As I am notorious for always running late I think having an outside clock would be hilarious // After styling a lovely house with a stone statue I would love something like this as an alternative to a planter // If I had the space I’d have this planted bin storage unit outside my house. Instead I have a fold up willow bin screen which is great for small properties like mine.
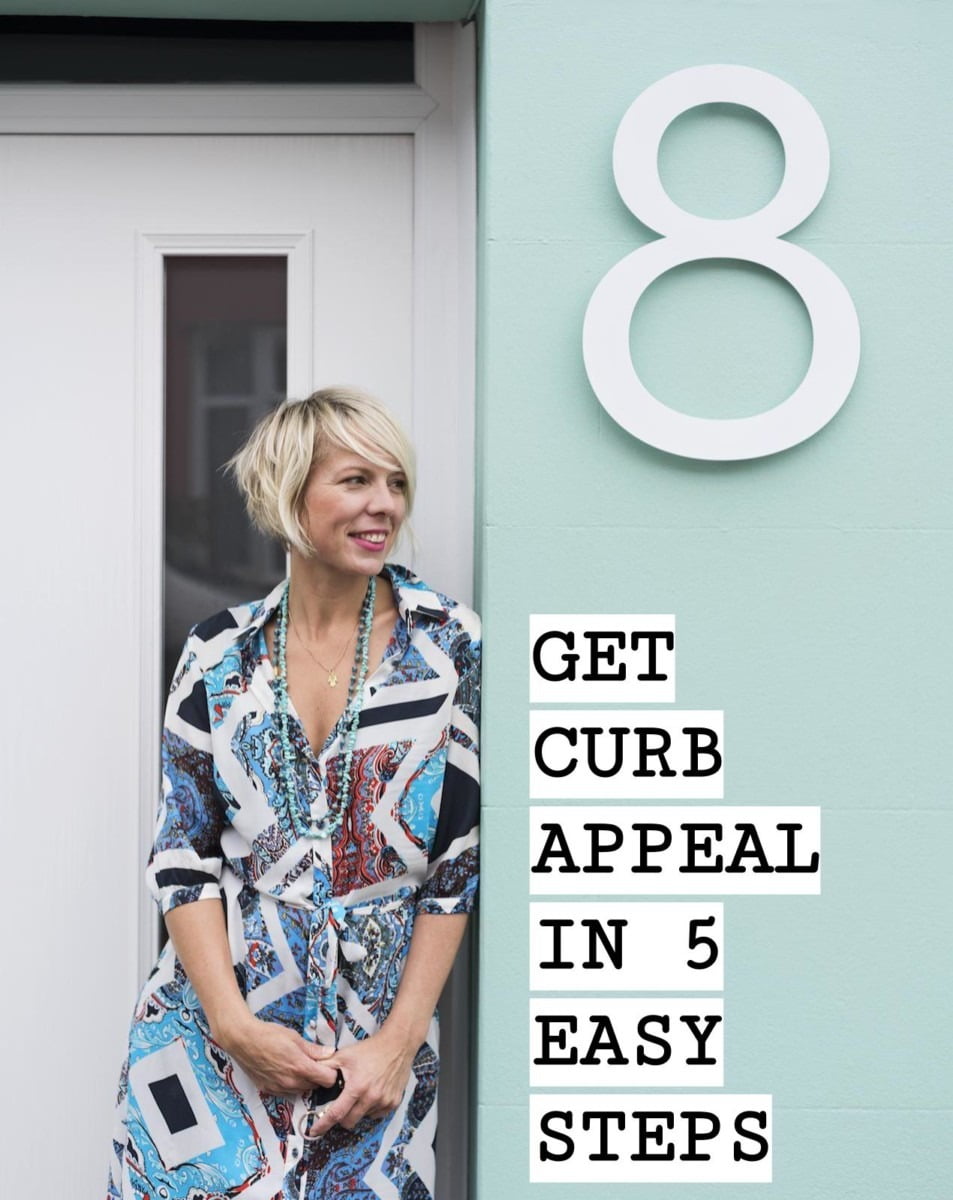
There we go. Obviously I still have a tiny bit to go – but it is only just shopping which is the fun part. All the hard graft has been done.
Hopefully all this painting and decorating should keep my house looking good for a few years to come. At the moment, I’m having the back of my house painted in the same shade so it is all matchy-matchy. When I do the garden up at the back, I’ll put some more serious thought into the planters/statue/weathervane combo. But I wanted to share what I had done so far just in case you are thinking of a similar project.
Have a great week!
**Disclaimer. I was given some products mentioned to review. All opinions are my own.
Main photos by Fanny Beckman.

