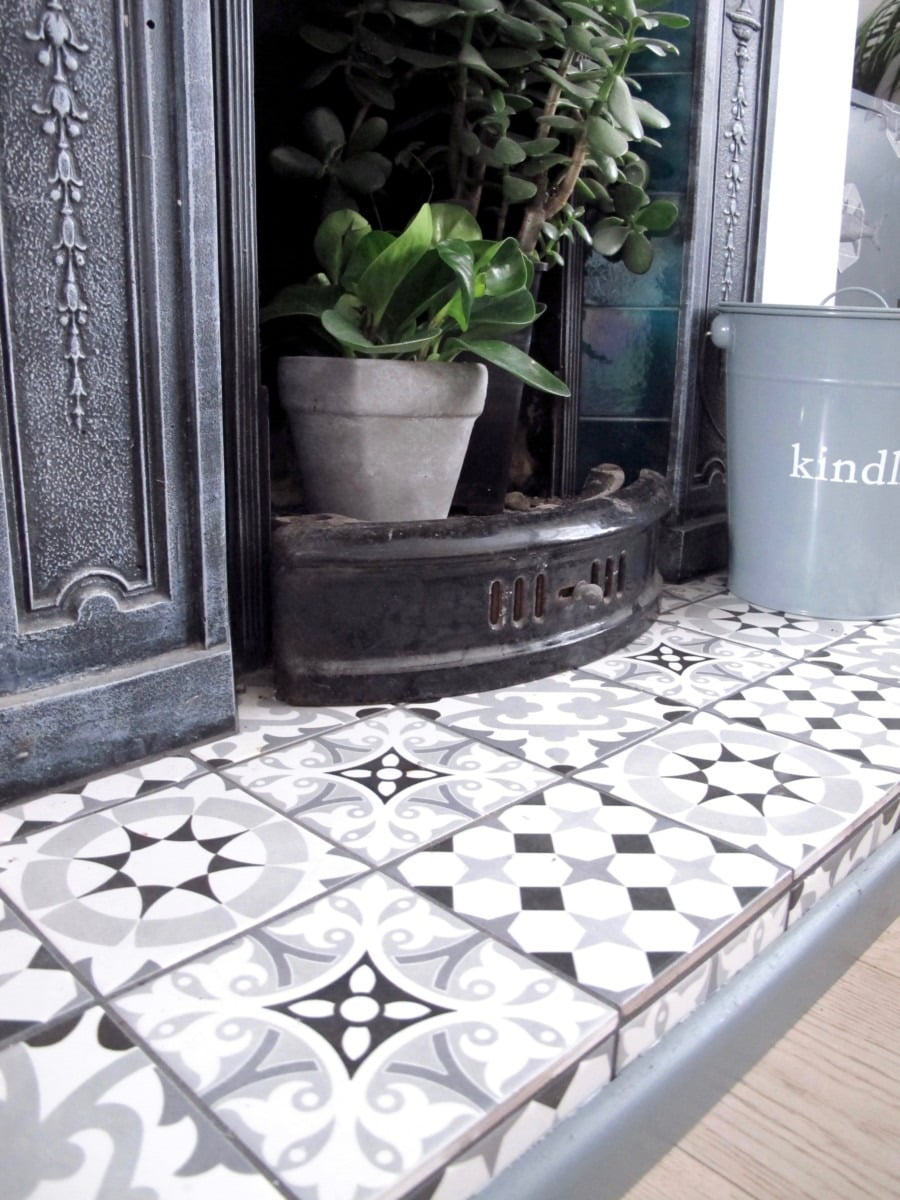
This post is inspired by a picture I posted to Facebook early this year. The snap was of my finished tiled hearth. This small detail made me feel differently about my home – bit proud, happy – giddy even. I finally had a home with a bit of personality. Inspired by this, I thought I would pick out 7 of my favourite finishing touches in my home. Welcome in.
1/ Putting in a fireplace
For about the first year of owning a home, my bedroom was perpetually a building site. It wasn’t the ‘retreat to escape to’ that interiors magazines bang on about. To top it all off in February, the roof leaked into my bedroom and I had to find 7K to repair the damage, damp course the walls and repair the sash window. This involved hacking off all the old plaster. The dust was utterly horrific.
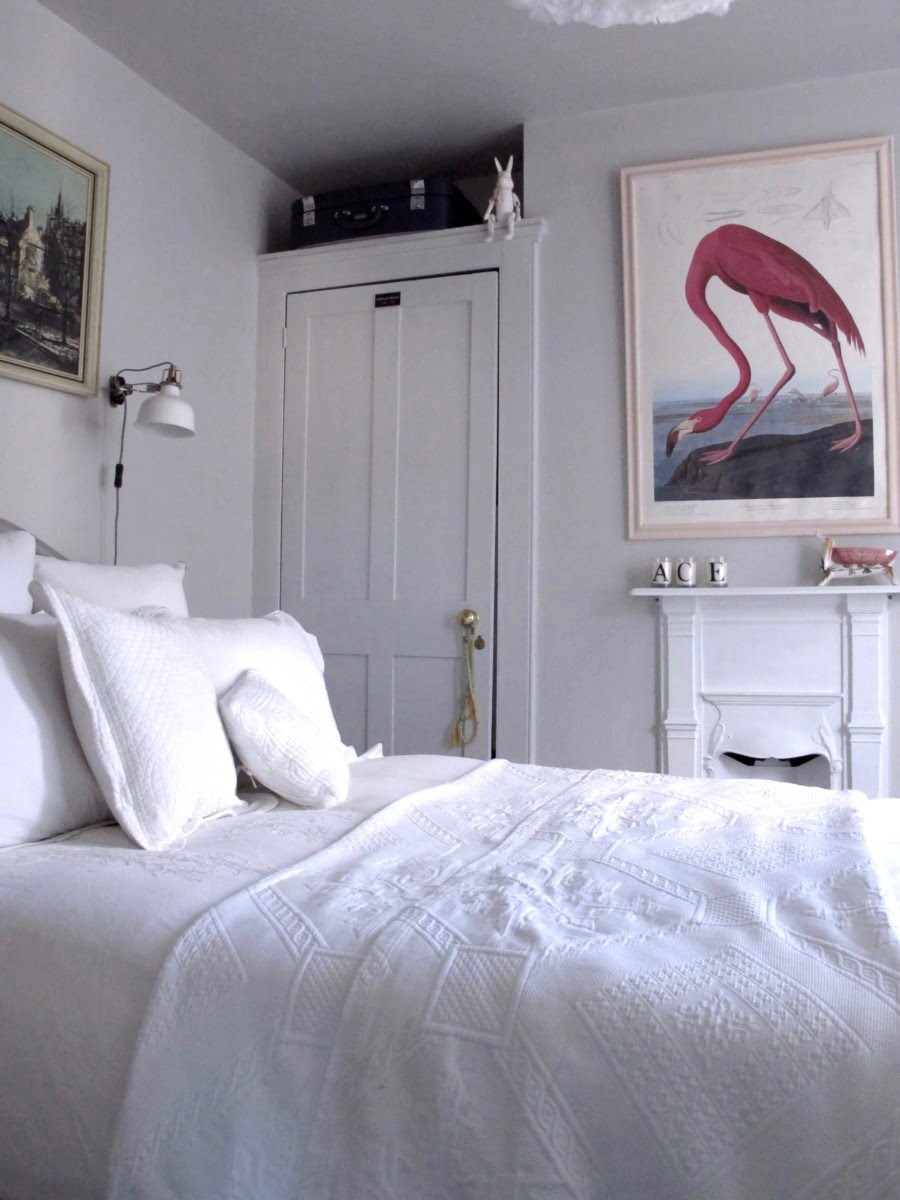
I had the brainwave to ask my plasterer if he would knock out the existing hearth in the chimney breast and fit an iron fireplace that I salvaged from my dining room renovations (you can see where it was originally over here).
I painted the fireplace same colour as my walls in a pale grey by Dulux. This new addition added period detail into my plain bedroom, creating a focal point in the room for me to hang my Flamingo print – and the mantle is fab for displaying my pretty bits too. It really gives this room a bit of style-oomph. And best bit, it cost me nothing (if you don’t count the £1000s spent worth of renovations).
If you are looking to make much bigger changes to your home, then it’s best to have a chat with local building experts to get advice. A building company like Watara Homes have a lots of experience renovating interiors and extending homes. They will be able to suggest how best to alter your home from a bathroom makeover to a kitchen extension.
2/ Hanging a stylish curtain pole
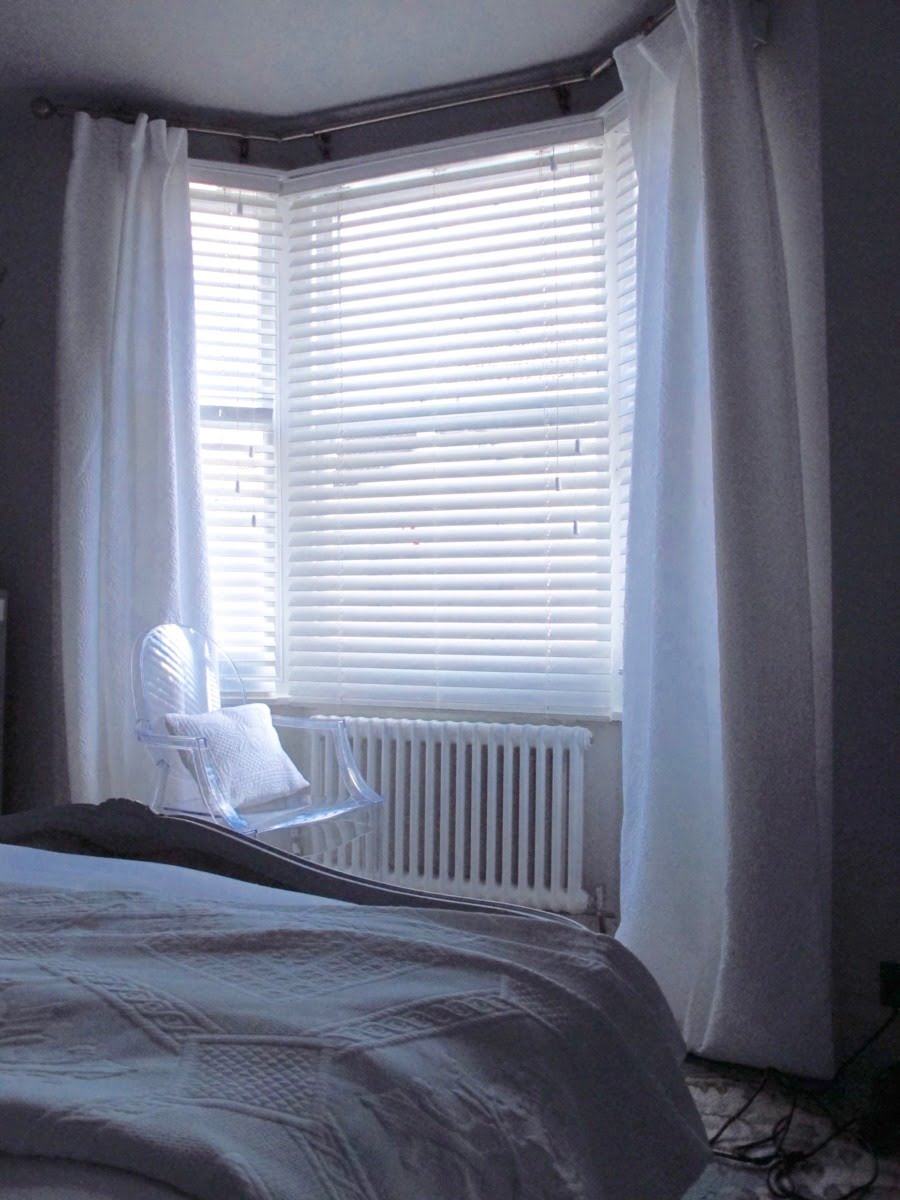
Before, my bay sash windows had an ugly plastic track. When I had my sash windows restored and painted (see above), I decided to up my window-game and dress them properly at last.
The white waffle Donna Karen curtains are one of my HomeSense finds for £30. Next came the Hillary’s white wooden slatted blinds that filter the lights into my room and give me a ton of privacy. They match the ones in my Living Room (see here) so that when you are looking at the front of the house from the street (take a look here) – everything matches (I know, screams OCD).
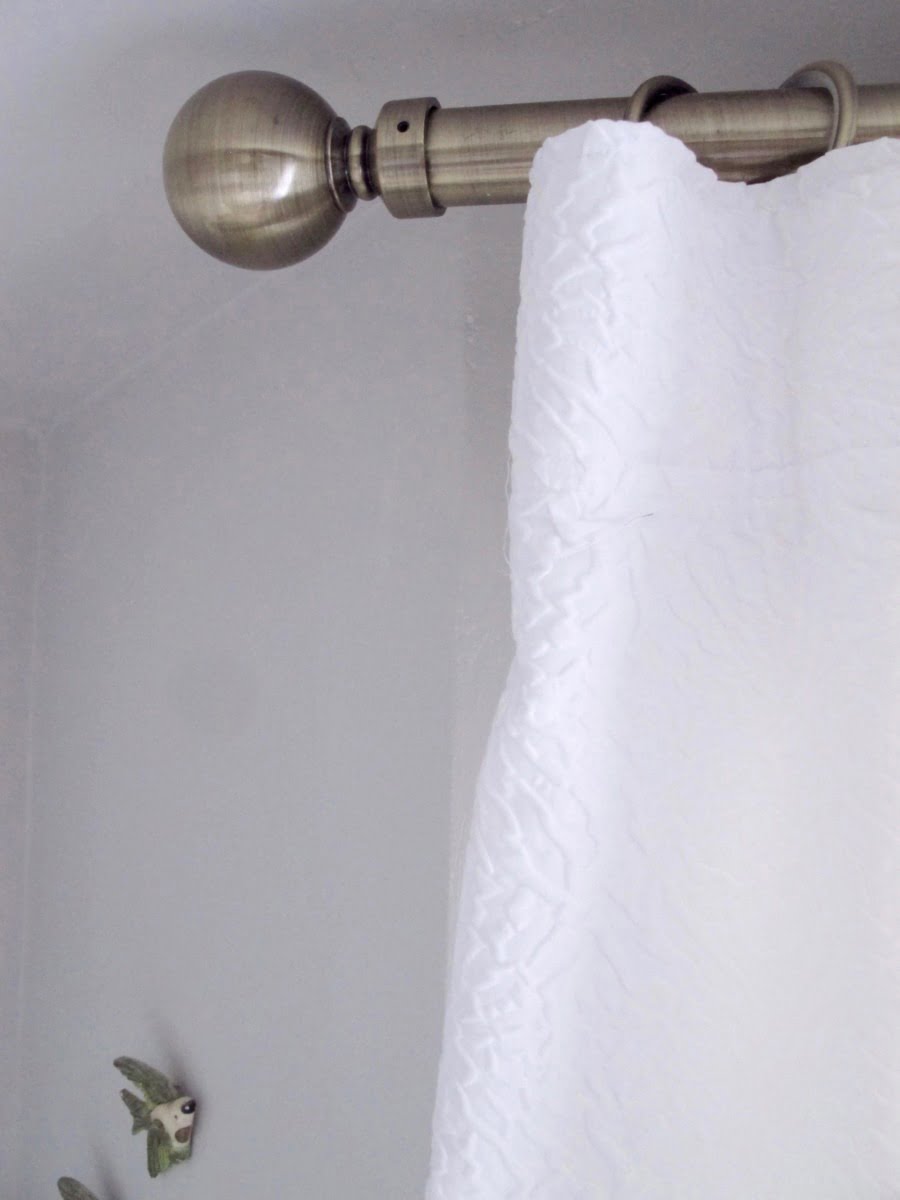
But what I really needed was a smart curtain pole to finish off the bay. After oodles of research I went for the Belgravia bay window kit from Swish in ‘antique gold’ finish – it’s more a brass/gold tone – to match my door knobs. This one fits the bend of my bay and has these clever rings that slide over the corner brackets. Bye bye plastic track! Hello sleek gold pole. All aorund £149.
3/ Install statement lighting
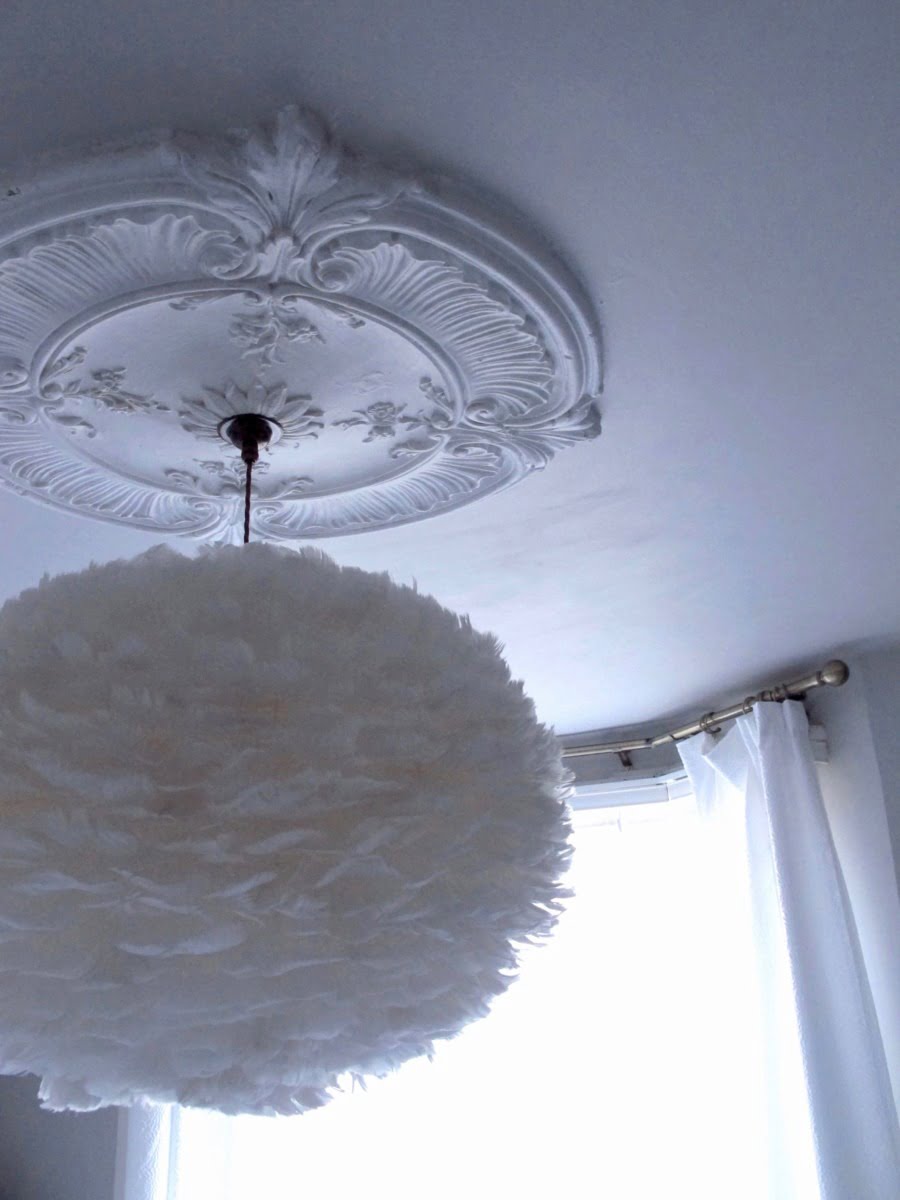
After I read this blog post by Karen from Making Spaces about the devil being in the details I’ve developed an allergic reaction to white plastic light fittings. After a bit of time on the wonder-web, I discovered lighting experts Watson & Watson who sell lighting kits with the old fashioned twisted flex, and they come in a range of colours like copper, black or more exciting shades like bright yellow.
Look how fab this flex looks when teamed with this breathtaking feather light shade. It’s big and bold for sure – but not only that, this lighting feature really says something about me and my home – if you know what I mean?
The plaster rose deserves a whole post to itself there is such a story behind it. But for now, lets just admire it. For more statement lighting ideas, you’ll want to see this post here.
Oh – and look how that pole and flex work together! Mmmmmwah!
4/ Radical Radiators
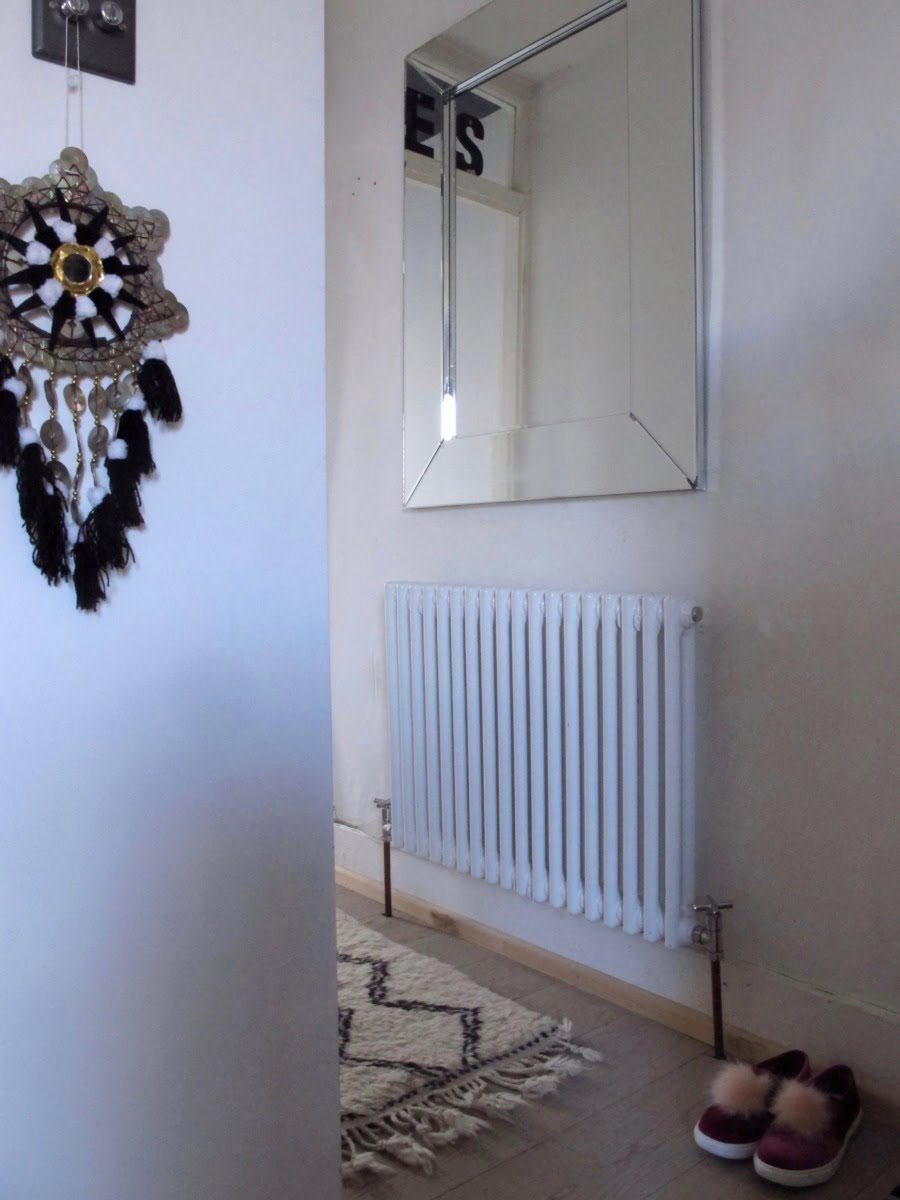
One of the first big renovations I did on moving in was tackle my central heating having a complete overhaul and ripping out my ugly 1970s radiators. I spent hours finding these retro inspired ones that would still pump out a ton of heat (I hate being cold) but still look stylish. There is actually lot of great radiator designs out there! I picked Vogue’s white ‘Mode’ radiators as I wanted them to stand out in my room while at the same time blend in – do ya’ get me?
5/ Switching switches
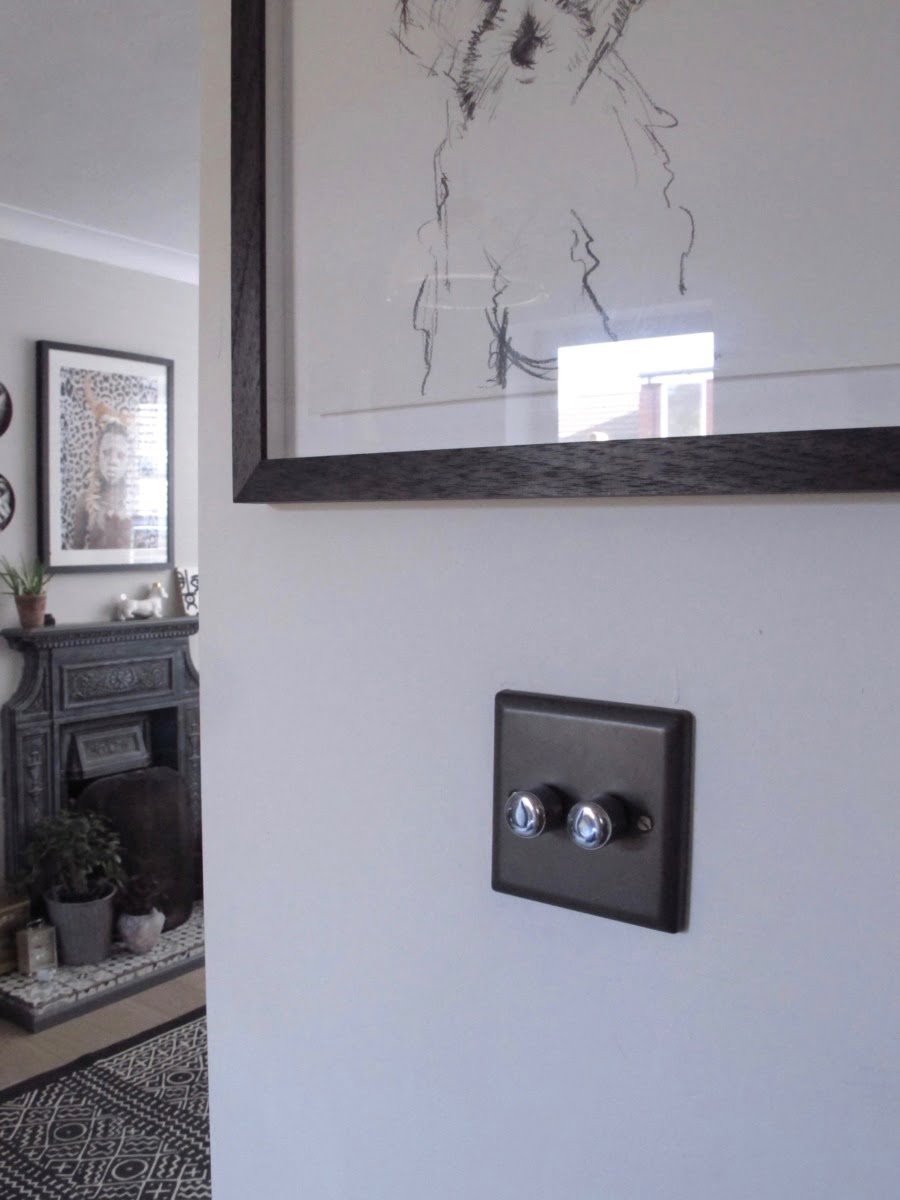
Replacing all my white plastic switches and plug sockets for grey metal ones seemed like a crazy, expensive splurge at the time. I must have spent about £200 buying on sockets and switches.
Now, I look back on this expense as an essential outlay. I have toggle switches, dimmer switches, plugs with USB sockets in the kitchen and neat ports for my tv sockets in the living room. There are 100s of designs out there, I have since found out – doh! I got mine from a local electric supplier but I wish I had seen this range by Dowsing & Reynolds. I love the copper style.
6/ Put down decent flooring
My original plan had always been to sand back my Victorian floorboards and then oil them with a white stain to reveal the wood – you can see the ‘before’ orange boards in my dining room over here. When the professional sanding team turned up to tackle them, they advised against it as my floorboards were so threadbare they would become paper thin if sanded. At the time this was a huge ‘ARRRGGGHHHHHH!’ moment. I had to find a back up plan – and quick. Without crying.
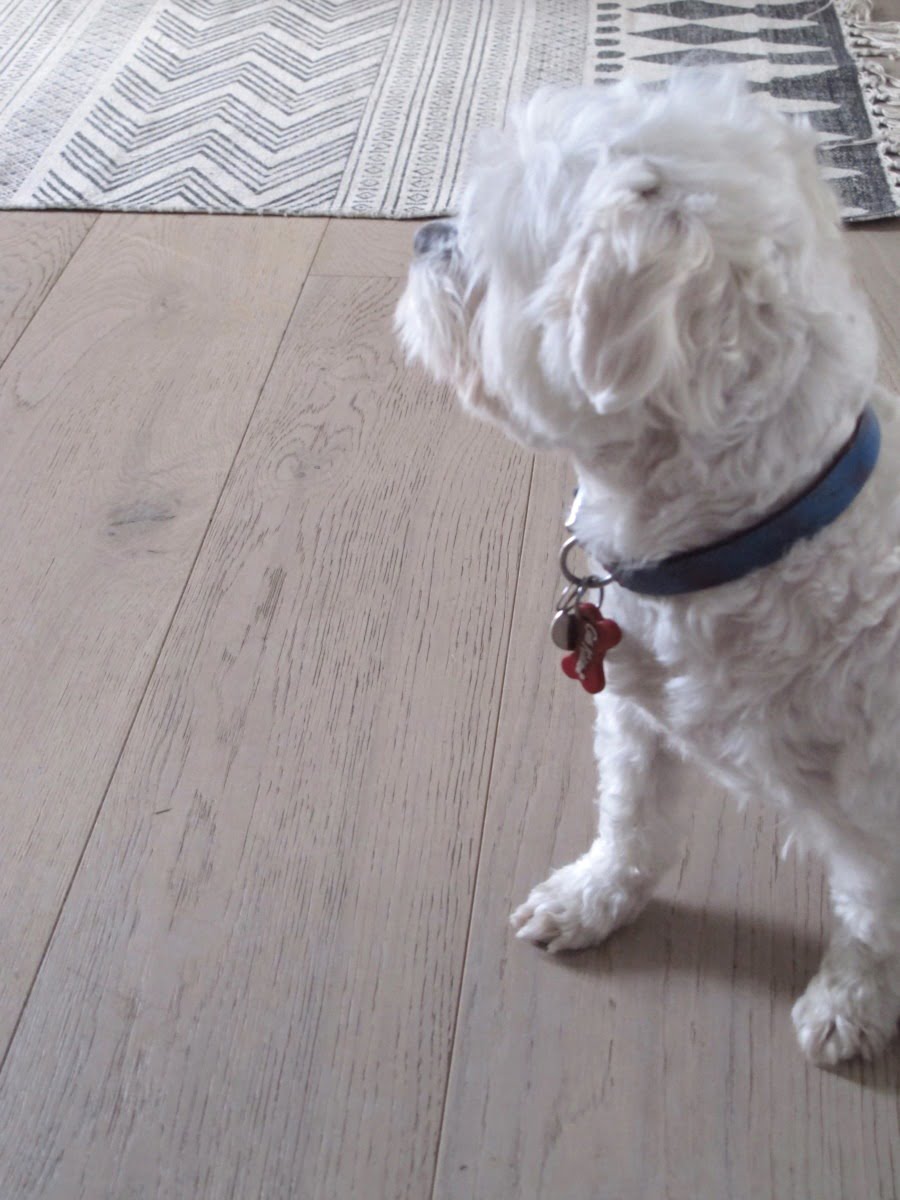
This actually worked in my favour as now I was free to choose any flooring I wanted to put down – in any colour and finish – the world opened up to me. I went for these extra wide engineered floorboards by UK Flooring Direct called Galleria European Oak. They are more hardwearing than my original soft pine ones which showed every stiletto print (not that I wear stilettos).
New flooring cost around £1500 plus fitting – about £2000 in total. Absolutely worth every penny. Sanding back and oiling my original floorboards was going to be £1400. These looks so much better than my sad old orangey pine ones.
Don’t forget to finish off your beautiful flooring with skirting. There are so many styles to pick from. I’ve gone for ornate ones that suit the style and age of my home but you could go for modern style ones, or ones from the Art Deco period depending on the overall look you want for your room. The Skirting Board Shop have 100s to choose from and you can order on-line too making them an easy way to finish off your home.
7/ Choosing Wow Tiling
I think it is fair to say that I’m rather obsessed by patterned tiles – erm..it was even covered in a post over here. I’ve tiled my kitchen, my bathroom, and of course my renovated hearth. Before the hearth was made up of these super ugly black shiny tiles that were just vile and blocky. My builder smashed them up – YAY – and extended the hearth out a bit more, and then I tiled them with these beautiful tiles from British Ceramic Tiles called ‘Parian’ which go with my monochrome vibe.
What are your favourite finishing touches in your home?
When you are up to your eyes in building works – ticking a few of these finishing touches off your list does help. They made me realise how far I’d come along in my house renovation journey. Love to hear what made your house feel like a home to you? Was it hanging a piece of art, putting up a shelf or painting a feature wall?
I know I keep banging on about this – but I don’t want you to miss out on a single post – so make sure you sign up to my weekly newsletter by clicking the link below – and give this post a little pin too.
** This is a collaborative post. All thoughts and photos are mine.

Hi Maxine, thanks for sharing this post.
It’s great for me to check out for inspiration when I’m doing DIY as I’m not the most creative guy in the world 🙂 … I am skilled but not as creative as I would like!
To answer your question, in my renovation process at my place, what made me feel that I really need to do and tick off the list was a stone wall in the living room. I reall wanted to have that wall covered with stone imitation tiles 🙂 that made me very happy as it gave to the living room the look that I was looking!
Great post !
I’m so pleased you enjoyed the post. Your home sounds like a great project. Keep going!