Hey – it’s a long time since I’ve put up a simple project on the blog. It’s all been about the big projects – kitchens, bathrooms and my staircase. I wanted to share a simple project that I did last year, that even the most DIY-shy can do.
And the best bit? It takes MOMENTS to do.
It’s an easy way to give an ordinary piece of furniture in your home a modern designer edge. Let’s get going.


Step-by-Step
You need a paint brush, masking tape, a can of chalk paint, oh and a table.
Step 1: My table was given to me for a styling project with Wayfair for their Pantone challenge which I did last year on the blog on my bedroom. You can see what the table looked like before here.
It’s a nice table but it didn’t slot into my home. I was going to shove it in the attic then I have a bit of a DIY brain wave – why not vamp it up to look like a fancy designer table? This Bloomingville one is lovely but it’s an eye watering £107. I don’t know about you but sadly I can’t afford that right now.

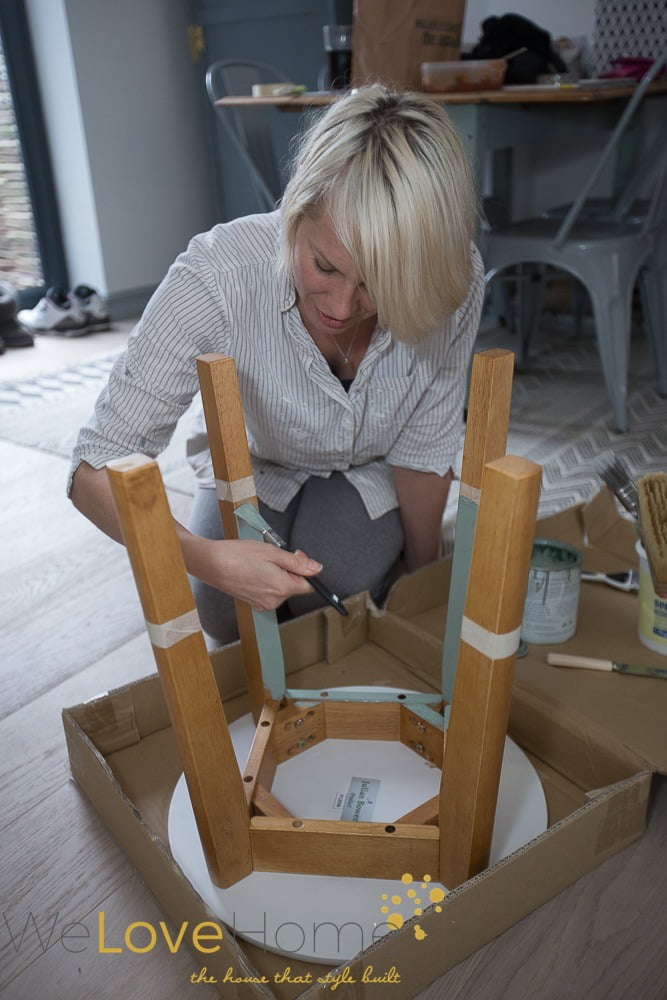
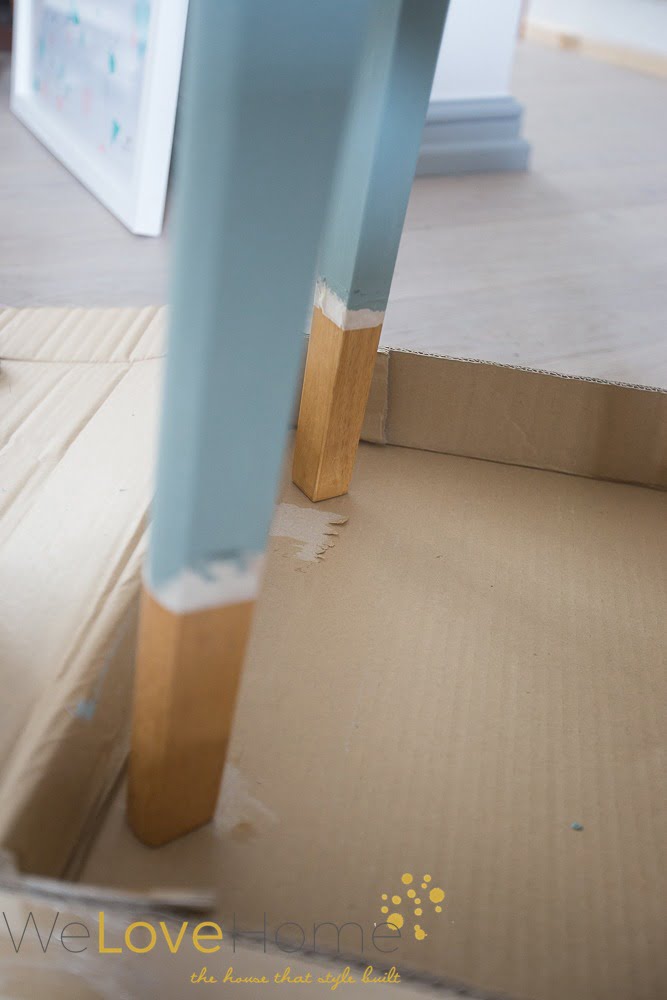
Step 2: The tricky part for me was getting the masking tape all neat and straight. I measured about 25cm up the leg with tape. As the legs are tapered it’s tricky to get the line perfect.
Why Chalk Paint?
I recommend chalk paint as it I’m officially the biggest fan. Annie Sloane is my paint of choice – it goes on easy, dries quickly and has a soft textured finish. I used duck egg blue – I had a left over can from doing my dining table (see it behind me in the background). I think you could get away with 100ml which is £6.45 to do a small project.
Now what no-one tells you about Chalk paint is that you don’t have to prep the surface you are painting. This table had a waxed finish on the wood which with other paints would bubble – not with chalk paint, it just glides on. See why I’m a fan? It’s that simple. You don’t get the smooth finish off gloss or satin but you do get a rustic look. 
Put something down to protect your floors – like the packaging it came in!
Step three: Turn the table upside down and around to make sure that you get very single bit covered. Then leave to dry for about…. twenty mins. Yes, it is THAT quick. You can use a wax to protect the paint but as I’m on a budget, I didn’t bother.

You only get one chance with chalk paint, you can’t go over it and over it as it tend to thicken. My trick – I dip my brush in a bit of water before dunking it in the pot to thin the paint a tiny bit, especially if the paint is old. And if you get any drips, just brush them lightly with your wet paint brush to smooth them out. 
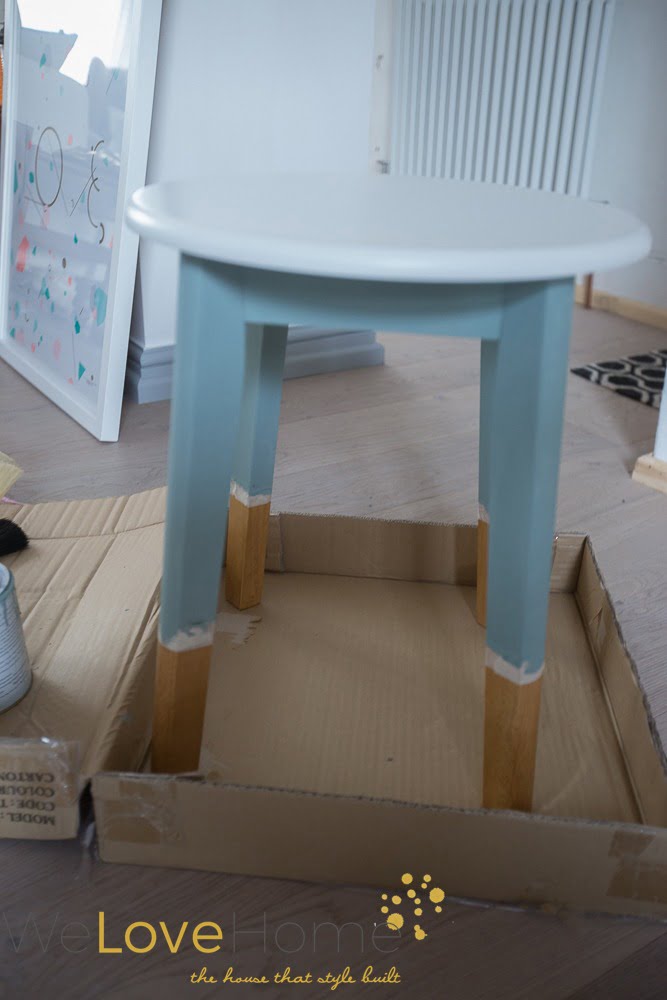
Step Four: Carefully remove the tape – and VOLIA, there you have it a dull old table has been given a modern facelift in about half an hour.

After this project, I was itching to paint everything in my home (well in fact I have – wait for my wardrobe and guest bedroom makeovers to appear on the blog).
I’d love to know what you think? And don’t forget to pin this post to save to read for later 🙂
Here is my link to subscribe to the blog
