I’m a have-a-go-hero when it comes to DIY. But I don’t always get it right (I’ve lots wonky things up in my home). When my beautiful but heavy bedroom mirror arrived, I learned how to hang it properly – and safely. All you need is a couple of power tools and a pen and paper.
If you’re looking to hang a heavily mirror like a full length mirror, round wall mirrors, or above the basin bathroom mirrors, then this is the post for you.
How to Hang A Heavy Mirror DIY
DISCOVER MORE ABOUT MAXINE:
Maxine Brady is an award winning interior stylist in London. Based in Brighton, she has 25 years experience styling homes and interiors for magazines, brands and TV shows across London, the UK and internationally. Contact Maxine Brady for your next interior styling project. View My Latest Styling Projects & my professional interior styling Portfolio Follow Maxine Brady Styling on Instagram 53K followers and Tiktok Listen to Maxine’s Interior s Podcast: How to Home

Last week, I took delivery of my very glam beaded gold mirror. I found it on Decorative Mirrors Online and it was love at first sight. The mirror is a beast, weighing 27kg.
I wanted to learn how to hang a heavy mirror like this one, rather than lean it against the wall. It was my job to make sure it was properly fixed as imagine if it fell off the wall! Not only would that be so dangerous but even worse it could smash. I was really worried about the best way to hang a heavy mirror so I asked my DIY handyman for his pro tips which I am going to share with you today.
What you need to hang a heavy mirror
> Decent tape measure. I like a metal one as it stays stiff so it’s easier to line up
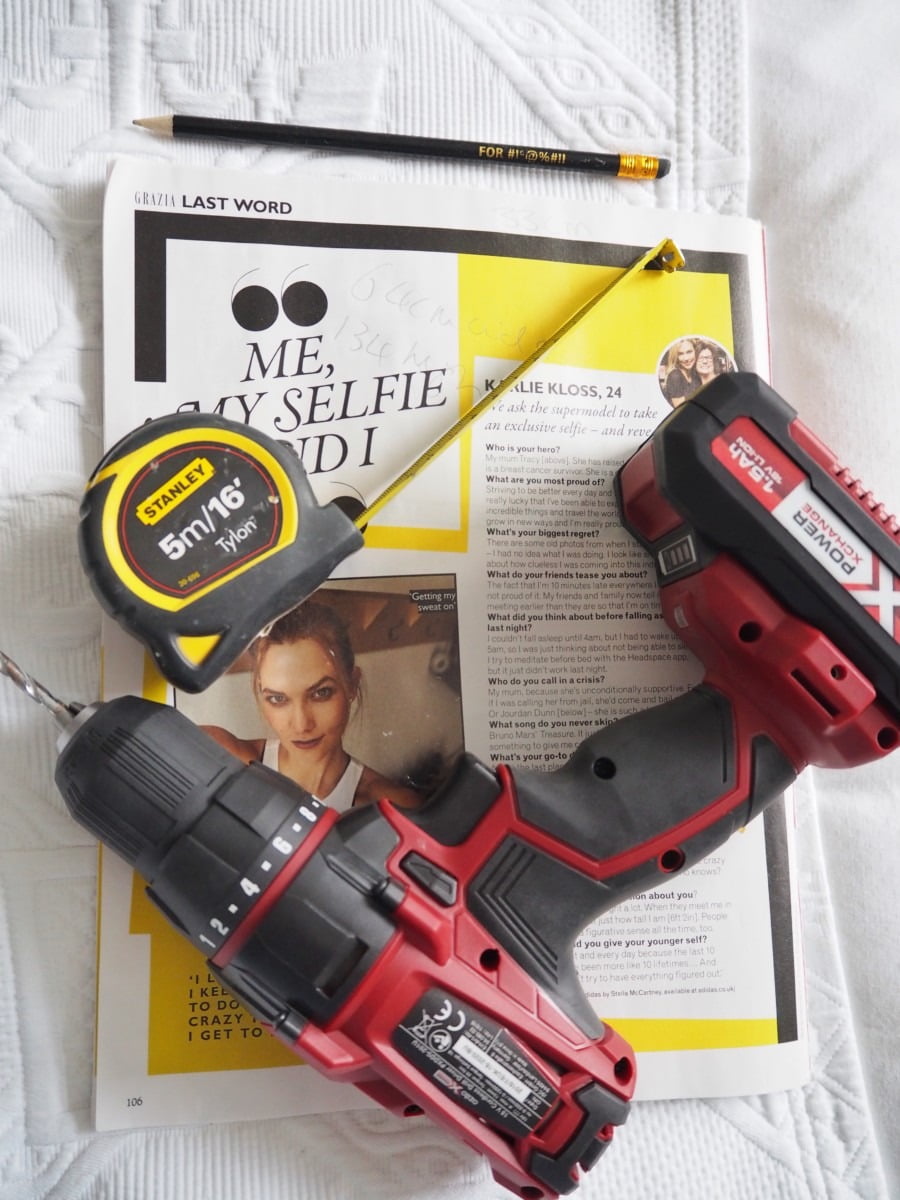
> Pencil (and Grazia magazine for scribbling down your measurements )
> Decent drill + Screw Driver I’m using my new Power Z Change Drill Kit by Ozito (it comes with it’s own handbag!)
> Masonry drill bits like these
> 2 x masonry screws and 2 x wall plugs
> Hammer
How to Hang A Heavy Mirror DIY: IN 5 Easy Steps
Step 1: Measuring
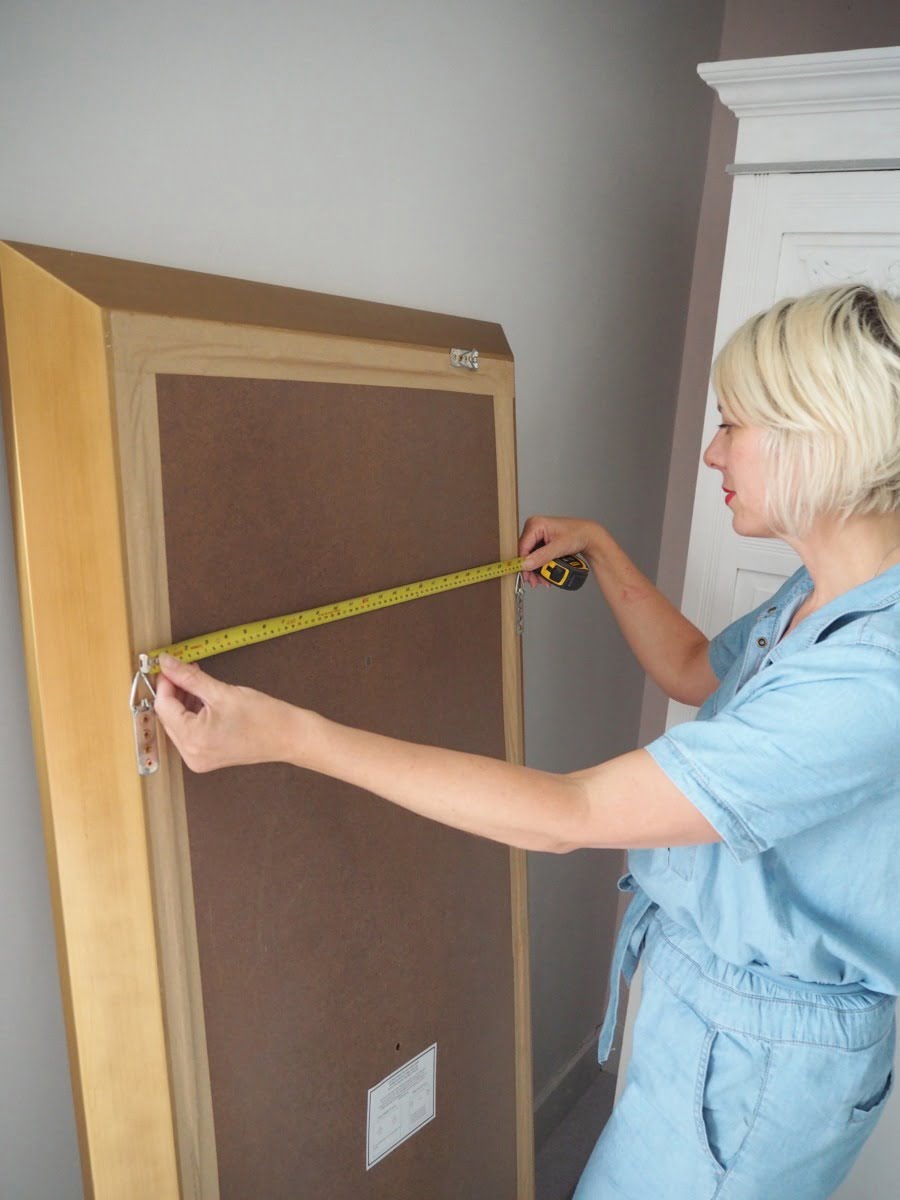
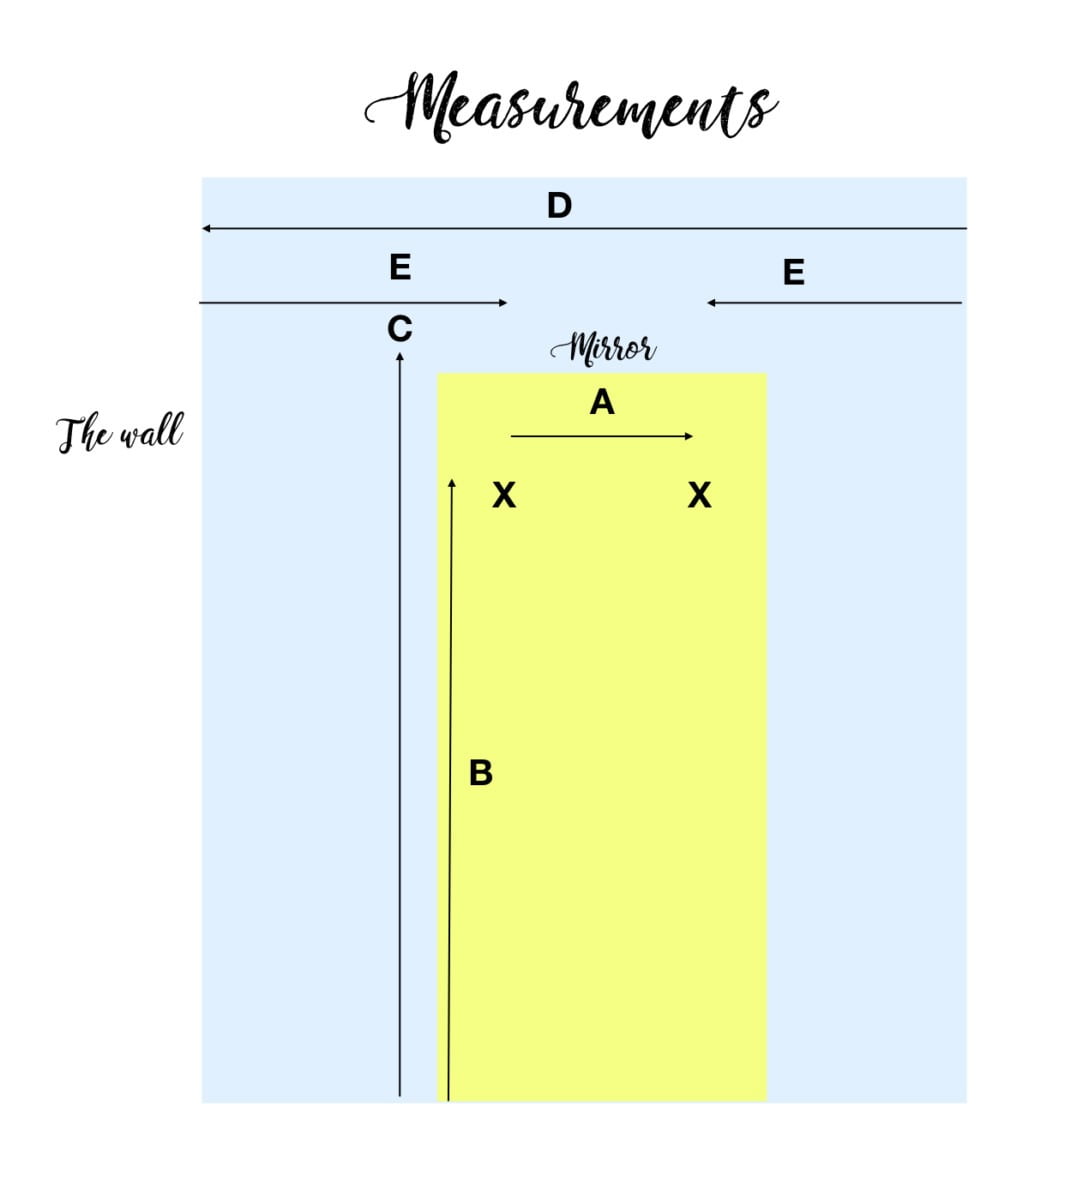
- Measure across the two brackets.
- Then measure straight from the bottom of the mirror frame to the top of a bracket.
- Measure how high you want your mirror. From the top of the mirror to where you want it on the wall (in my case 33cm off the floor)
- Measure the width of the wall that you want the mirror to hang from (in this case I measured from the edge of the wall to the edge of my wardrobe.
Here comes the maths
B + C = F
F = This will give you the height the mirror needs to be on the wall.
D – A (then divide by 2) = E
E = Where the bracket needs to be to make the mirror central to the wall.
Stick with me!
Using a tape measure and a level measure…
Horizontal = E from the outside of the wall inwards on both sides
Vertical = F (from the bottom up)
Where these two measurements meet, is where you need to drill your holes for the screws.
How you doing?
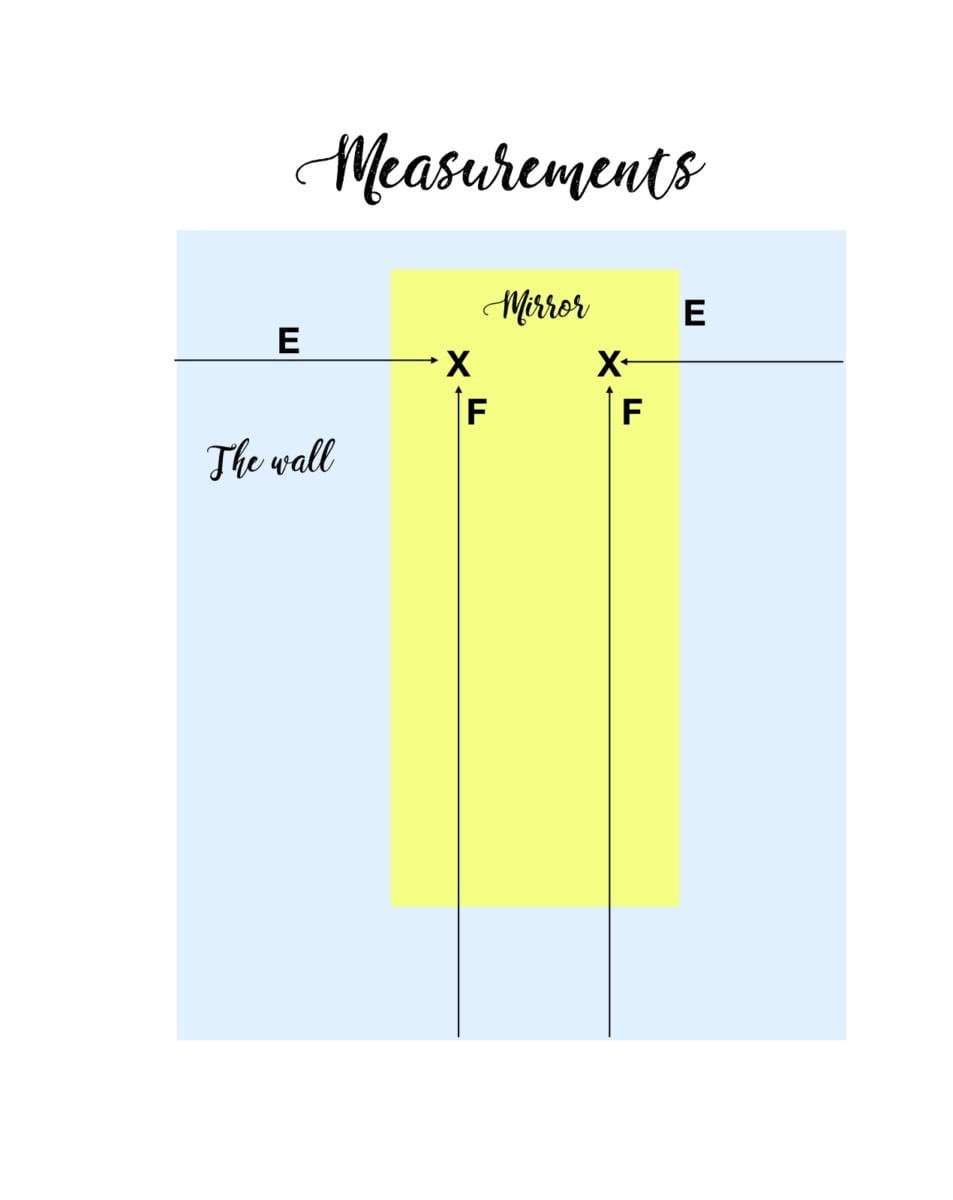
You should have two X marks the spots on your wall. And hopefully not a ton of pencil lines everywhere.
Step 3
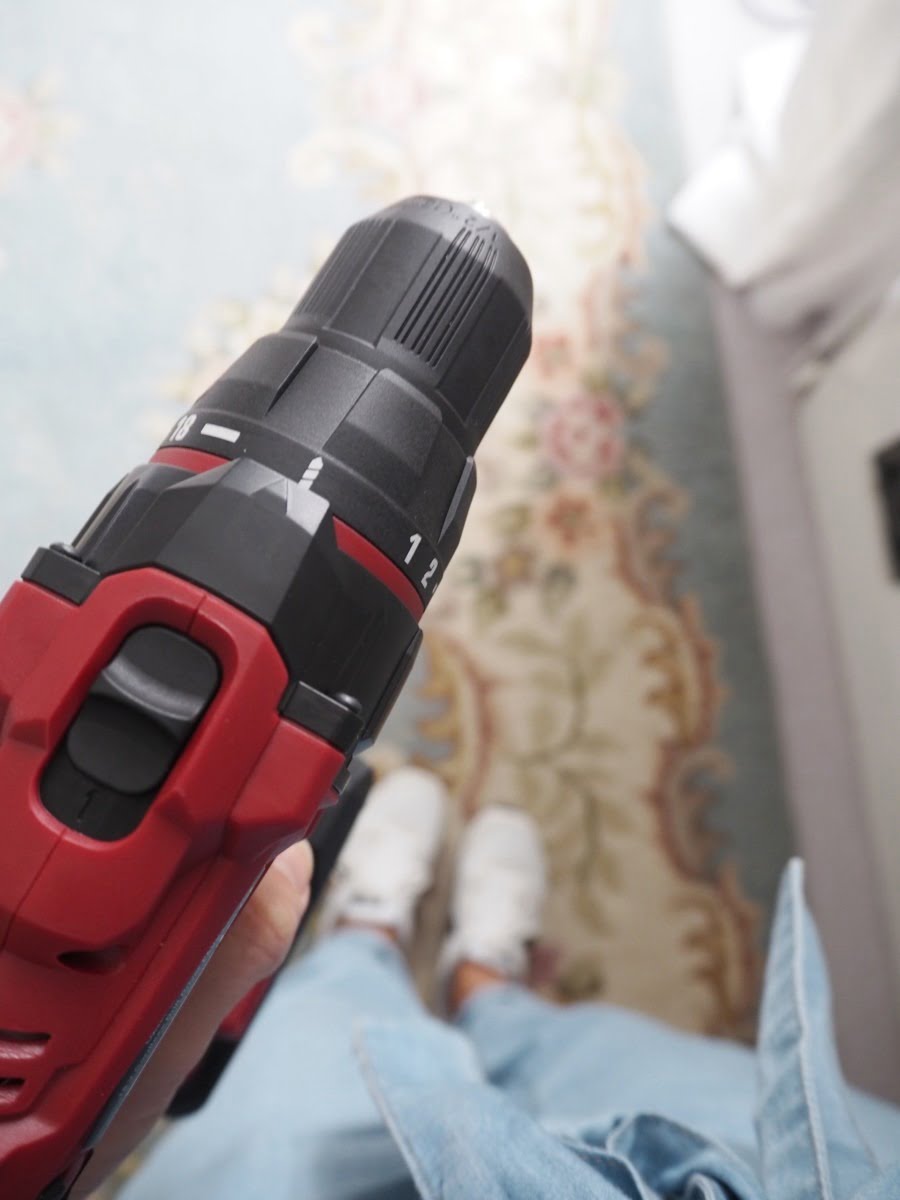
Make sure you choose a screw that is long enough to take the weight. I choose a 70mm long screw which was 7mm wide across the head. You will need a matching wall plug (70mm wide and a 70mm) and then a 5mm and a 7mm masonry drill bit.
Put the drill on the hammer setting. Insert the 5mm bit and drill a hole that is 70mm long (you can see measure this by how far the drill bit is in the wall).
***Be careful the drill bit can get very hot after use***
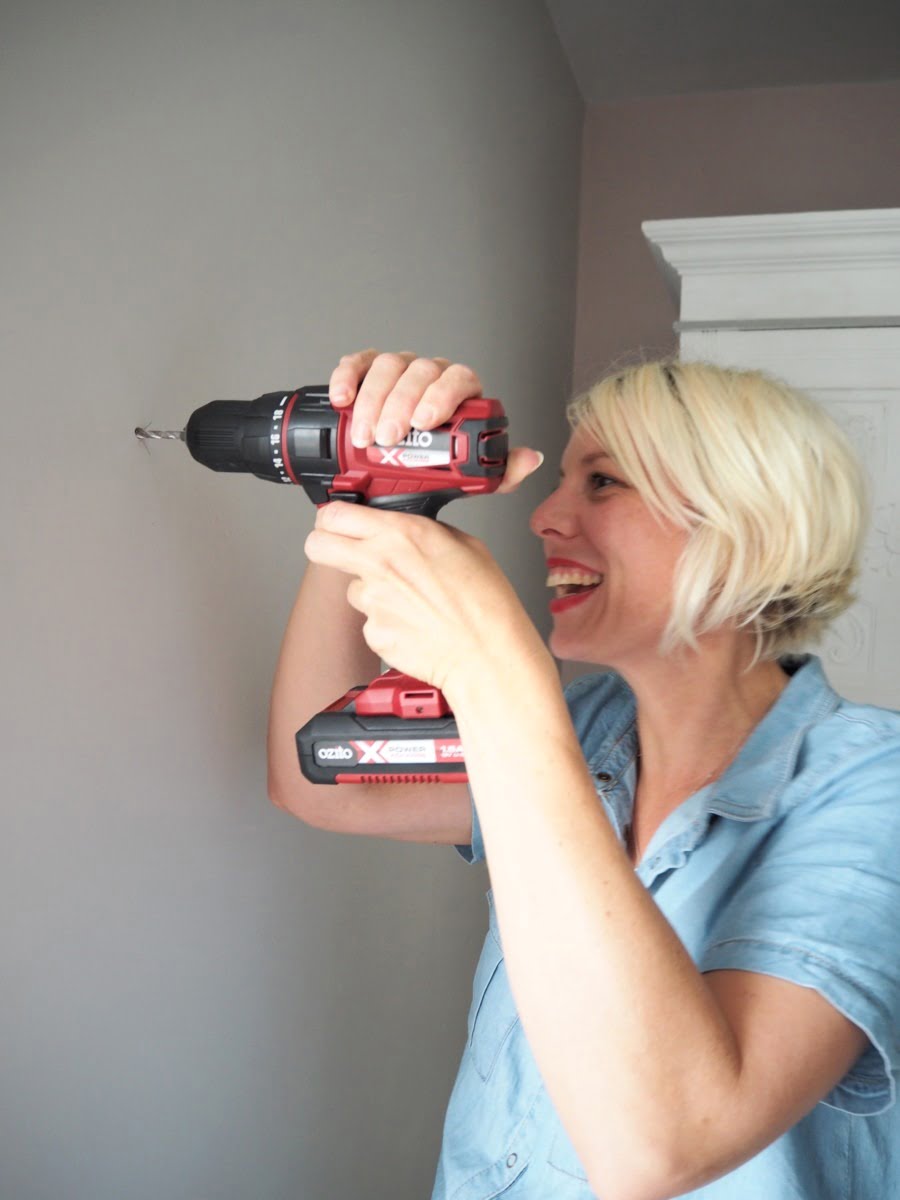
I drilled a smaller hole first. This is because the drill can wobble about (if you are weak wristed like me) and will make a hole bigger than you need. Making an ‘investigative’ hole first prevents this from happening.
Next, drill swap over the bit and drill with the larger one to drill your perfect hole.
Step 4
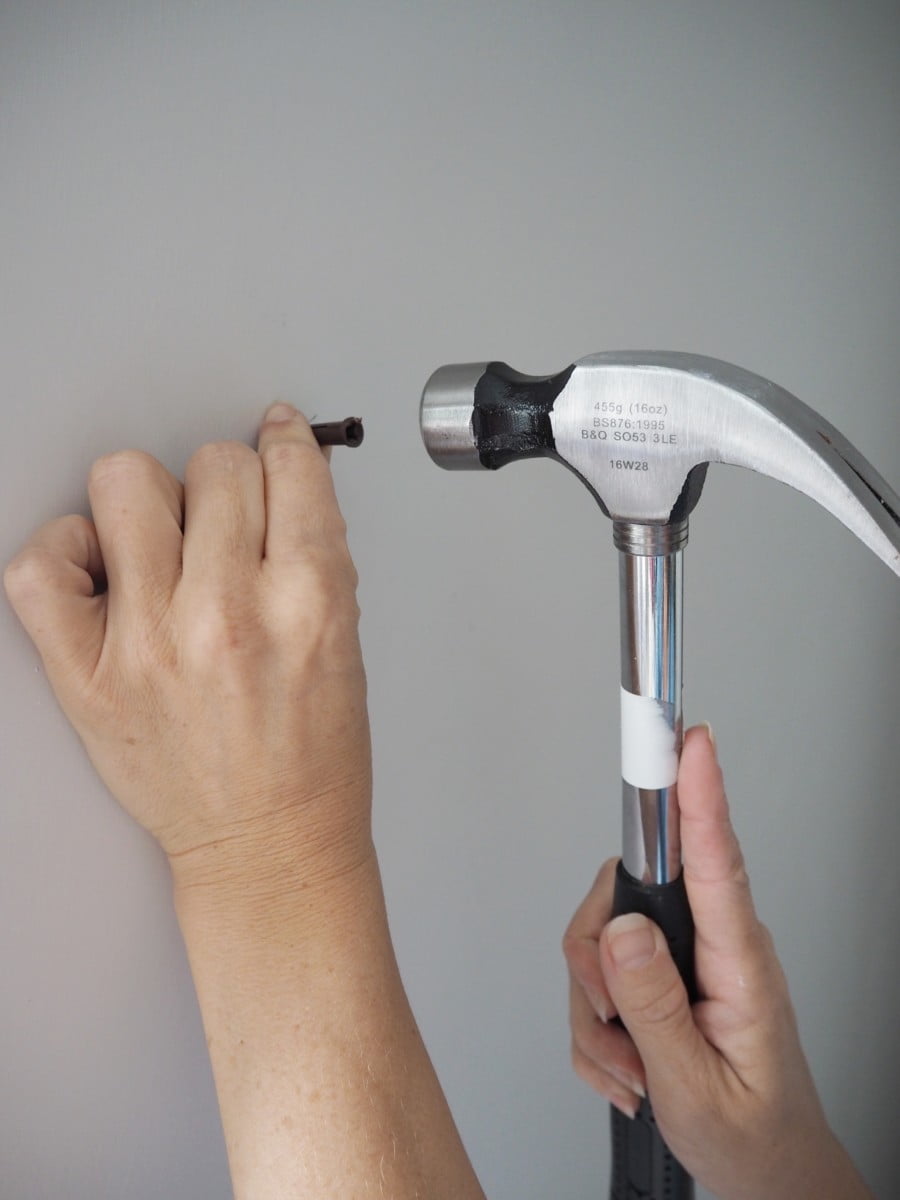
Push the plug into the hole, then gently tap it in with a hammer to make it flush with the wall. Next using an electric screwdriver, screw your screw in. Do this both sides.
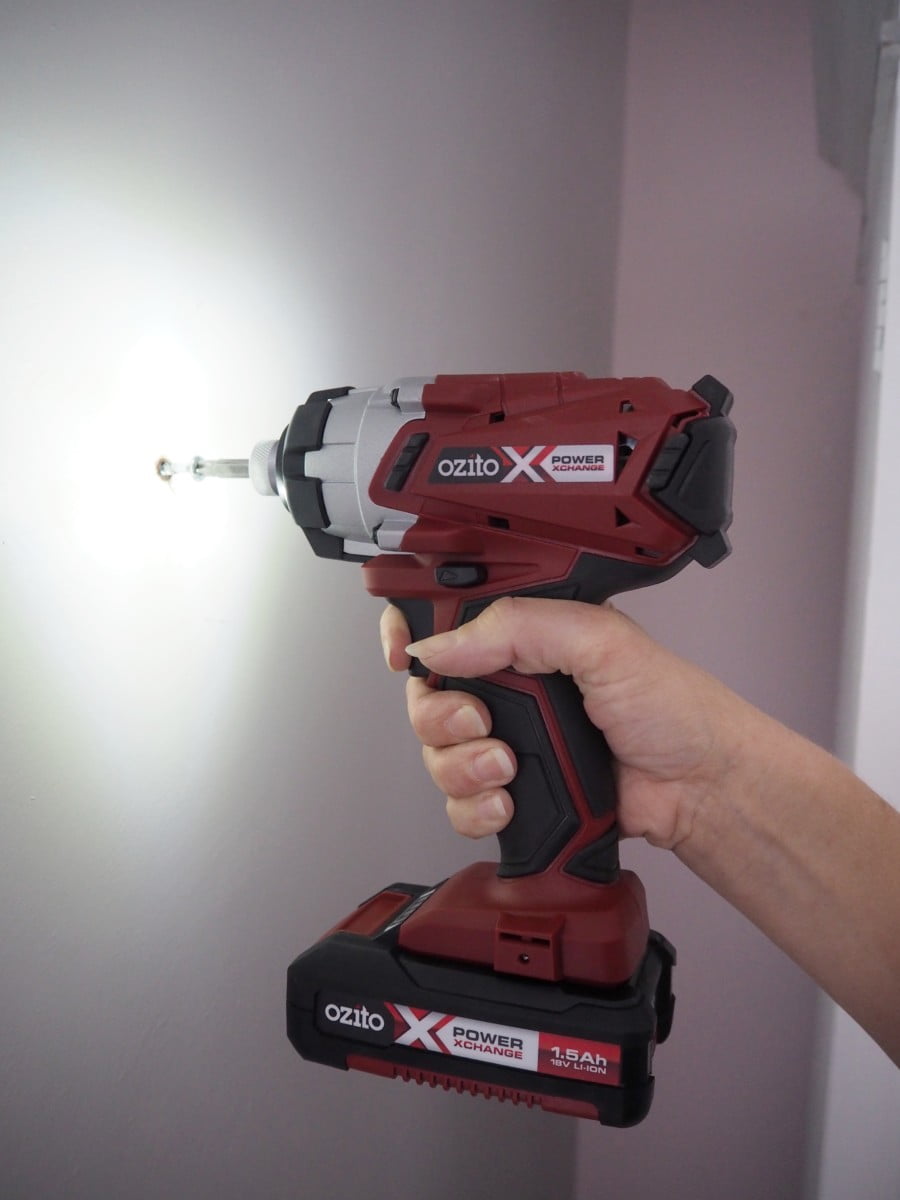
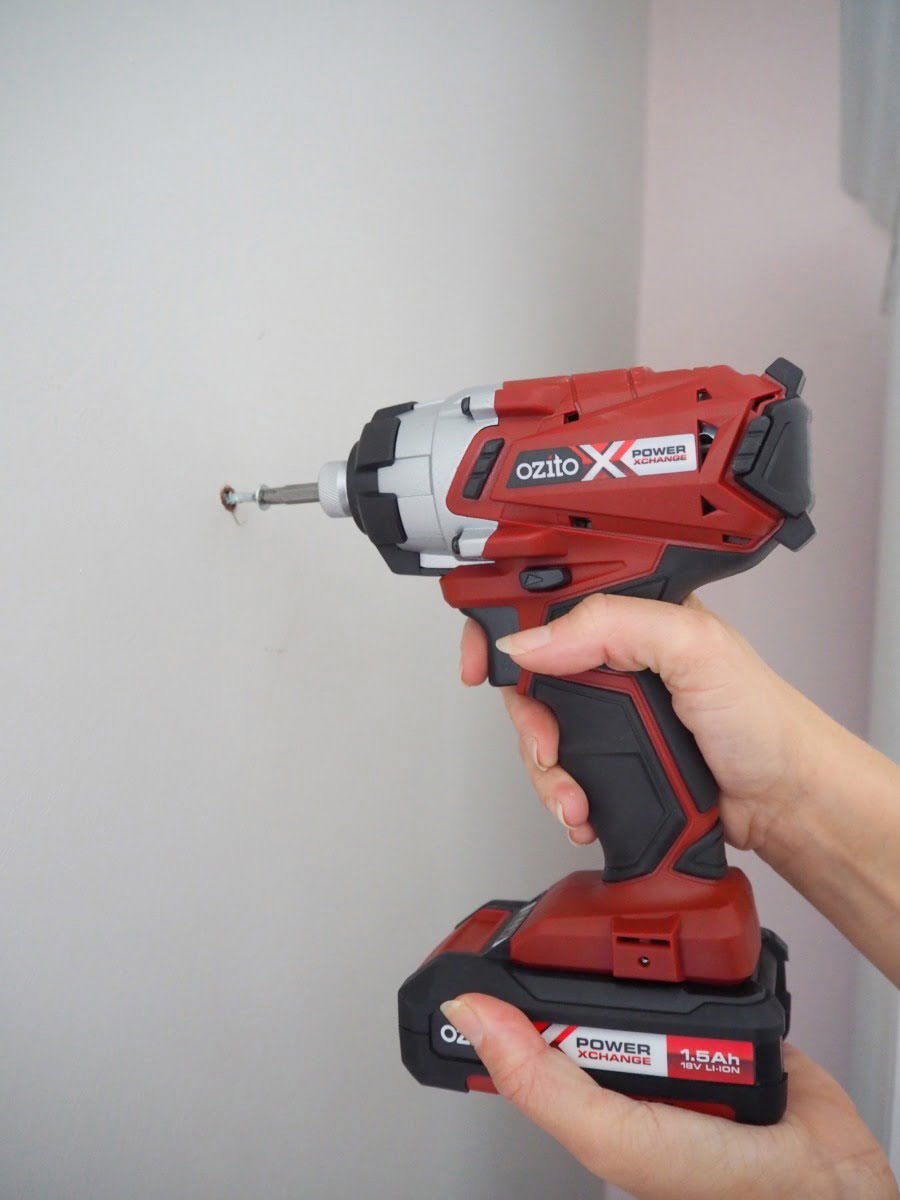
Step 5
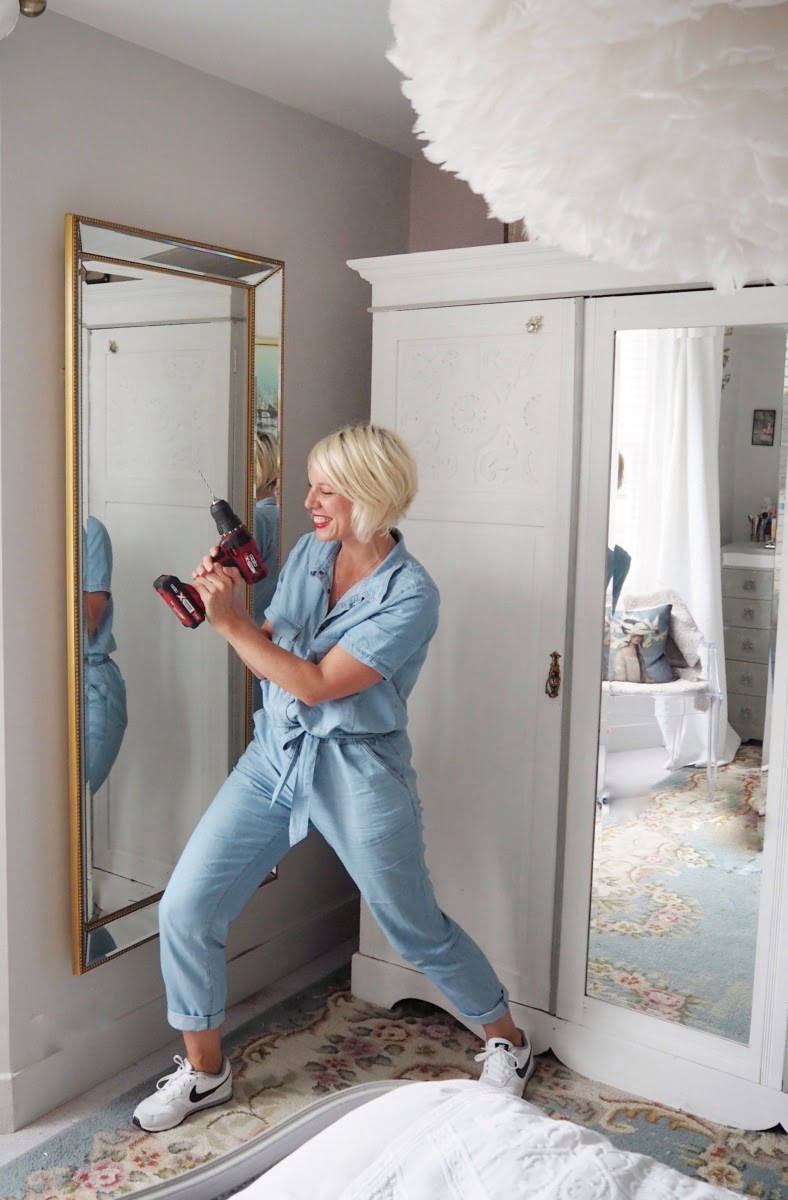
Hang your heavy mirror. BOOM!
If you can get your head around the maths, there’s nothing stopping you from fixing everything you own to the walls.
Hope you have found this helpful. In the meantime, here is me doing my best Charlie’s Angels impression in my jumpsuit – complete with power tool in hand.
I find jotting things down makes any task easier, when I was a student and writing essays (for students, using the top essay writing services for quality papers can feel like having the right set of tools before starting a big project.)
What to you think of this post in How to Hang A Heavy Mirror?
Oh and don’t worry, I’m going to blog about that amazing mirror very shortly. I love it.
Have a great day.
** Disclaimer. I was gifted some of the products for review. All photos and opinions are my own.
POPULAR POSTS:
How to Style Your Home Like TV’s Selling Sunset: 4 Easy Steps
11 Chic Rooms Will Make You Want To Decorate With Wallpaper Right Now
10 Expert tips to Get Pattern Right At Home
Bedroom Decorating Guide: Everything You Need To Know Right Now
Explore More:
Contact Maxine Brady for your next interior styling project.
View My Latest Styling Projects & my professional interior styling Portfolio
Follow Maxine Brady Styling on Instagram 53K followers and Tiktok
Listen to Maxine’s Interior s Podcast: How to Home

Great tutorial Maxine, and fabulous photos too! Love it.
Thanks. So pleased you like it.
Inspiration for the weekend. Great job!
I can see you rocking a drill!
Love it! Thanks for easy to understand instructions, and you look fab!
Thank you
Ooh this is handy, especially the diagrams. I always have issues hanging things, but if you’ve got the right tools! x
I think that is key – the right tools make the job so much easier.
Love this!! I’m the ‘hanger upper’ here at home so have a method for hanging things properly myself but I might have to try your method (and get myself a fetching jumpsuit as well – any excuse) 😉 xx
I could so see you in a sequin or animal print one!
I’m never happier then when I have a hammer or screwdriver in my hand. Love it when a plan comes together!!!
This blog is awesome containing ultimate designs for your home.
You really working on it!!! Unbelievable.. thanks for sharing your blog.