It’s living room makeover time! I have waited so long to do this post. Over a year in fact. I didn’t feel very confident revealing my living room makeover on the blog until I was 100 per cent happy with it. Then last week, I bought a few new bits and bobs for my room – and suddenly, it felt like me.
 Check Out My Living Room Makeover Packed with Easy styling ideas
I had been working on my ideas for this makeover since forever (if you follow my blog you would have seen my ideas for the space in this post).
Let me give you the grand tour.
First Here’s My Living room before The makeover
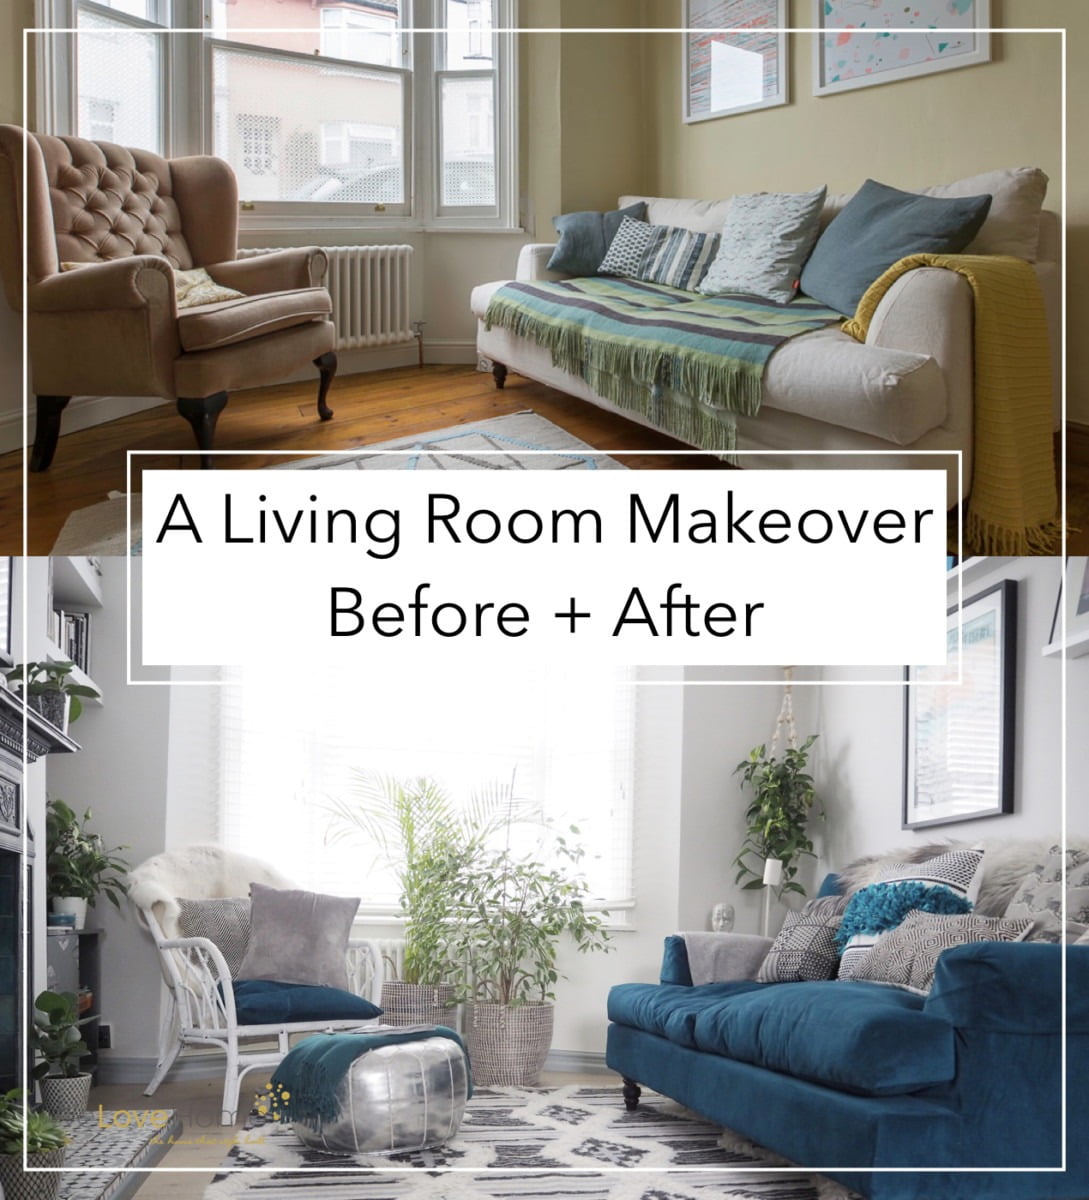
This was not long after I moved into my place in March 2015. It’s not great but I did the best I could with what I could afford. My savings for the house was earmarked for building works so my living room decor was not really a priority, sadly.
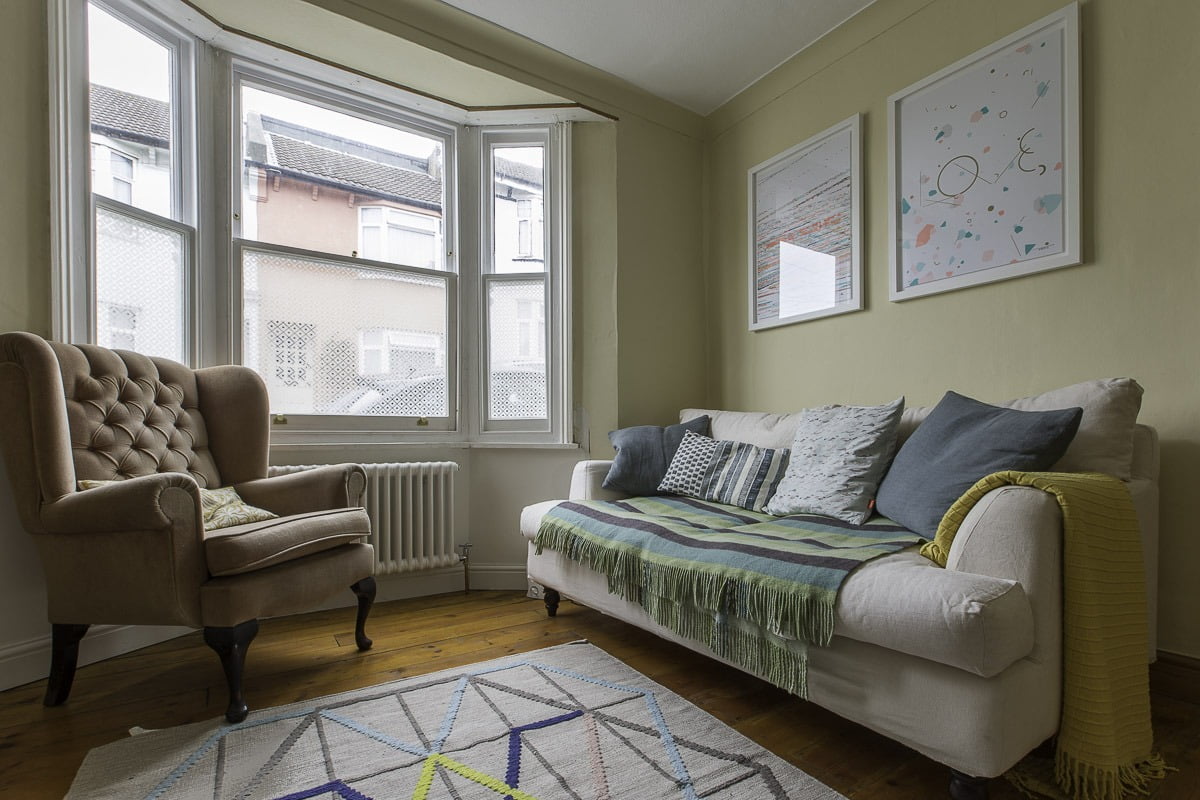

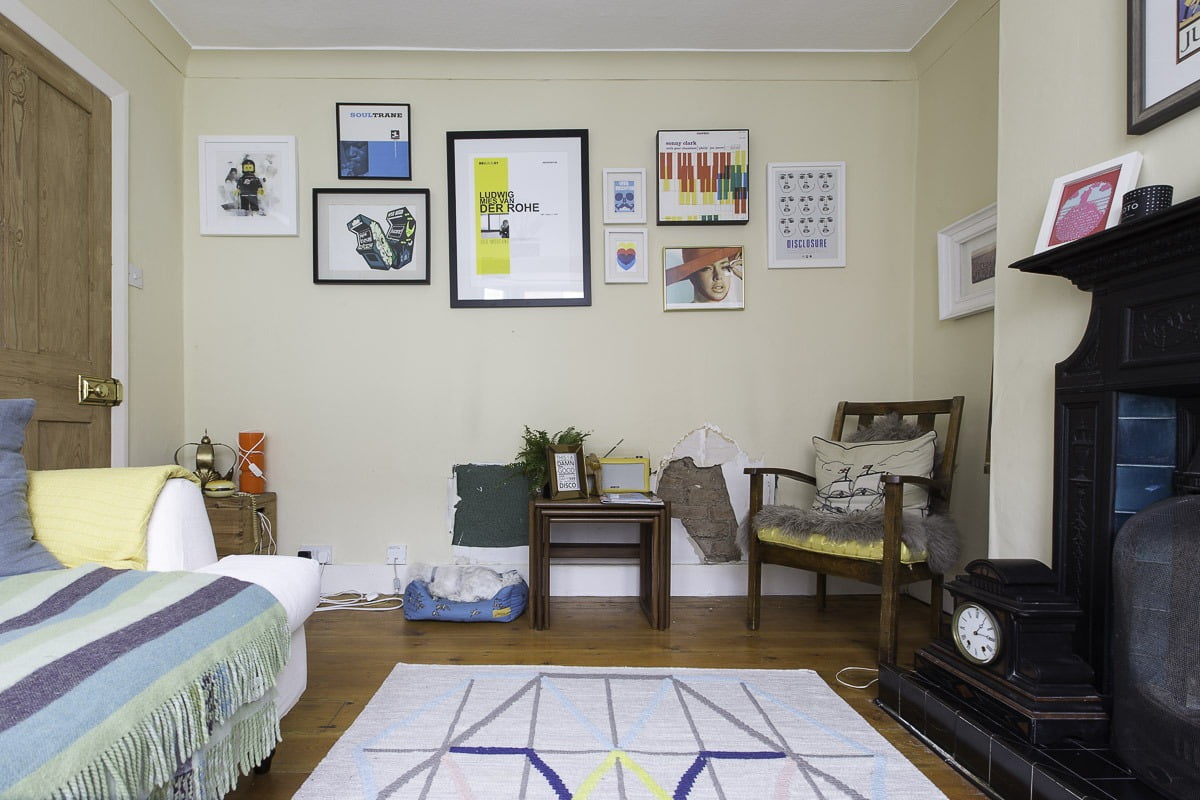 The sofa was £150 eBay find. The armchair was a freebie off Gumtree. The walls were a nicotine yellow. That orange pine floor makes me shudder. The walls were covered in textured wallpaper.
Look at the horrible black hearth. The fireplace isn’t original to my house. It dominated the space. Rather than being a lovely feature, it was an eyesore.
There was a wall dividing my living room from the dining room. Obviously that had to be smashed through. That door on the left – gone now! To give you a better idea of my living room you can see it live in my house tour video.
Progress – August 2015
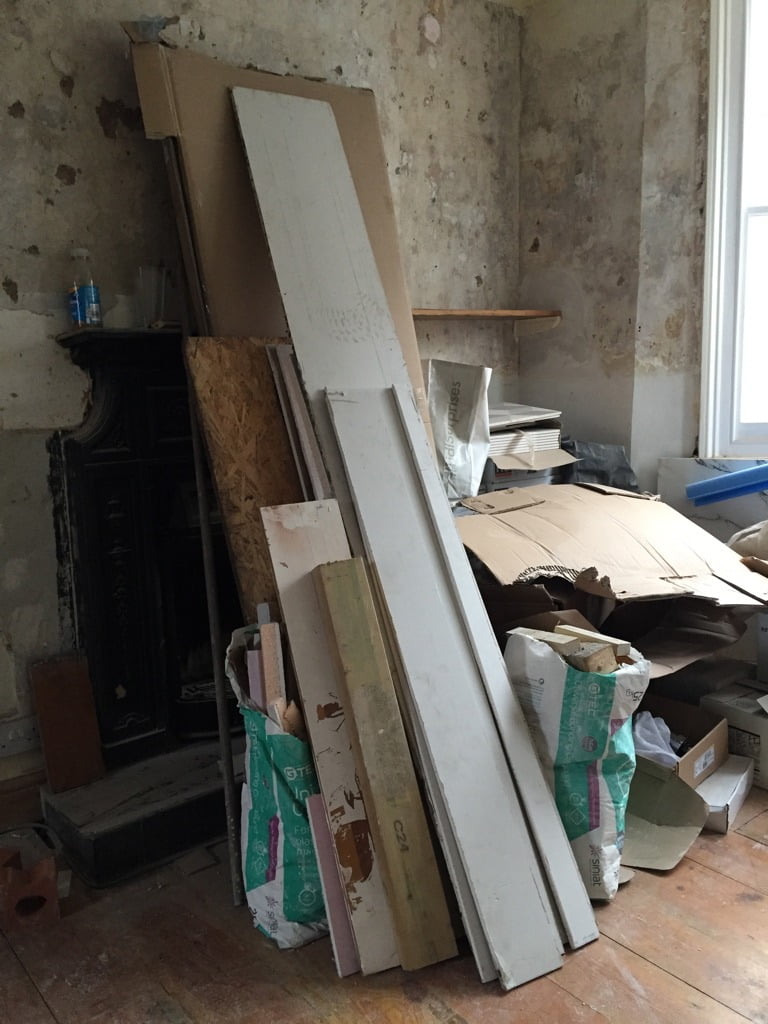
My builders did my kitchen, bathroom and living room knock -through all at the same time (I know! I know!) I tried to do as much as I could myself. My mum and me started to peal off layers of the wallpaper managing to take most of the plaster off at the same time. The walls were left covered in pock marks.
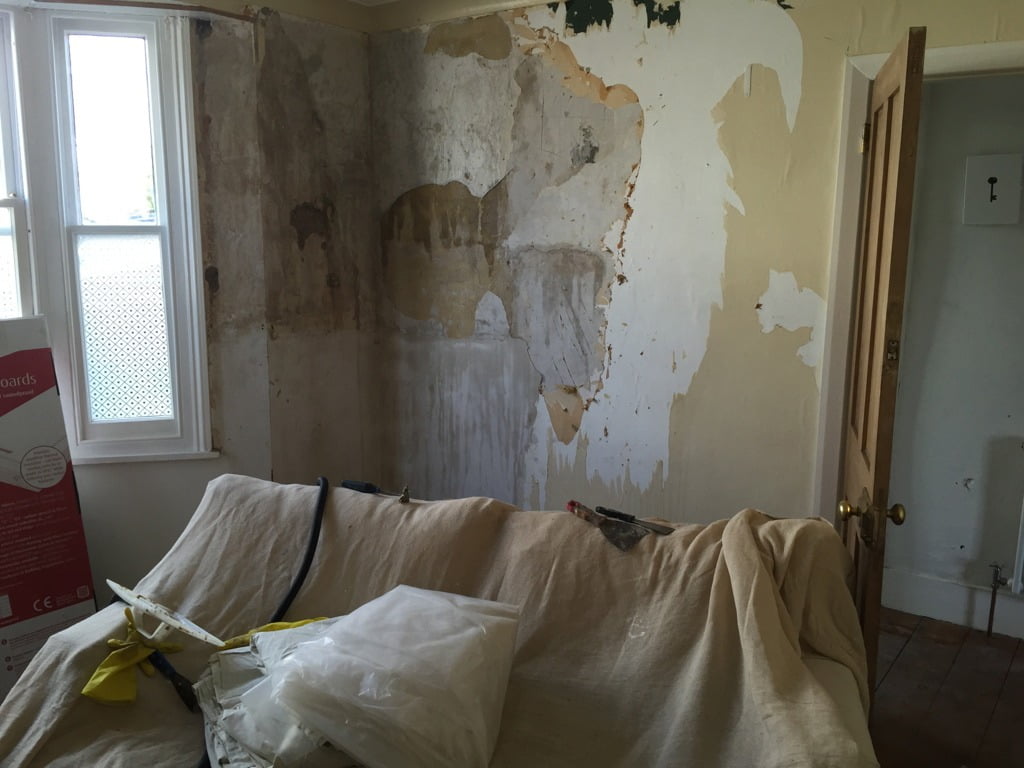
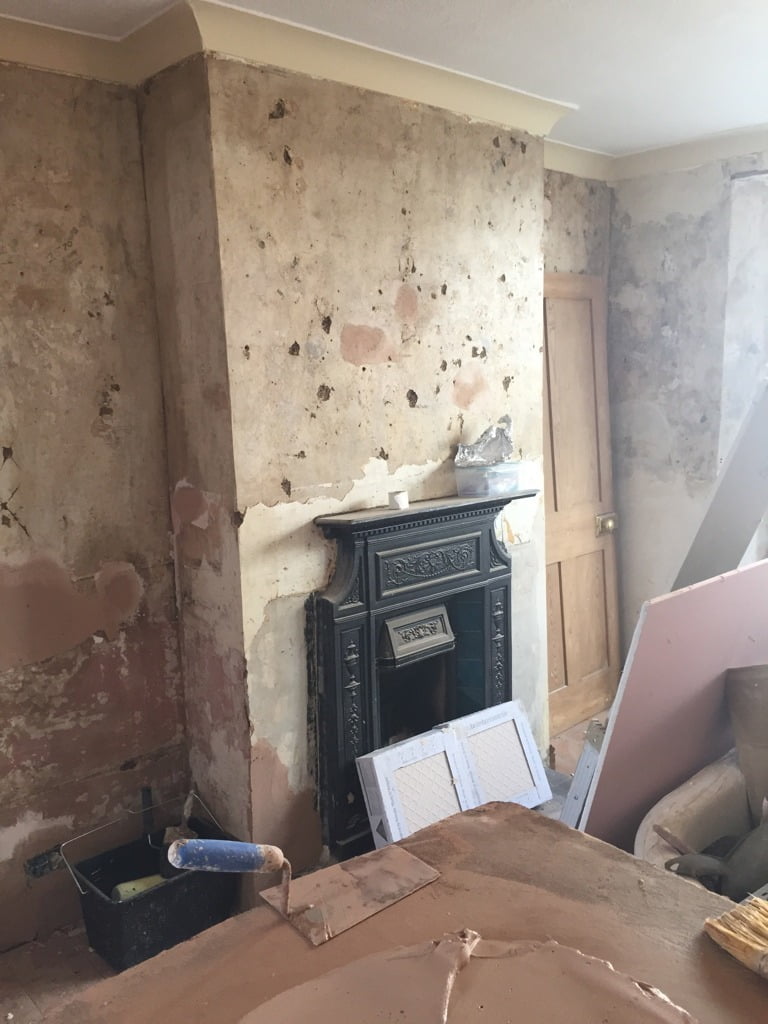 Then the wall was knocked down between the living room and the dining room. It came down worryingly easily. I had a steel support made (called an RSJ) and the room was held up with metal supports.
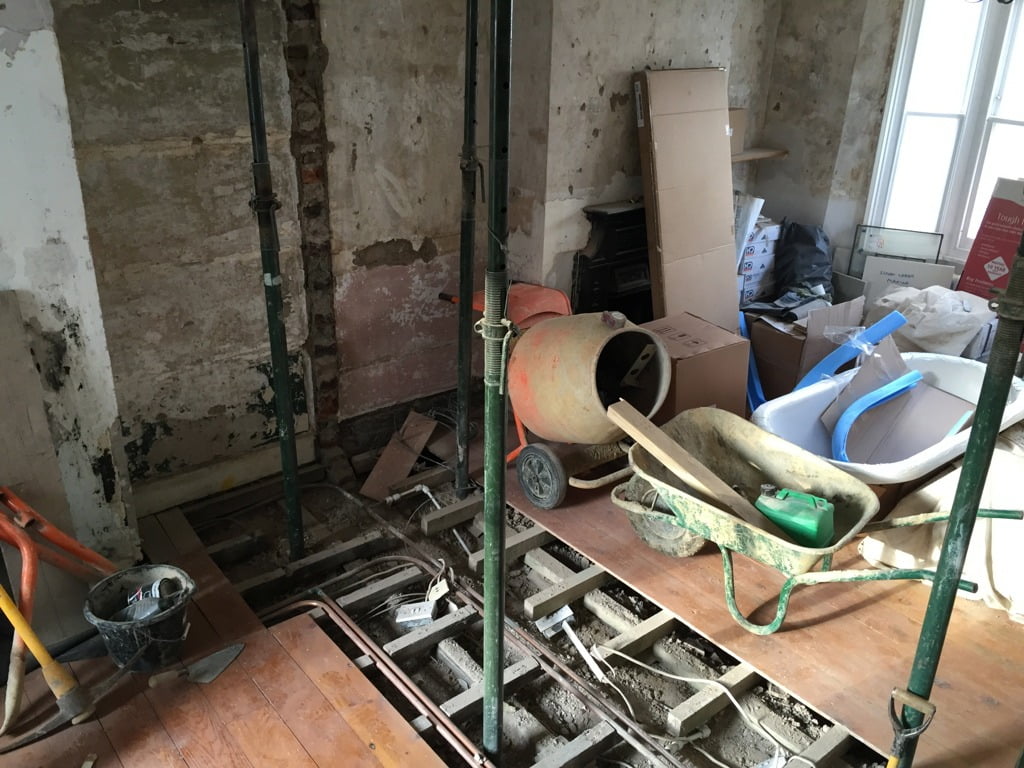
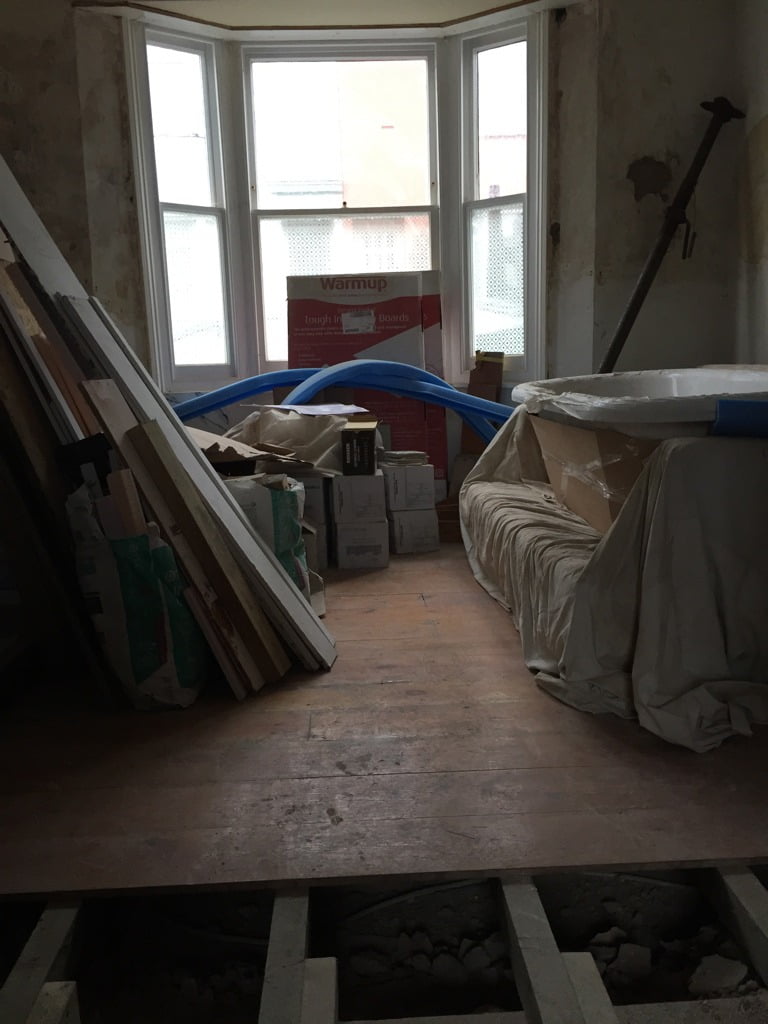
Yes – that is a bath in my living room. I cannot even start to describe the dust. Lets just say as a neat freak like me, I struggled with the mess big time.
Where the wall had been there was a gap in the floorboards. You see that grey powdery stuff – that is the rock that my home was built on. It’s that close to the earth.
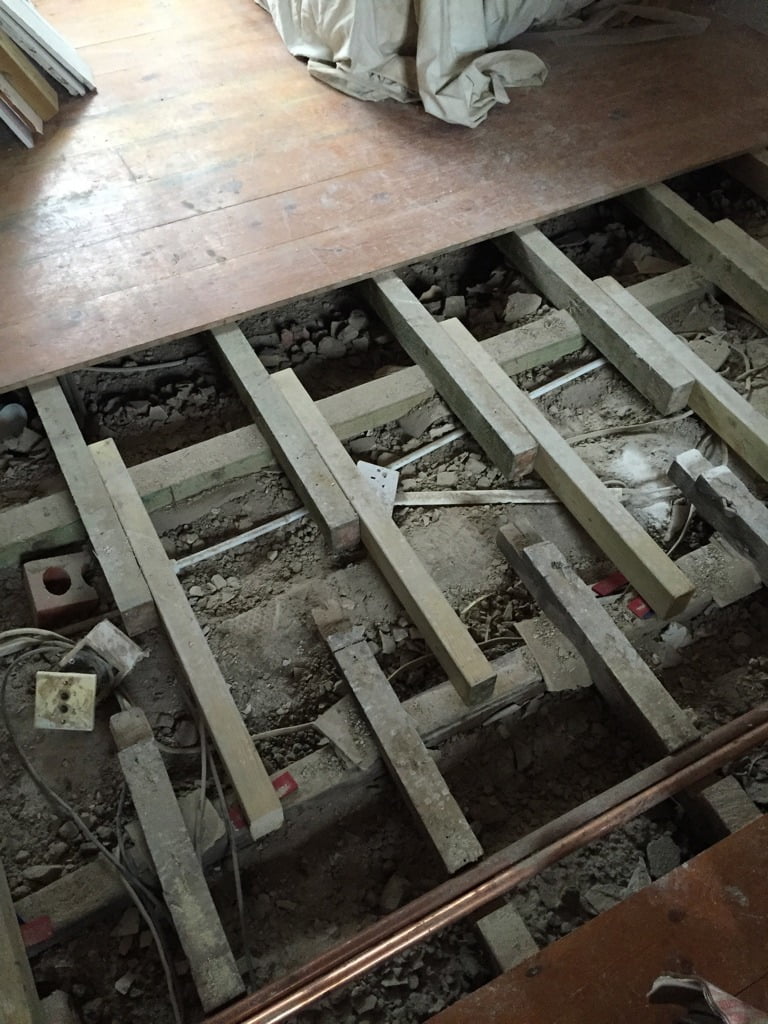
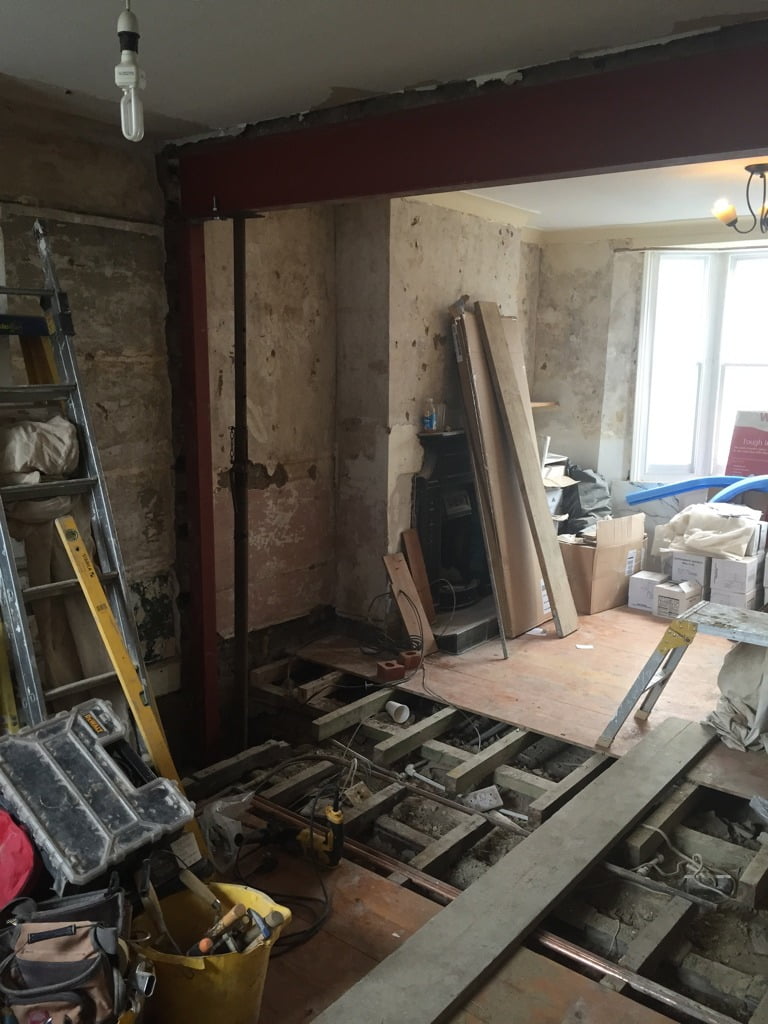
The red steel ran up one side of the house to create an alcove. I had to walk across a plank of wood to get to one room to the next. This was the point when I moved into my Mum an Dad’s to escape the dirt.
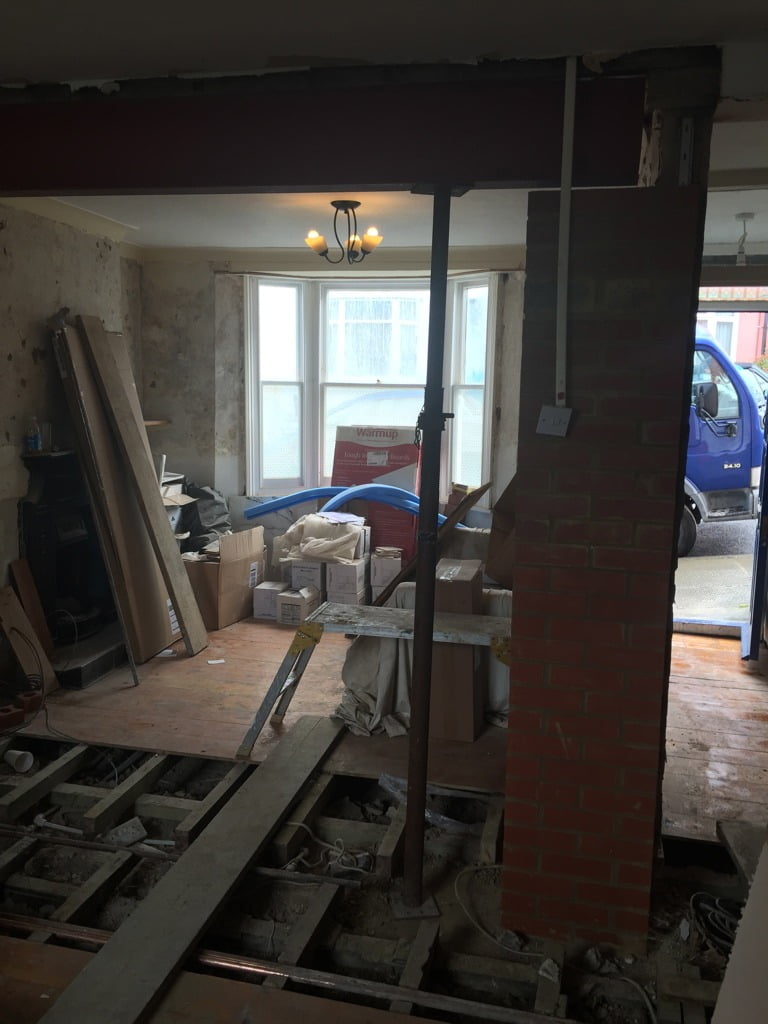
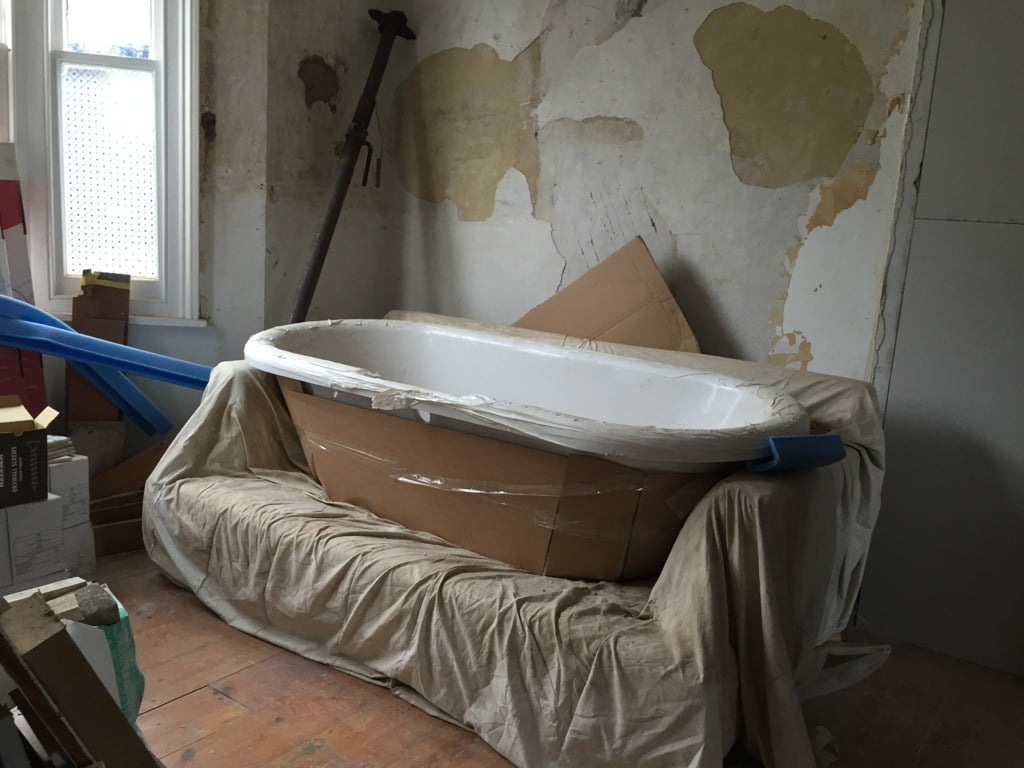
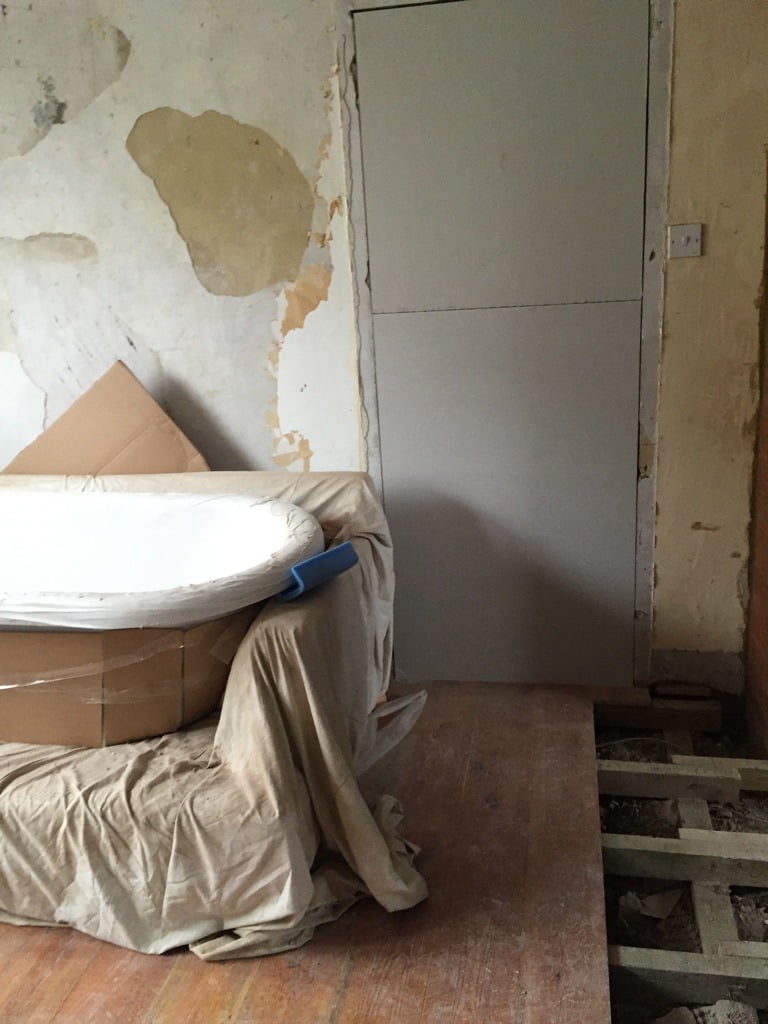 The door from the hallway into the living room was blocked in to give me more wall space. My living room became the dumping ground for all the builder’s materials. I had boxes of things arriving every day for the house. I spend days running back and forth to the tip.
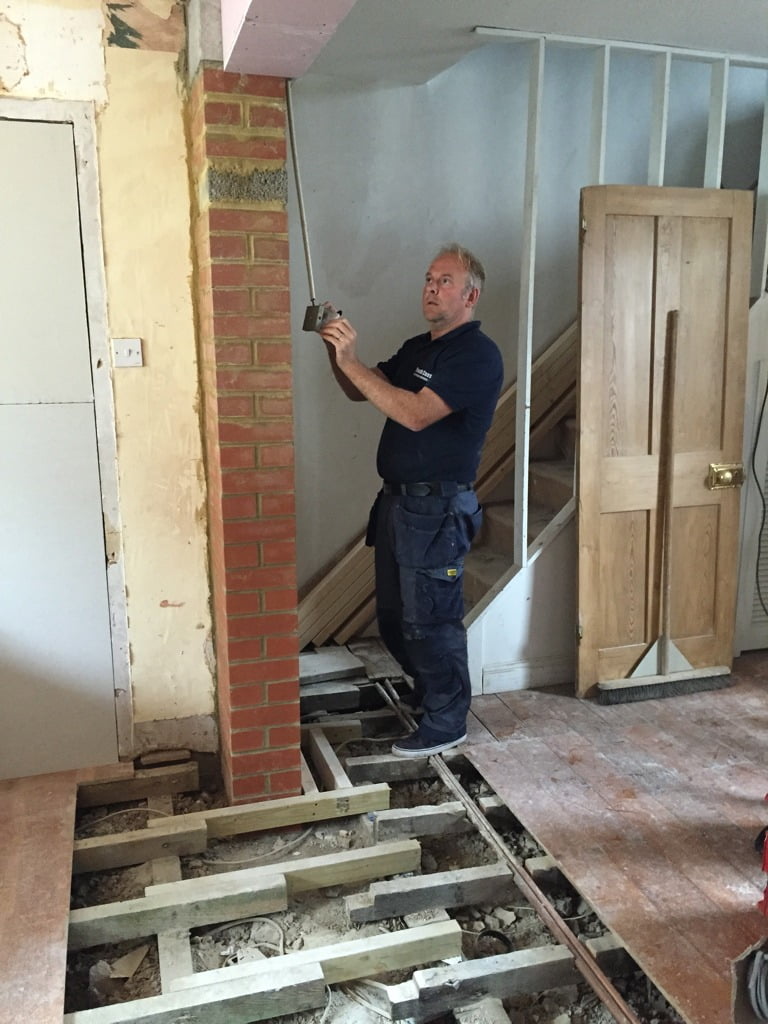
This is my sparkie putting in new lighting in the dining room. I had to decided before the room was finished where I wanted all my plugs and sockets.
I found that really tricky to work out and I now have some plugs where I don’t really want them (nevermind).
If you are planning a similar project like a design and build London, then pop your comments below. I’d love to hear from you.
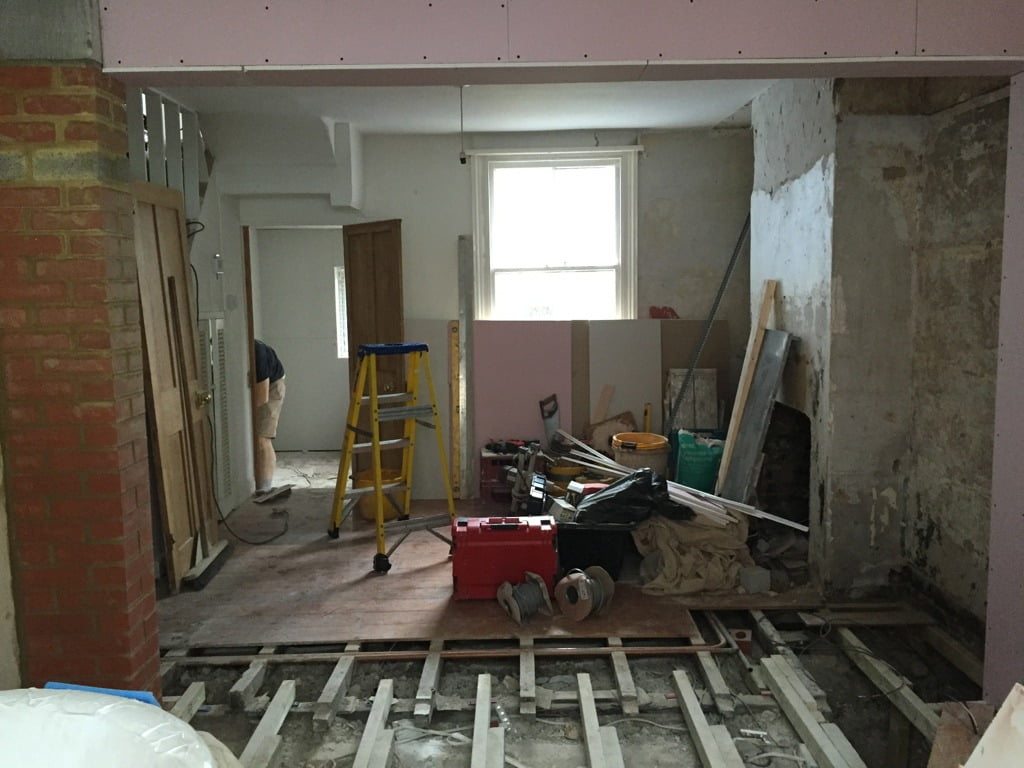
The view from the living room into the dining room. The steel was then boxed in and plastered over.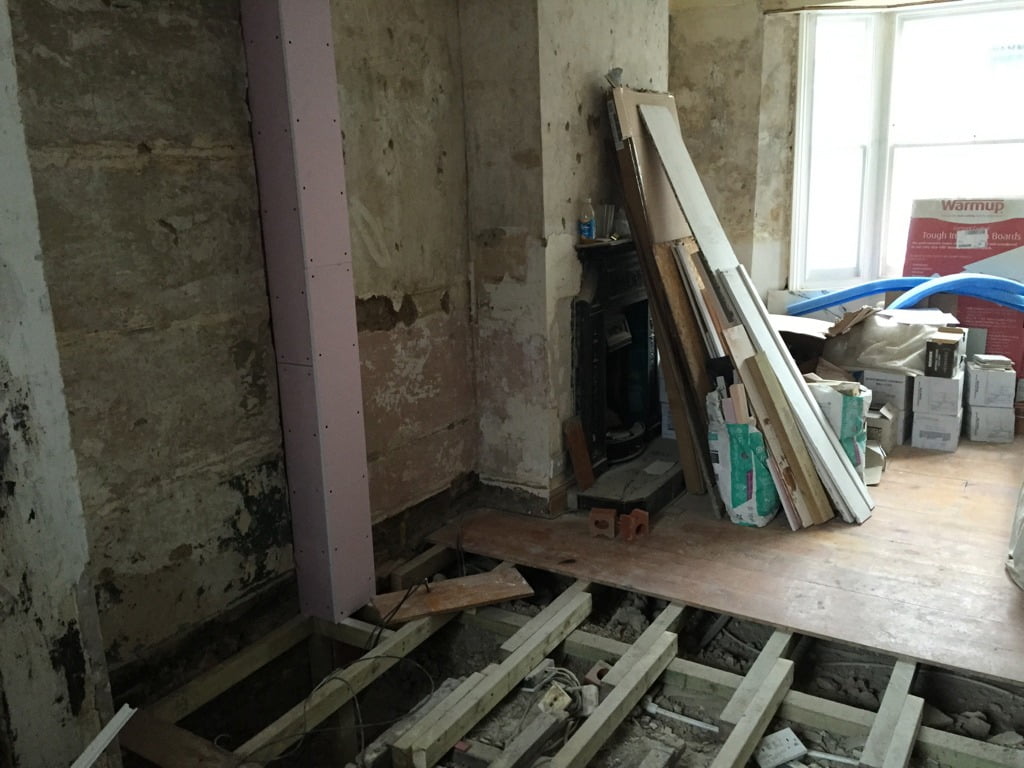
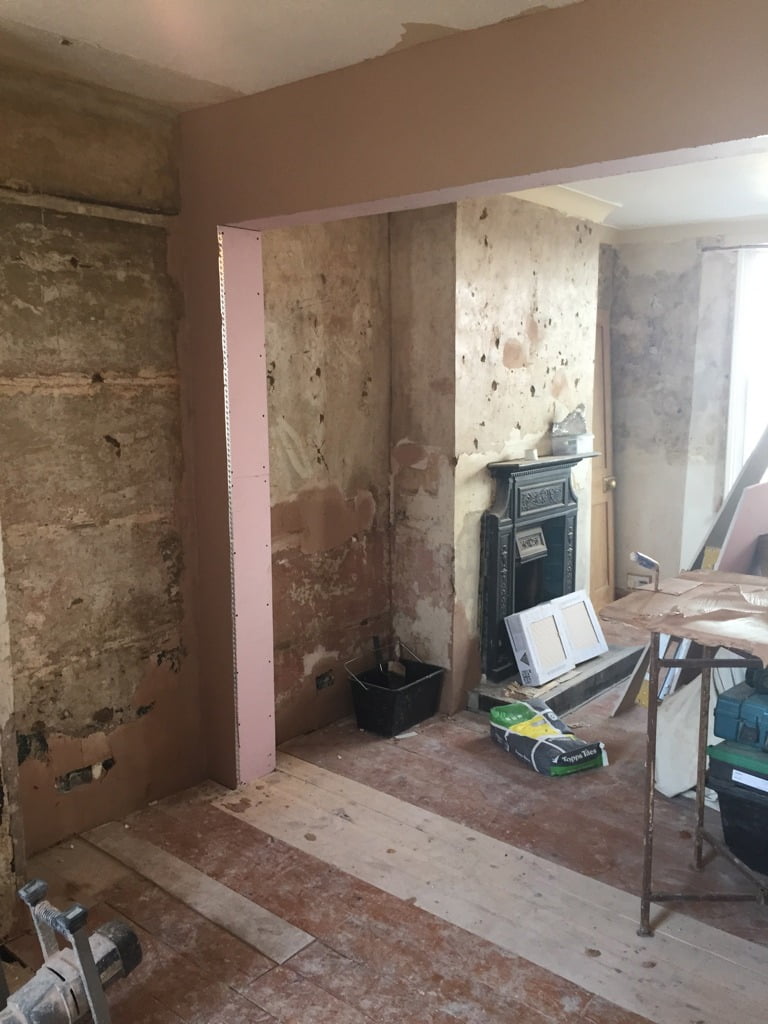
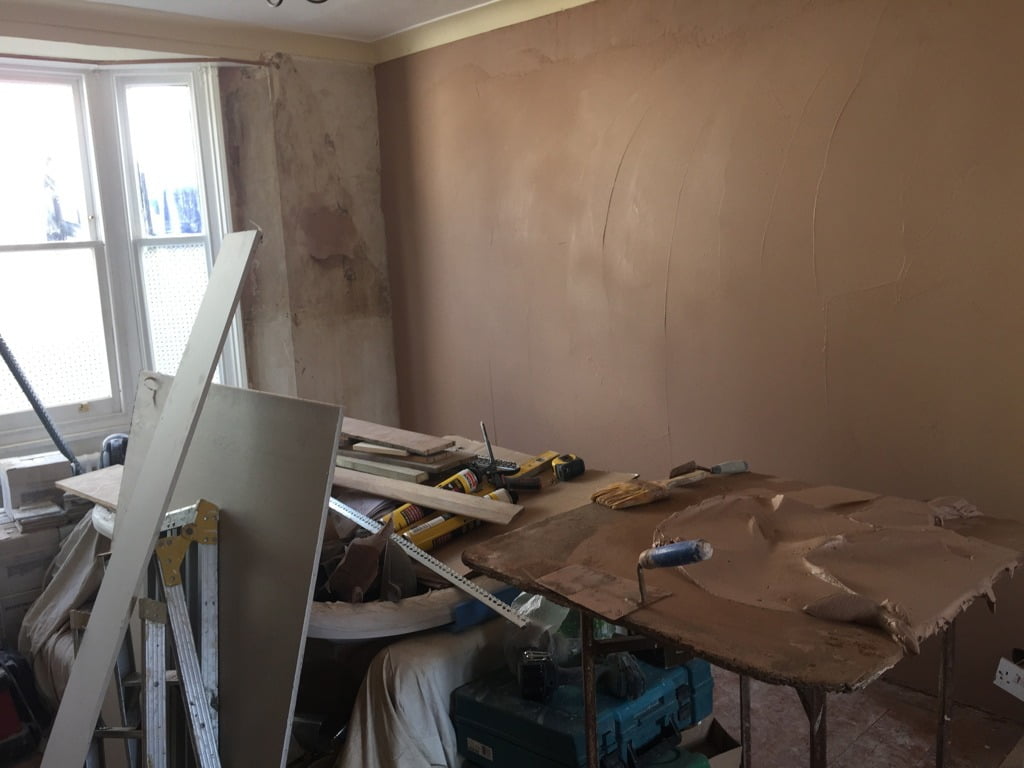 My plaster Paul had the mega job of plastering virtually the whole house. Plastering was not something I had budgeted for. It cost over a £1000 more than I expected but it was totally worth it to get lovely smooth walls.
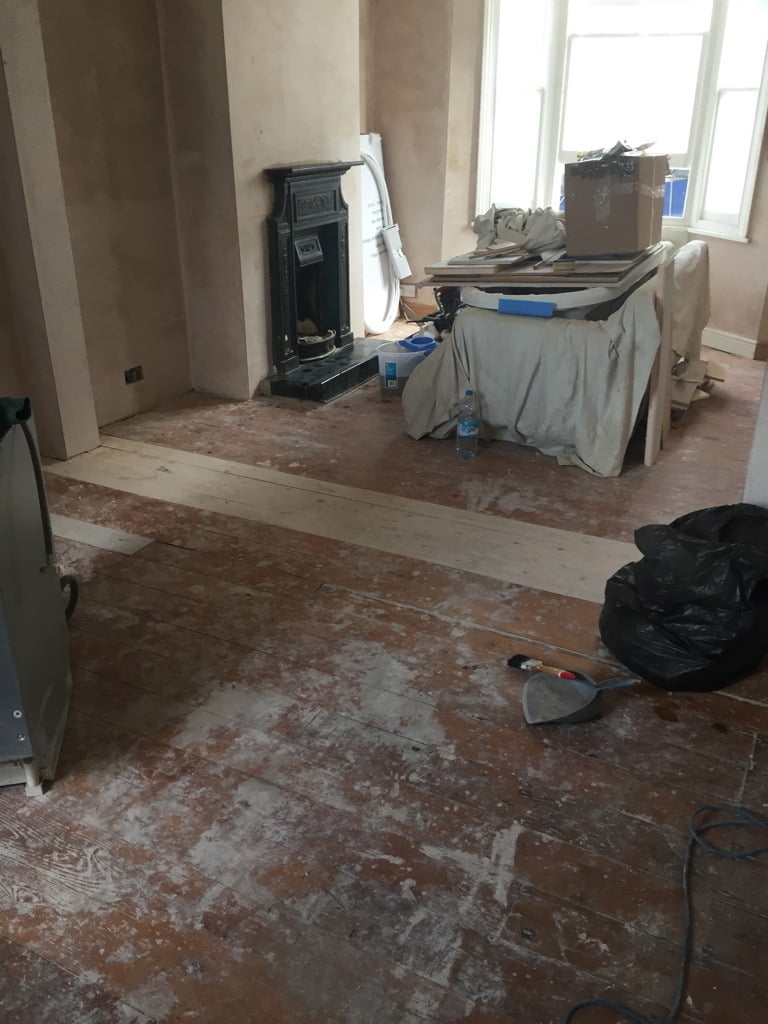
Look how much plaster dust was on the floor. I think I mopped it like 100 times and it still would be dusty. The gap where the wall had been was filled in with pine floorboards.
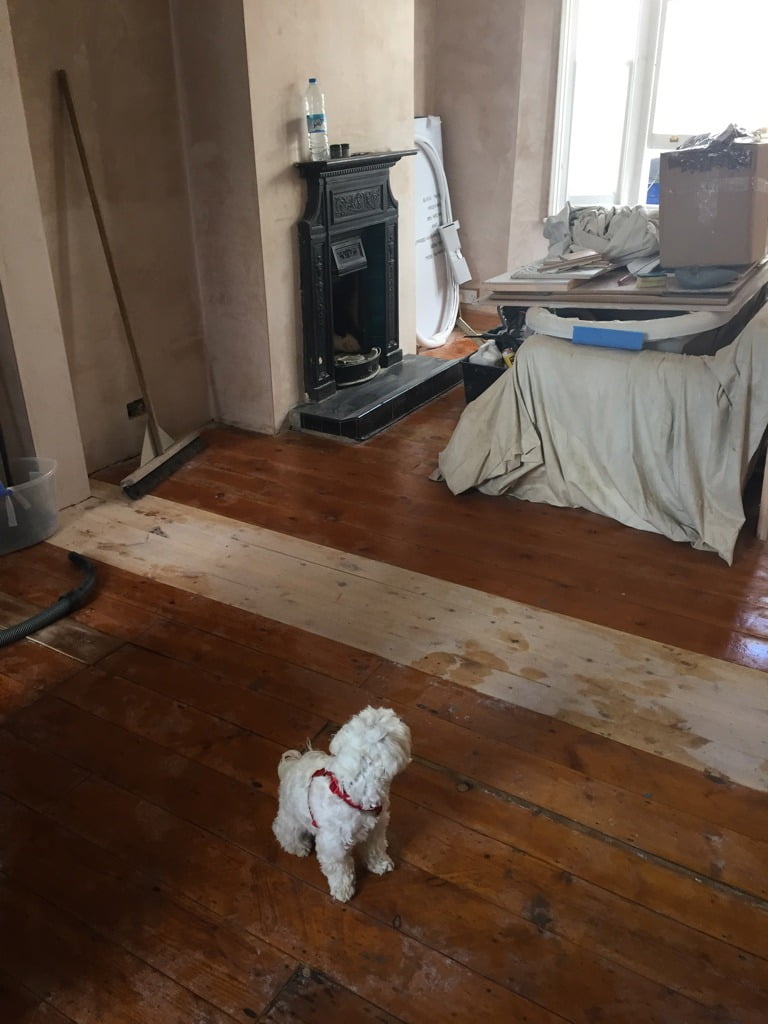 The dog looks completely bemused by it all. This was it in March 2015.
Let me show you around my finished living room makeover
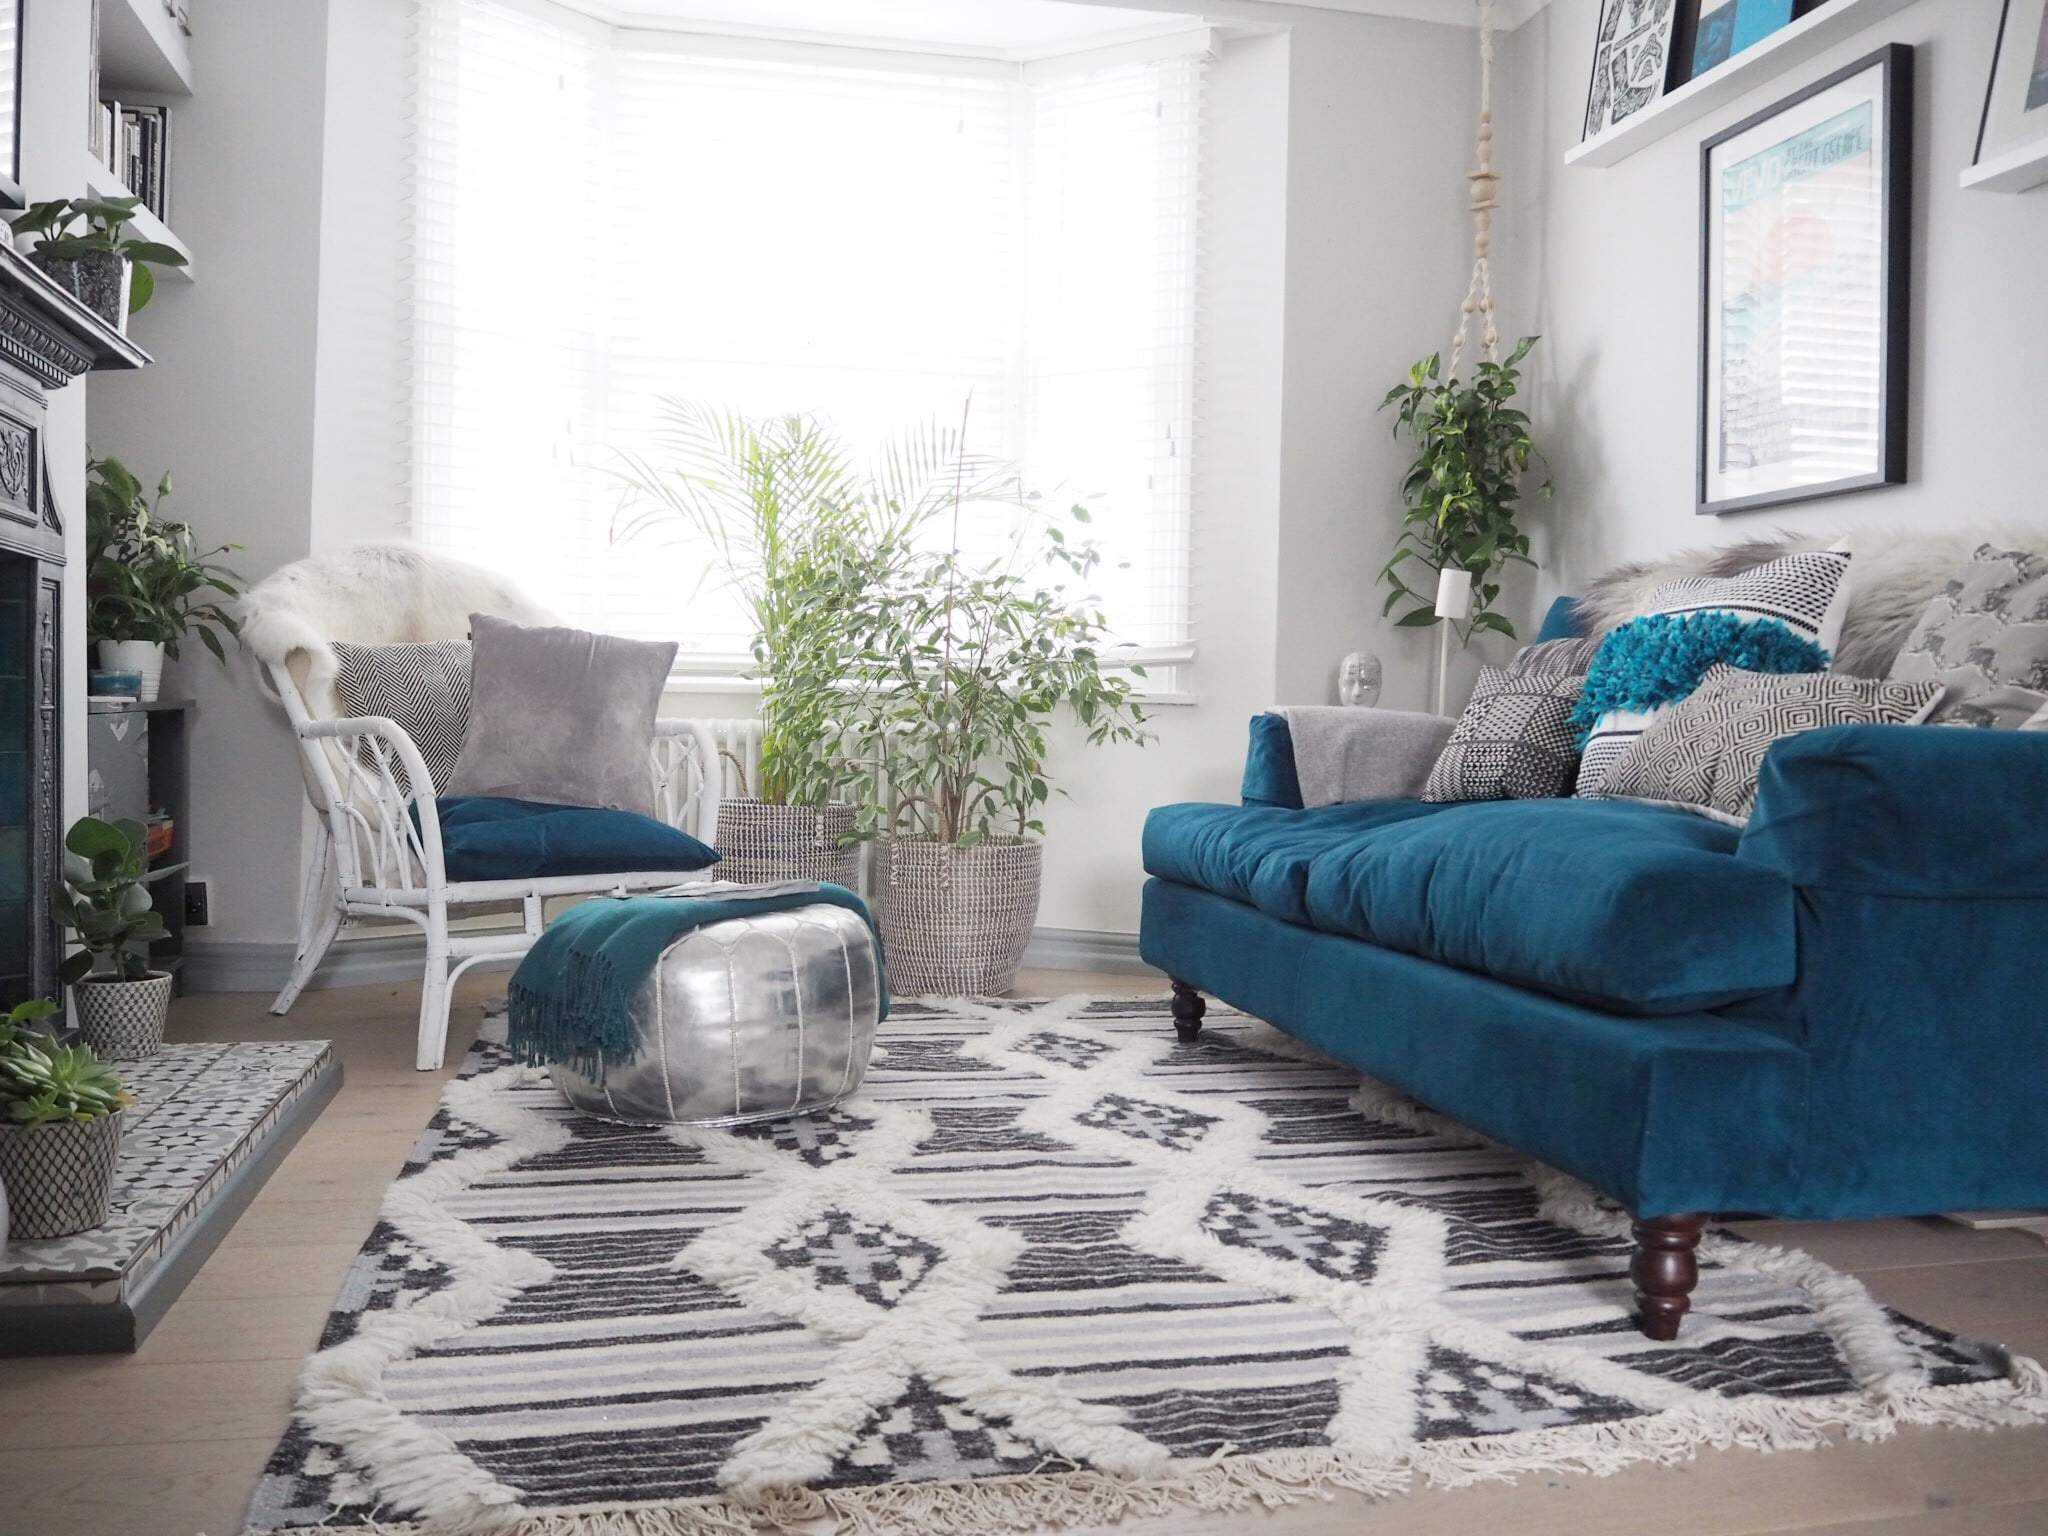
Want to see what it looks like now? Here you go! I’m so pleased with how my living room makeover has turned out.
After
The details
Going through these photos it’s hard to believe how much work and effort has gone into this room. It’s been a very slow evolving project and there are still lots of things I want to tweak (well you know me) but I feel for now the room has reached a natural resting point.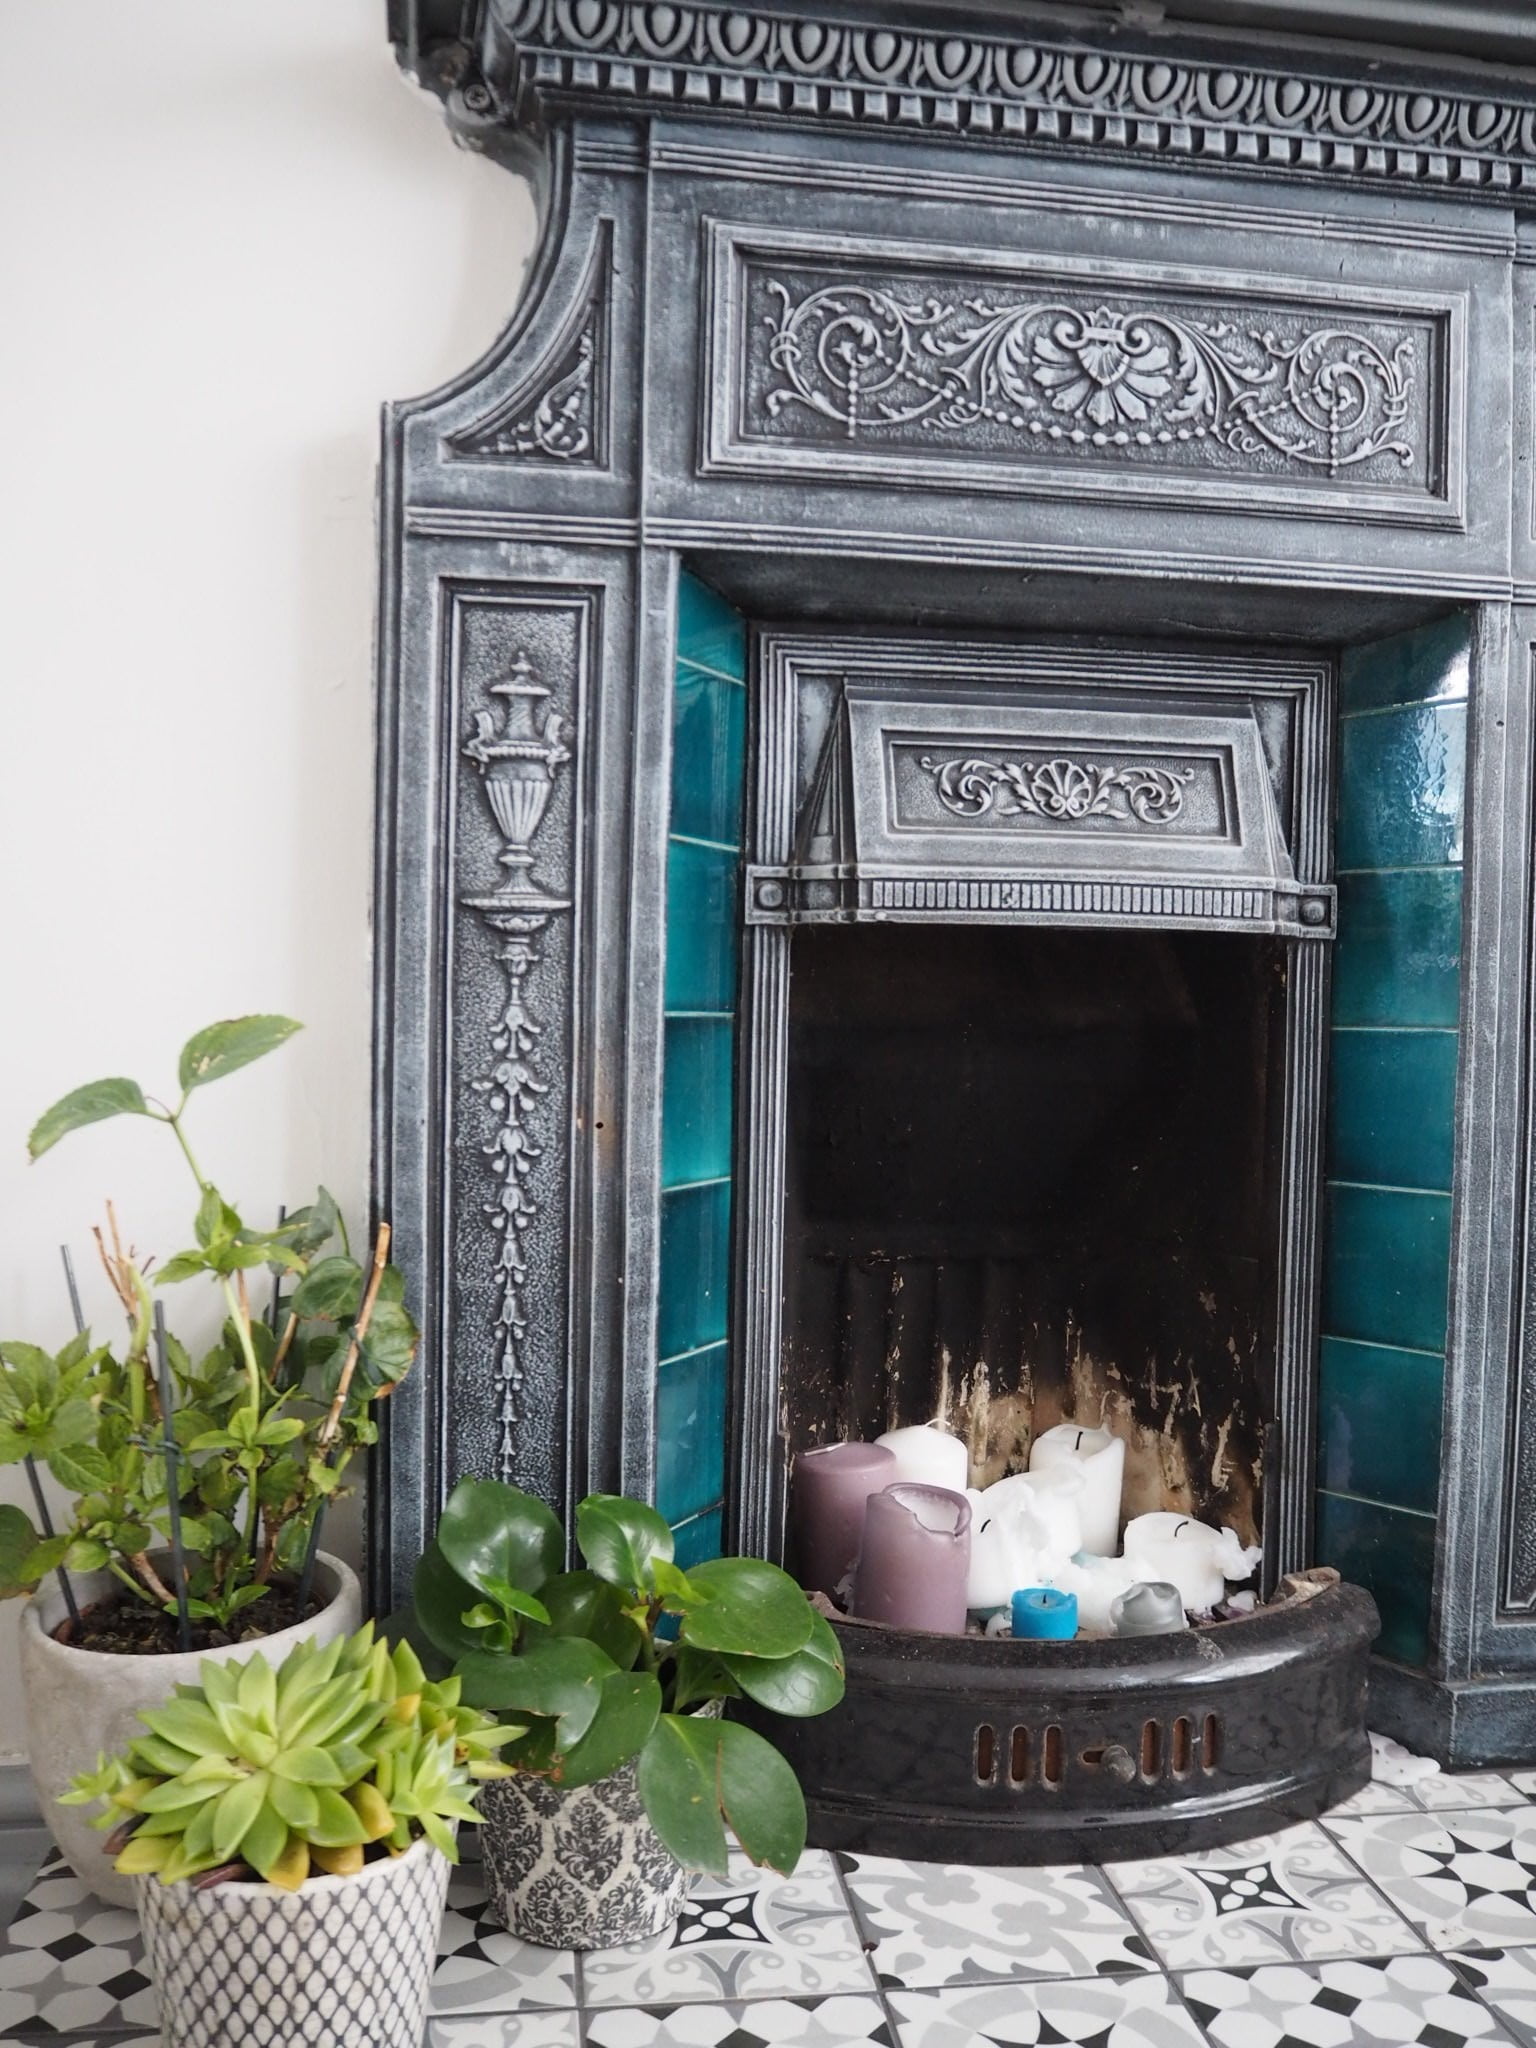

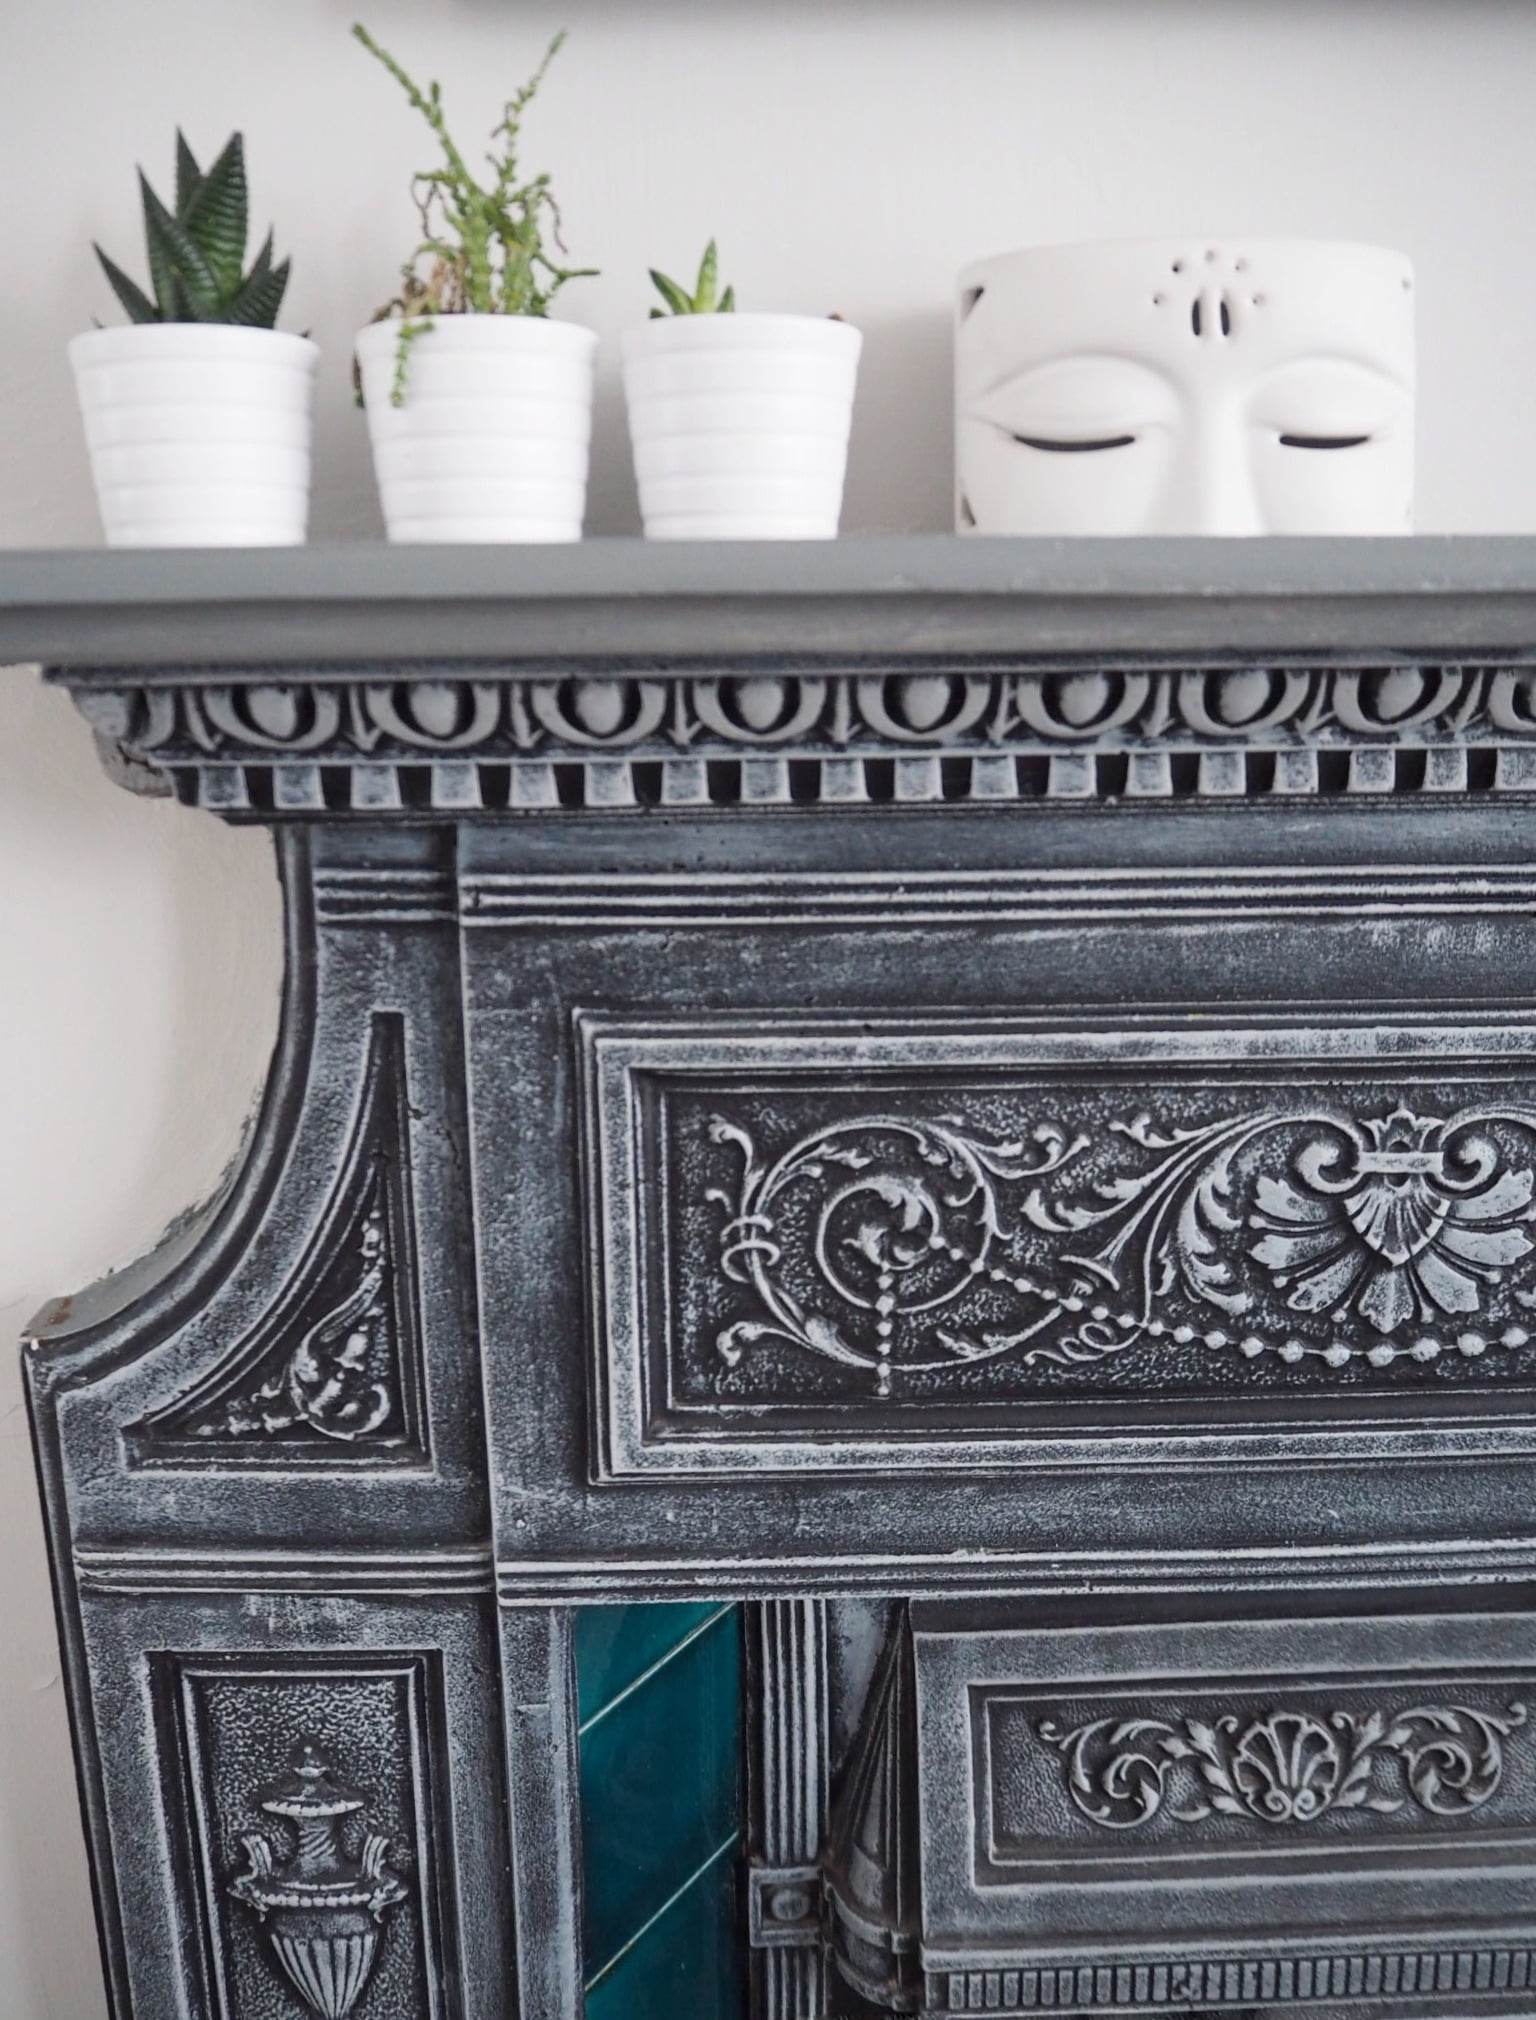
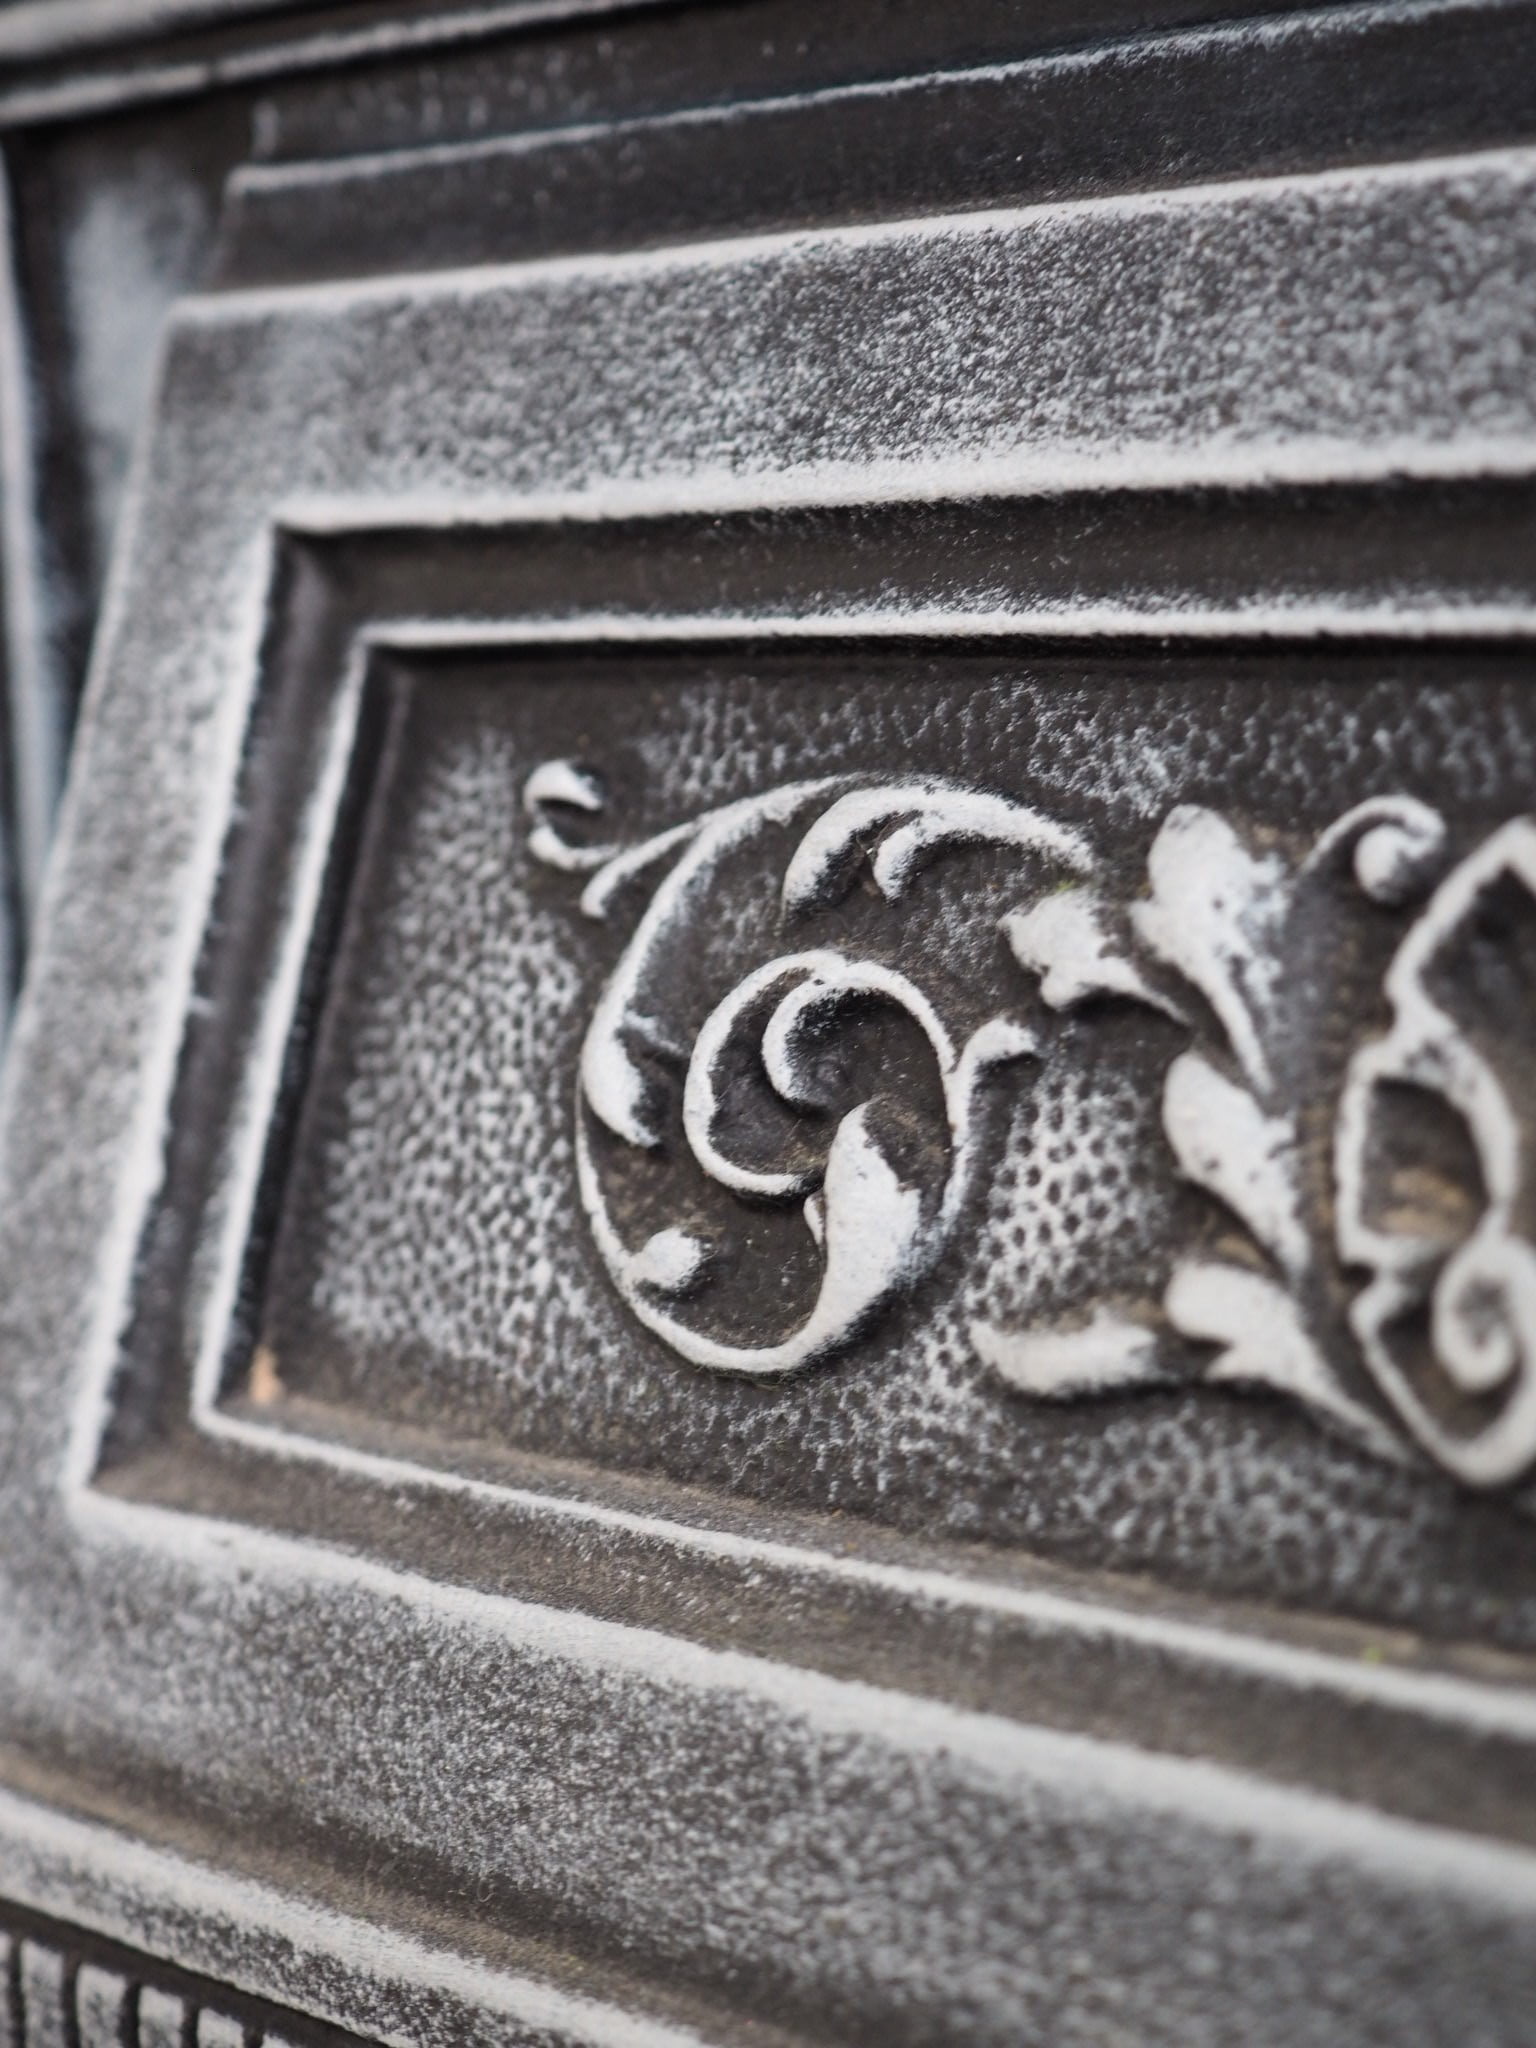
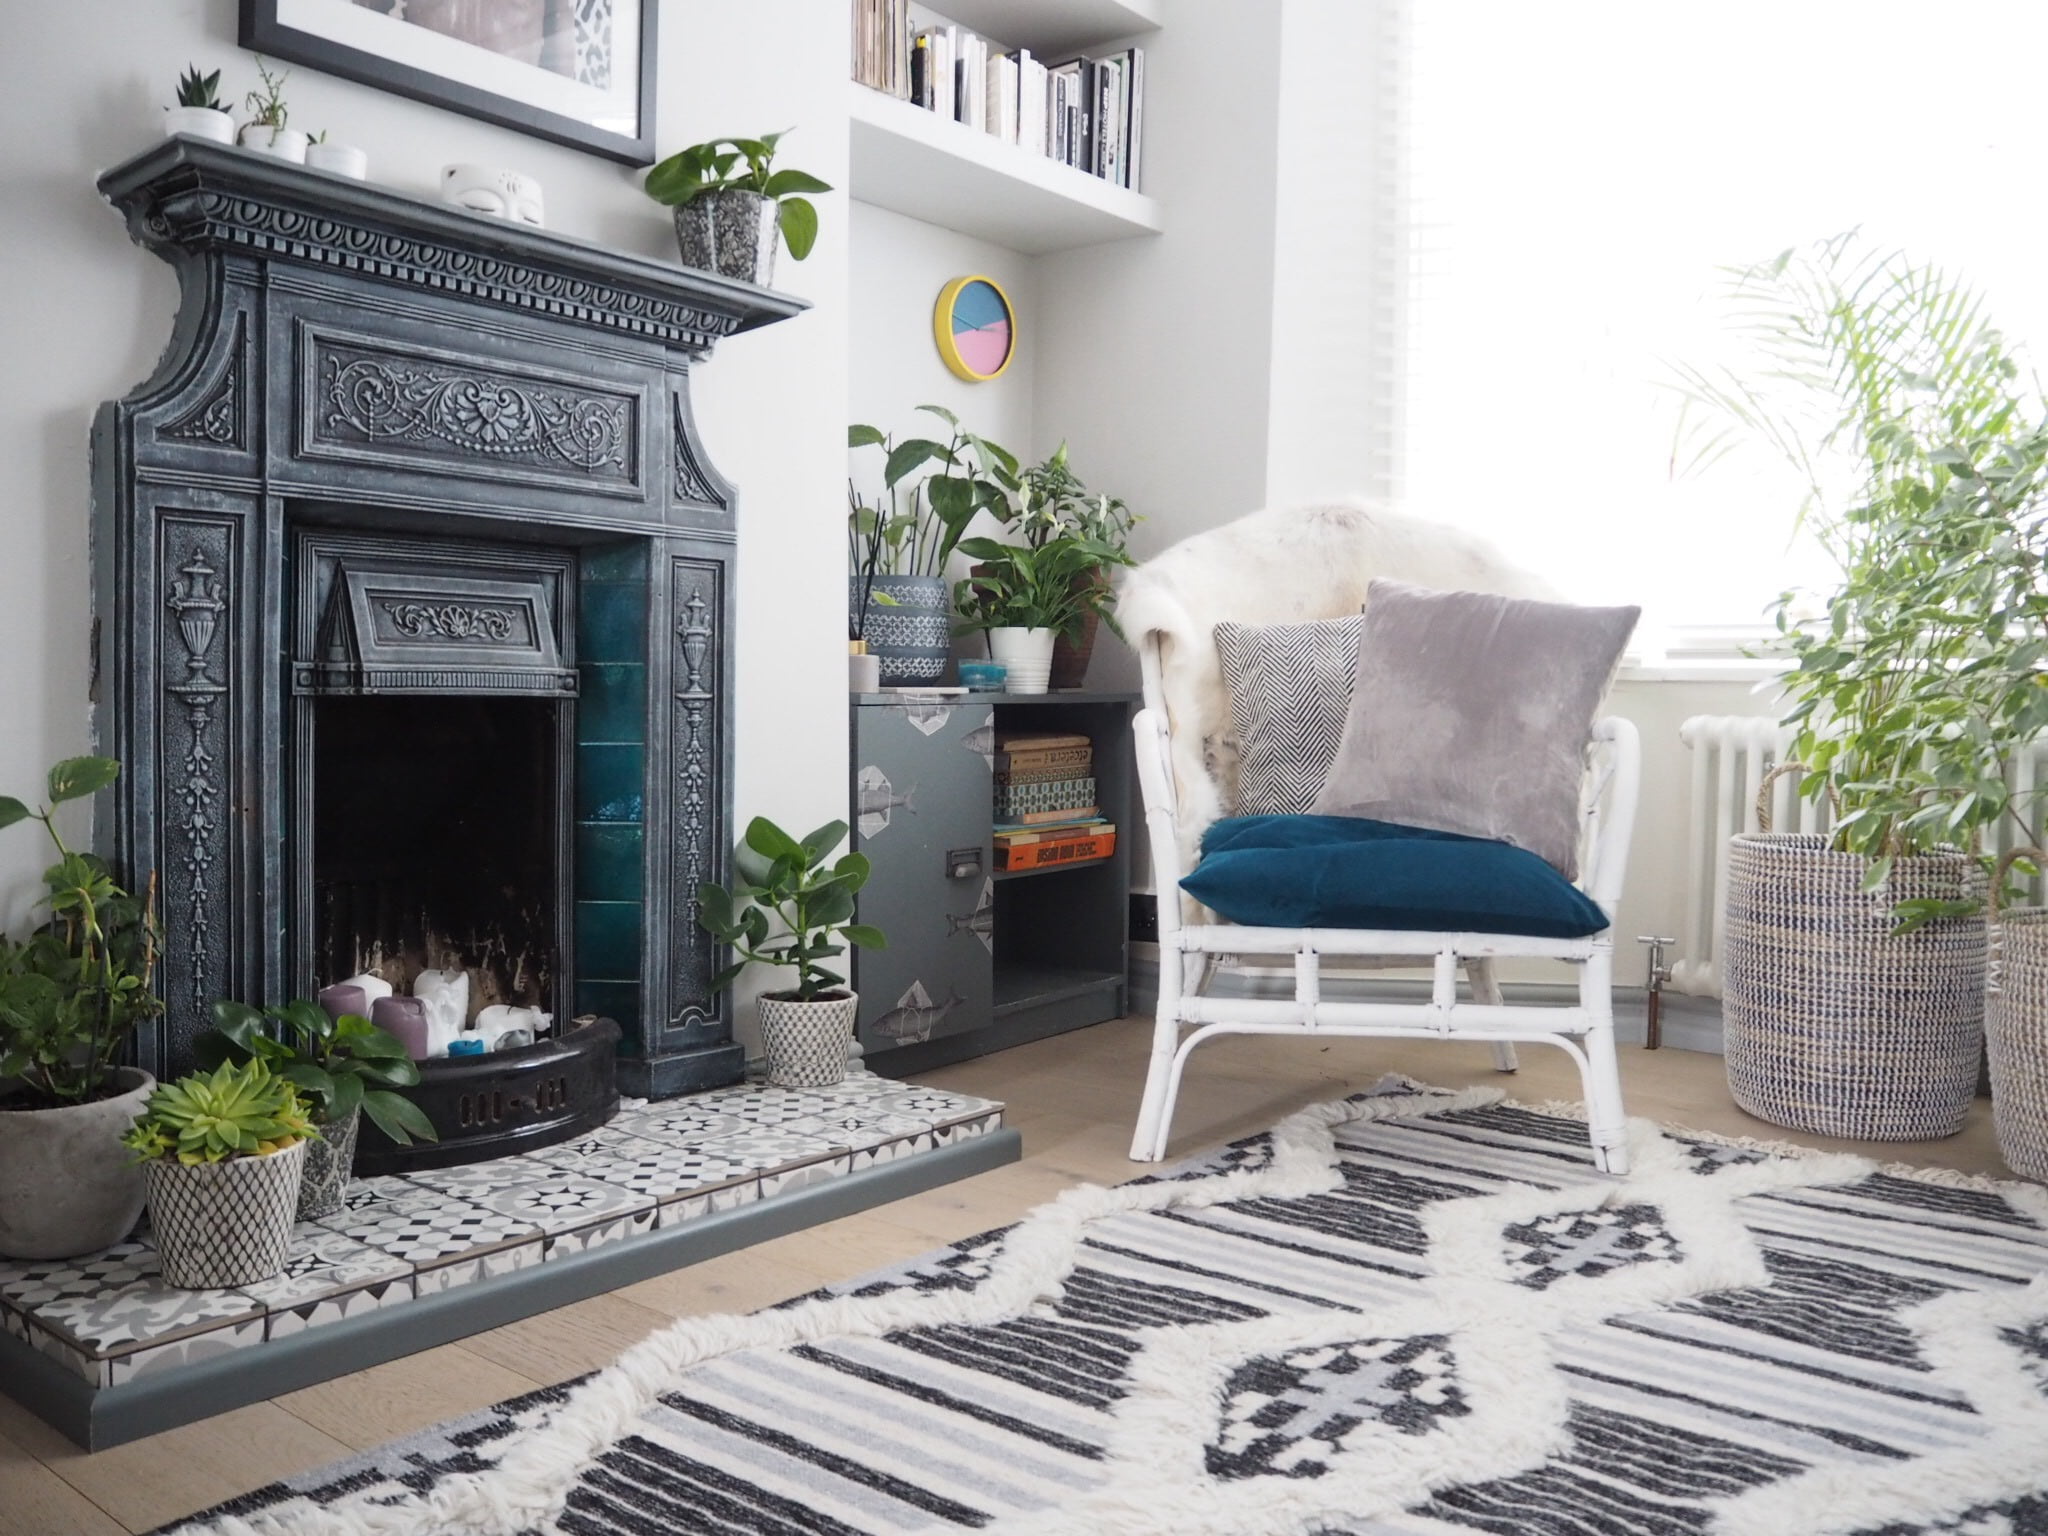
To cover over the black, I lightly dusted the fireplace with white paint to bring out the detailing of the ironwork. It looks almost ghostly.
My builder smashed out the old hearth and laid these beautiful tiles from British Ceramic Tiles. As soon as I saw them on-line, I had to have them. The hearth was made smaller too so that it didn’t eat into the room as much.
The fireplace doesn’t work so rather than go for the expense of getting it repaired, I just filled it with church candles which does the job tbh.
My restored fireplace
The mantle was painted the same shade of grey as my skirting – Urban Grey by Little Greene Paint Company.
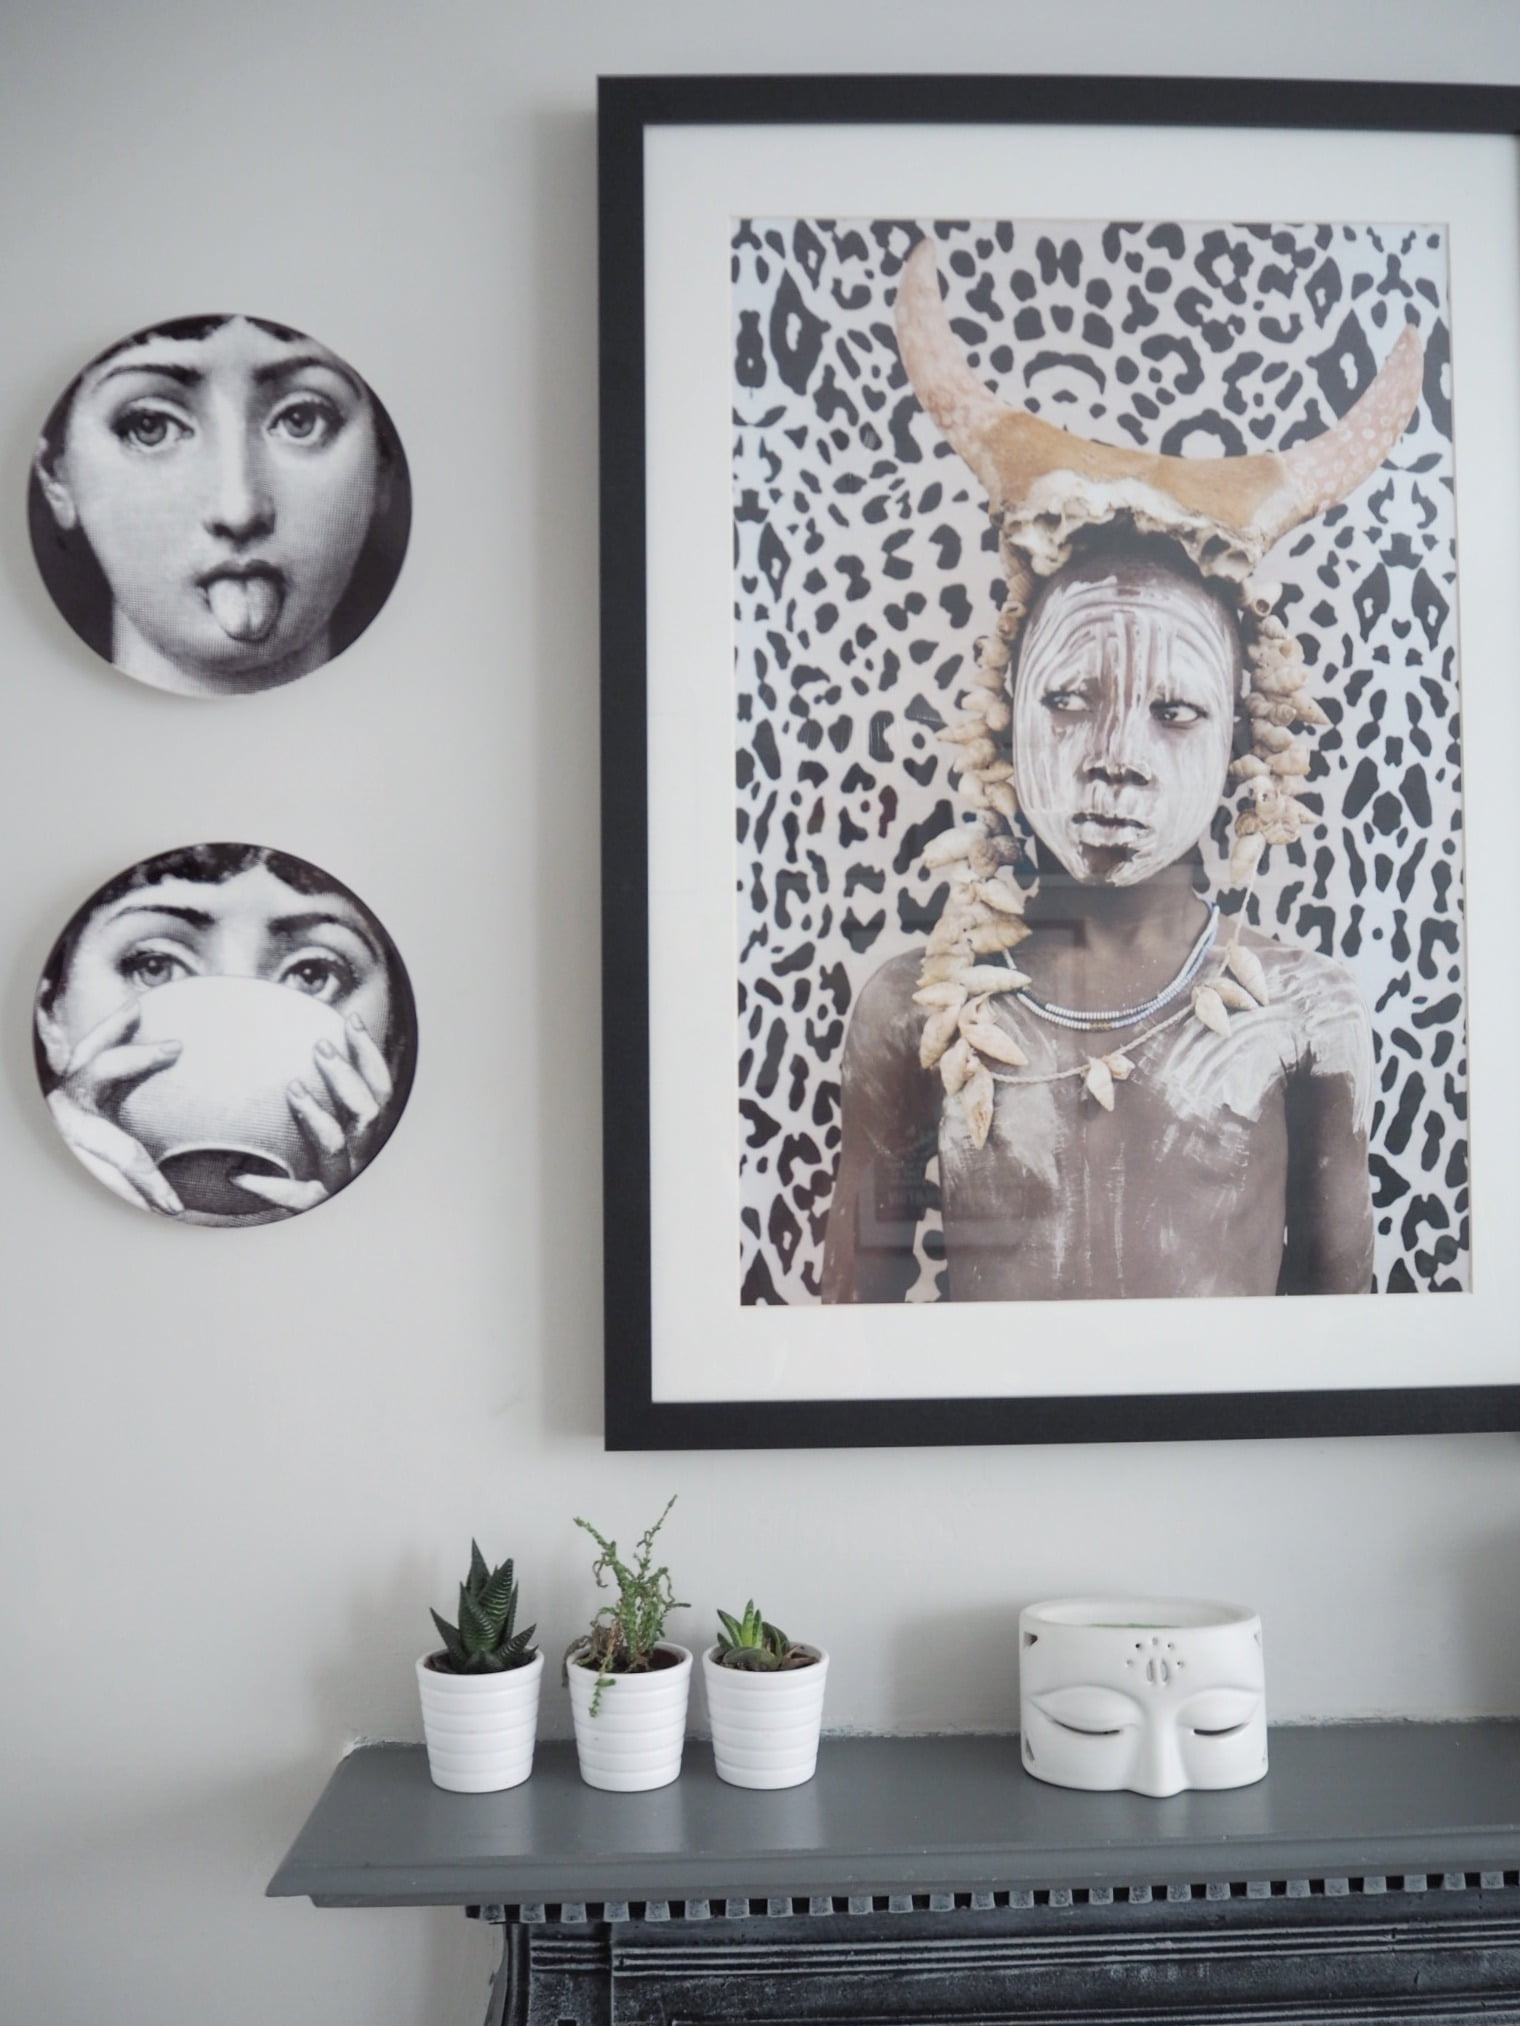
Above I hung a print from Lumitrix above. The Budda tea-light holder is from Bali last winter.
I painted the walls in Dimpse by Farrow and Ball. Originally, I painted the walls were white but it made the room feel cold so I choose this subtle shade of grey to make the room feel cosier.
The colours for this room have naturally evolved, if I’m honest. I just picked what I liked and them merged it all together. It appears I like black and white!

The white chair I found by a bin (I’m always finding stuff for free for my house) which I painted white then covered in a hide throw to make it more cosy. My sister made me the velvet cushion from left over fabric from my sofa covers.
My original plan had been to sand back my floorboards and stain them white. But when the guys came to sand them, the discovered they were too thin. My plan B was to put down engineered oak flooring over the top. Really – this should have been my plan A. As my new floor boards from UK Flooring Direct cover over the draughty old boards. The new floor has been one of the biggest changes in my living room makeover.
I love the subtle wash colour which I very much doubt I could have achieve by painting my old ones.
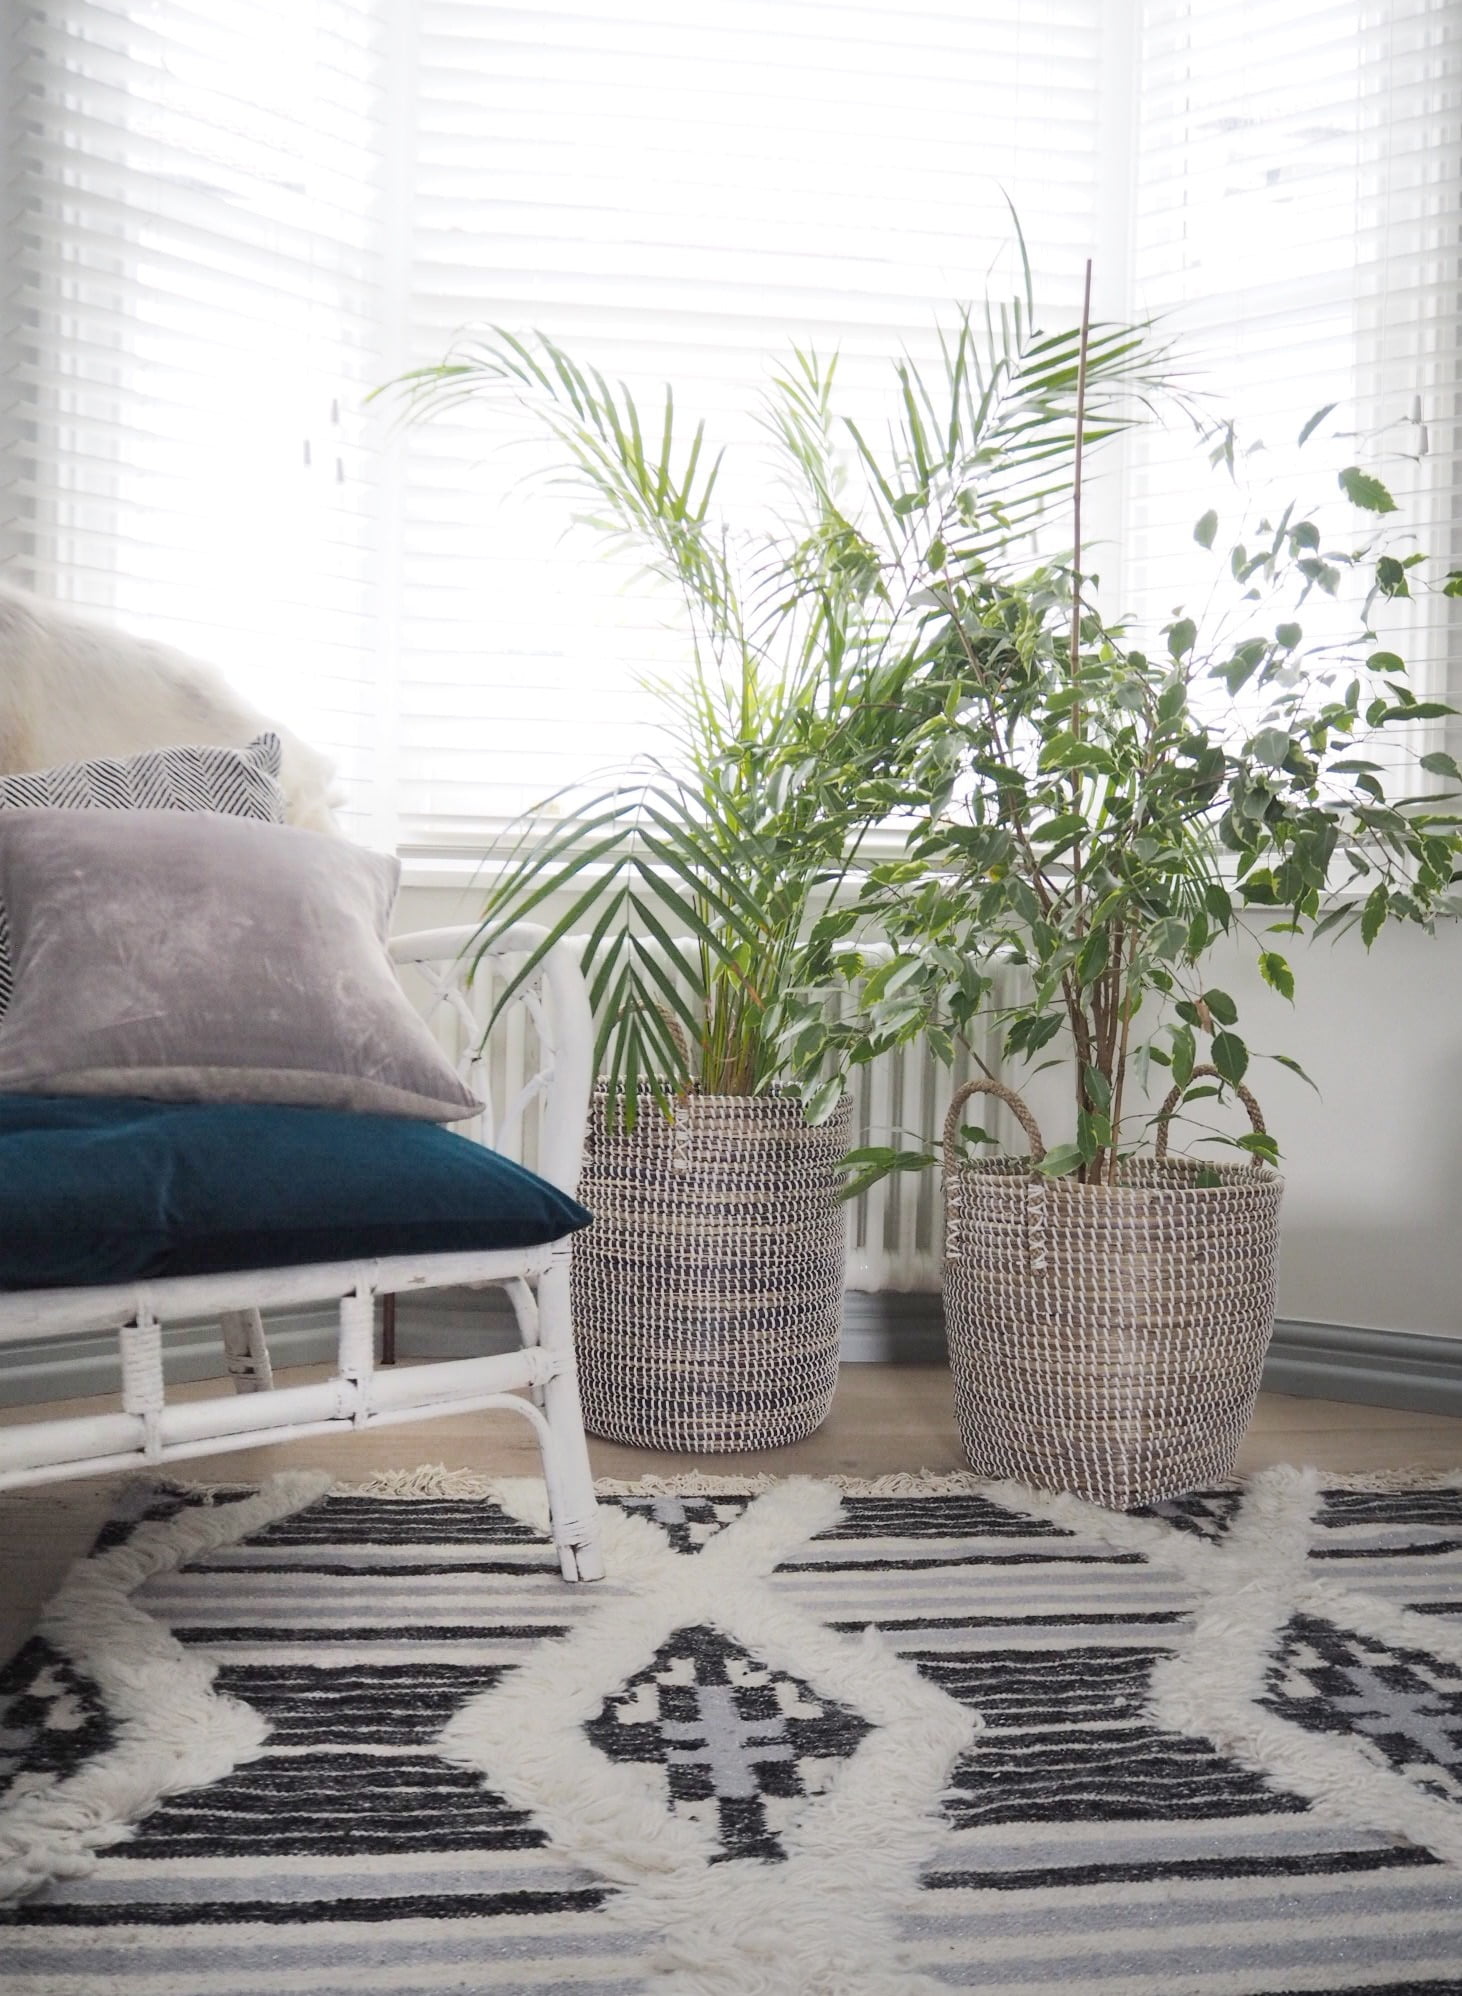 Adding texture with baskets
One of my latest purchases was these large wicker storage baskets from HomeSense. They were some silly price like £24 each I think. Before my plants were in mis-match pots which looked awful.
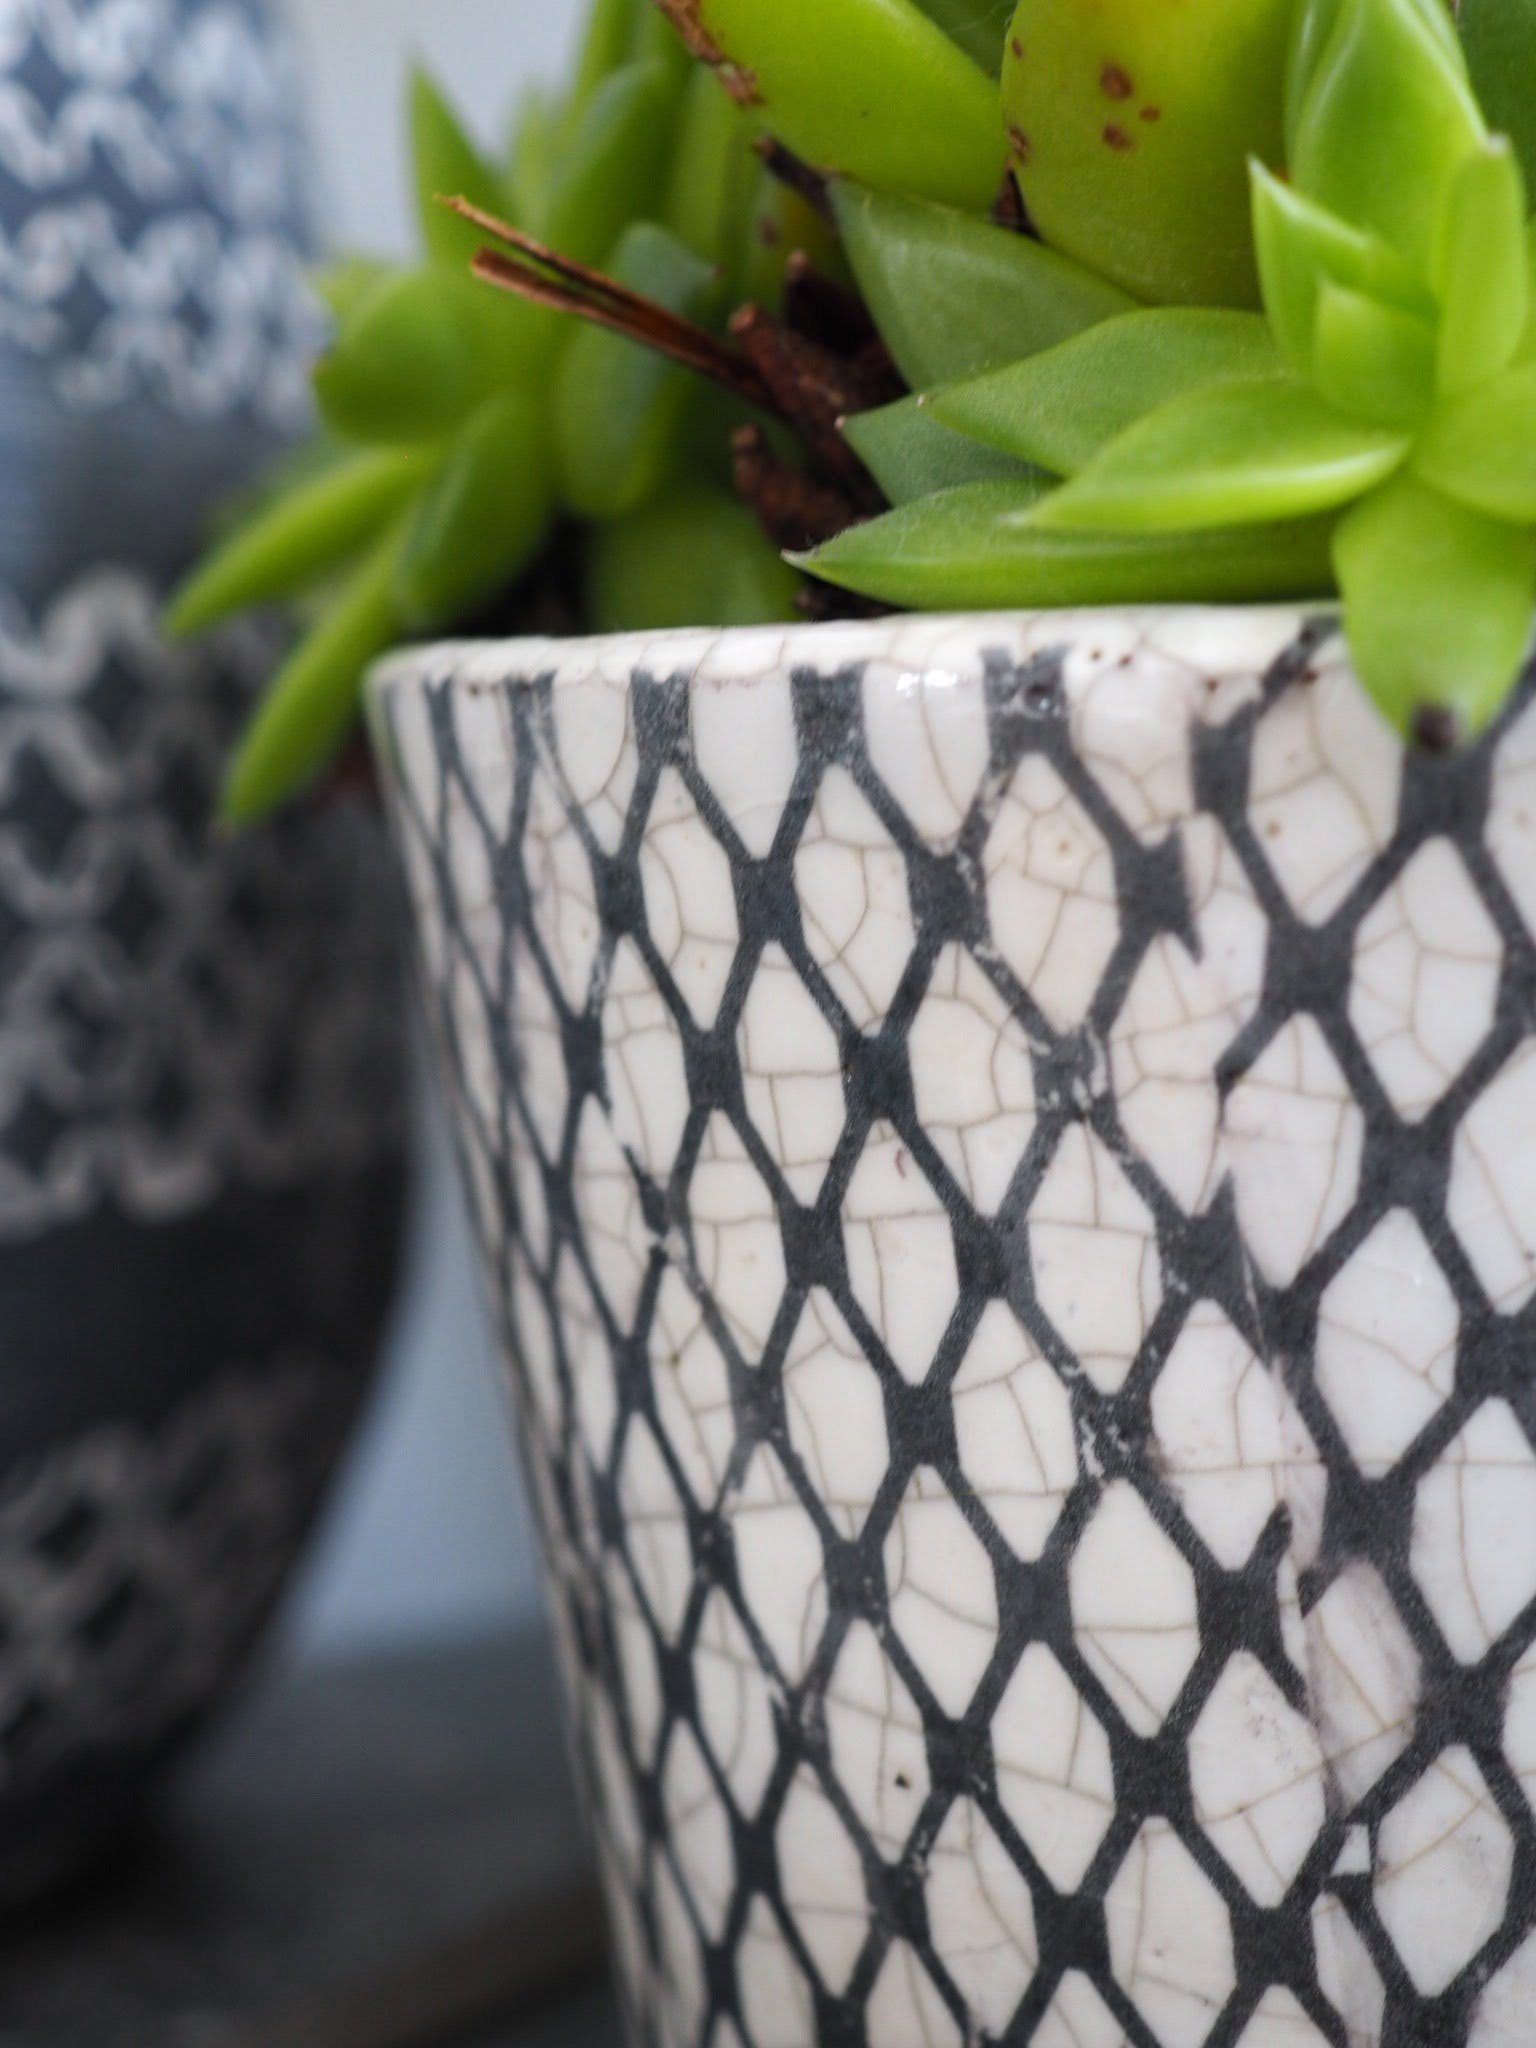
 I treated myself to the patterned ceramic pots for the rest of my plants from Brighton’s Lavender Room. They were £8 each – and I bought 6. It seems to have become obsessed with plants – I now own 11! I love the way they fill my space with green colour.
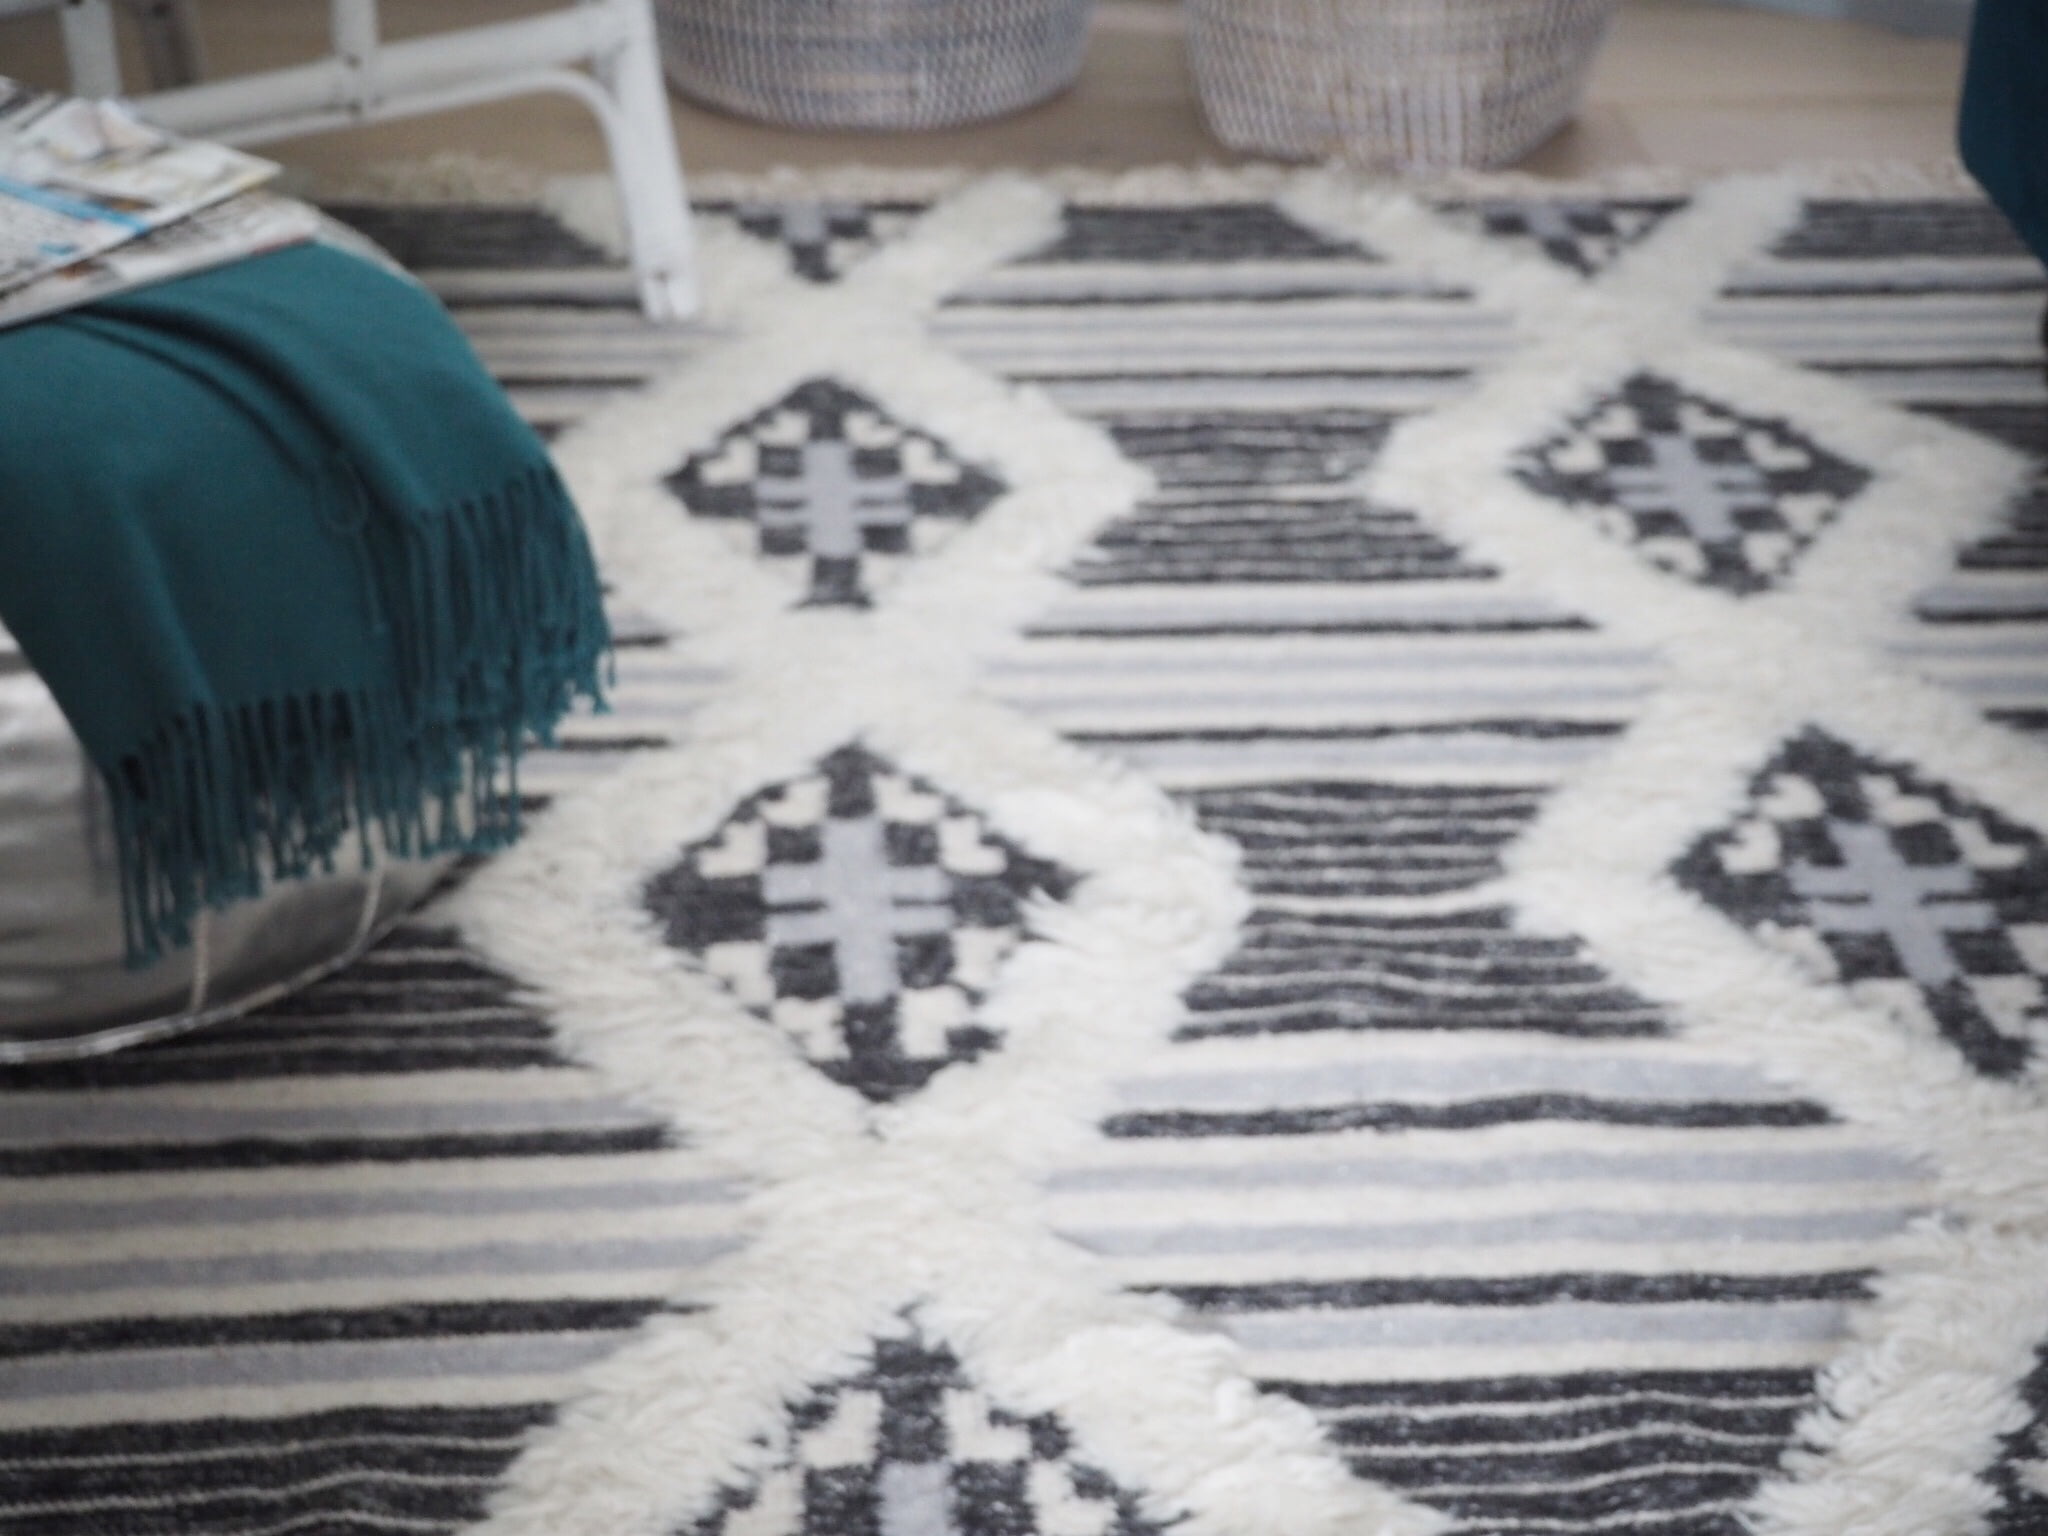
Lets talk about my new rug. Is it not the most beautiful thing you have ever seen? It’s called Cozy Kelim from on-line store, Modern Rugs – and it was an affordable £300. It makes me very happy. Mostly because I think I have had about 4 different rugs down in this room over the past year and I’m finally settled on this one. I love the way the blue/grey colours pull the look of my living room makeover together.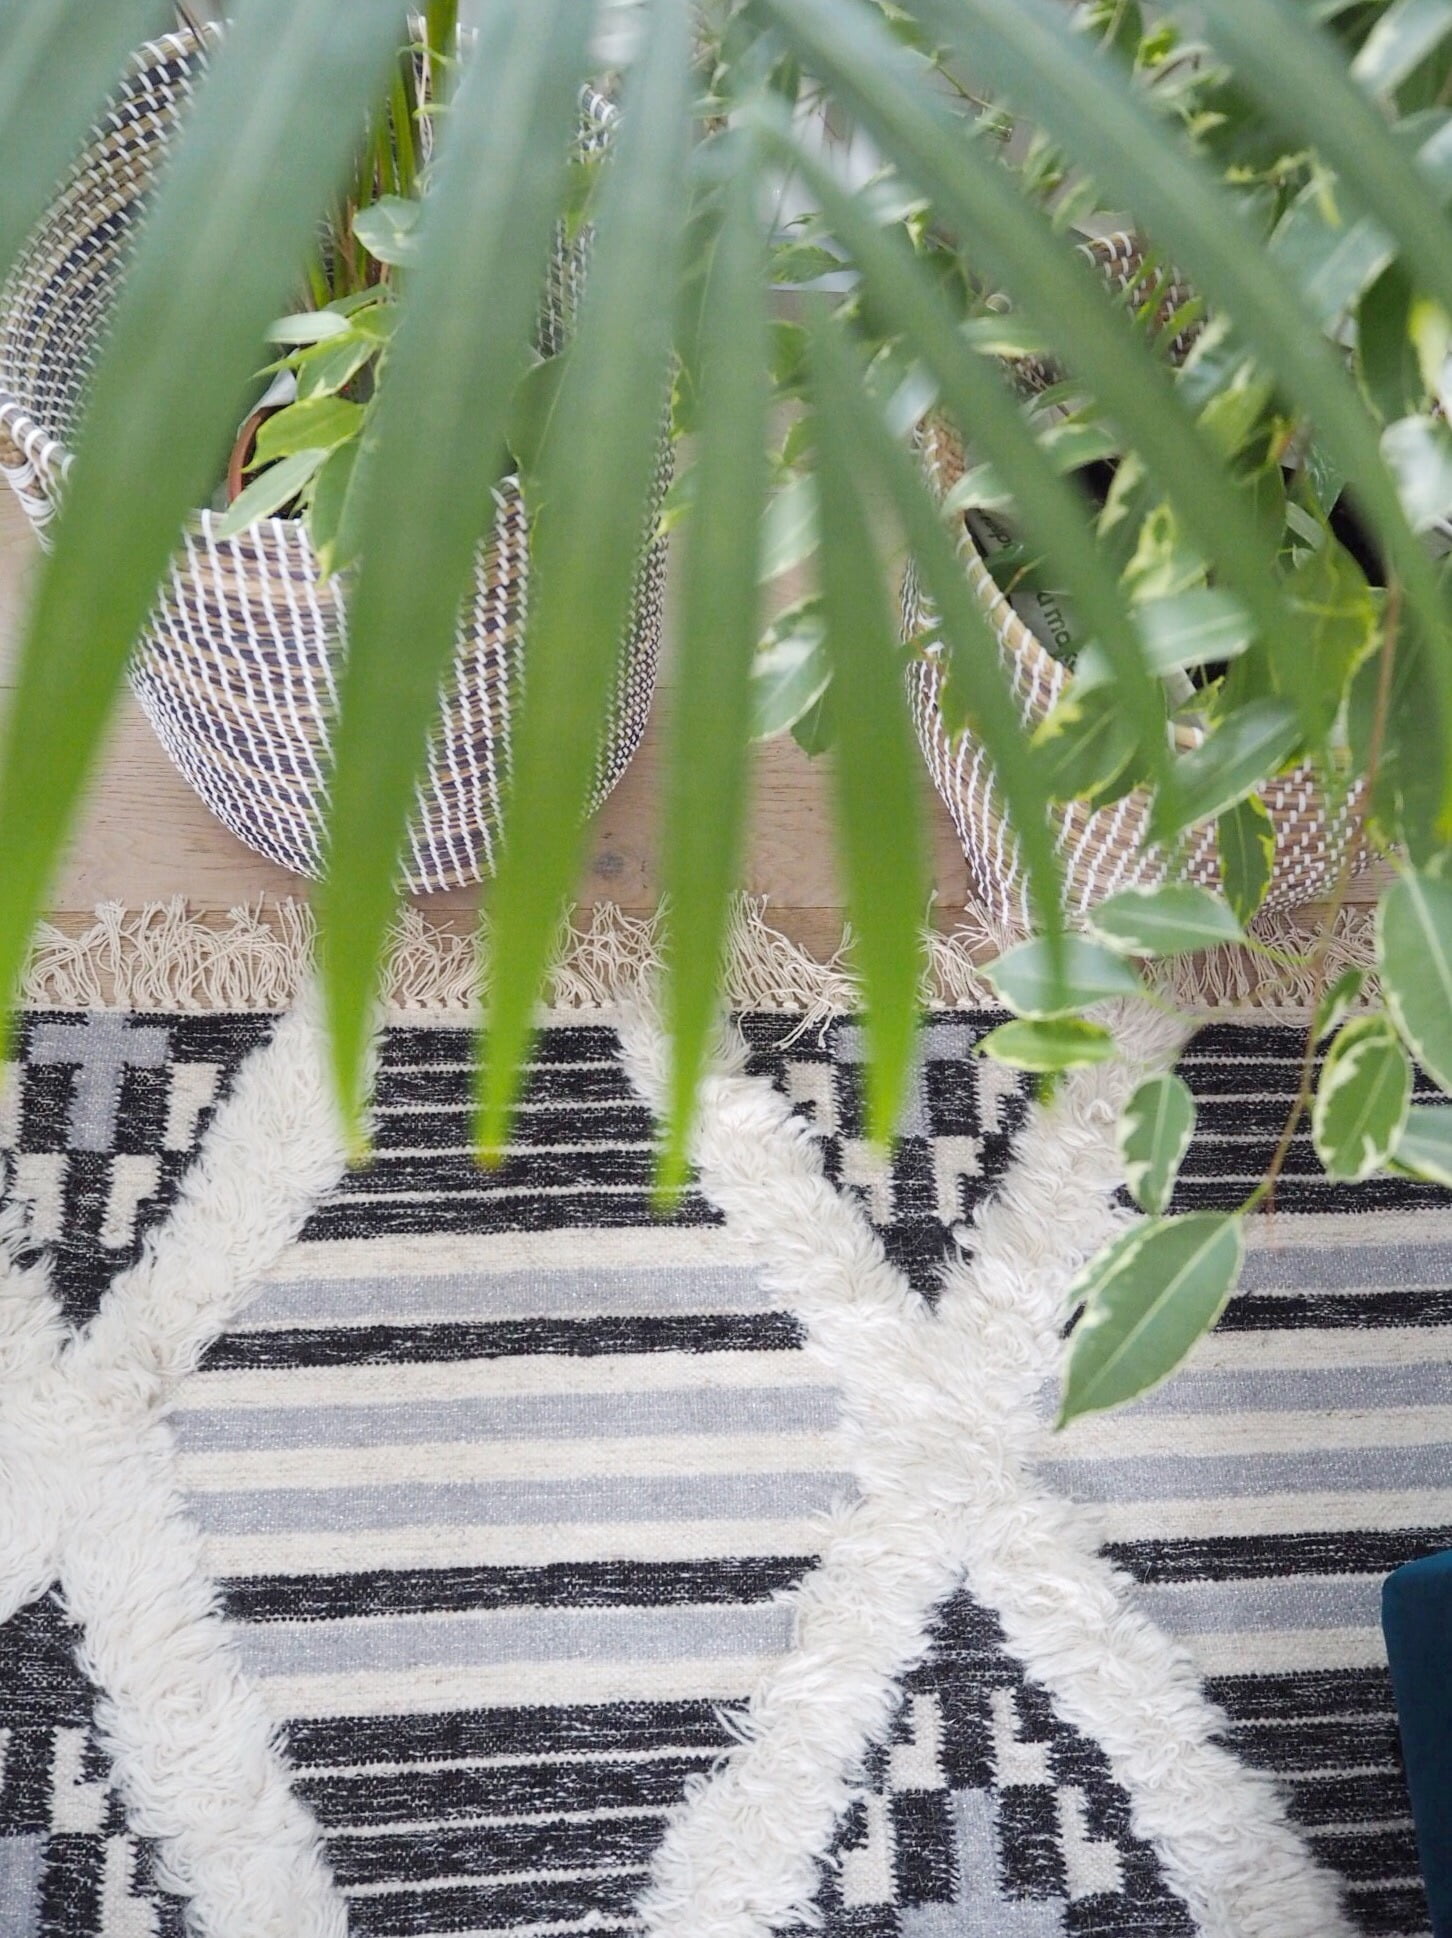
 Looking at the other side of my living room makeover
This is the view from the other side of the room into my dining room. You can see where the door and the dividing wall once were. Knocking through transformed how I use the space – opening up the room and making this area of my home feel light and bright. Putting in a huge back door in my dining room helped with letting lots of light in. You can see my dining room makeover over here.
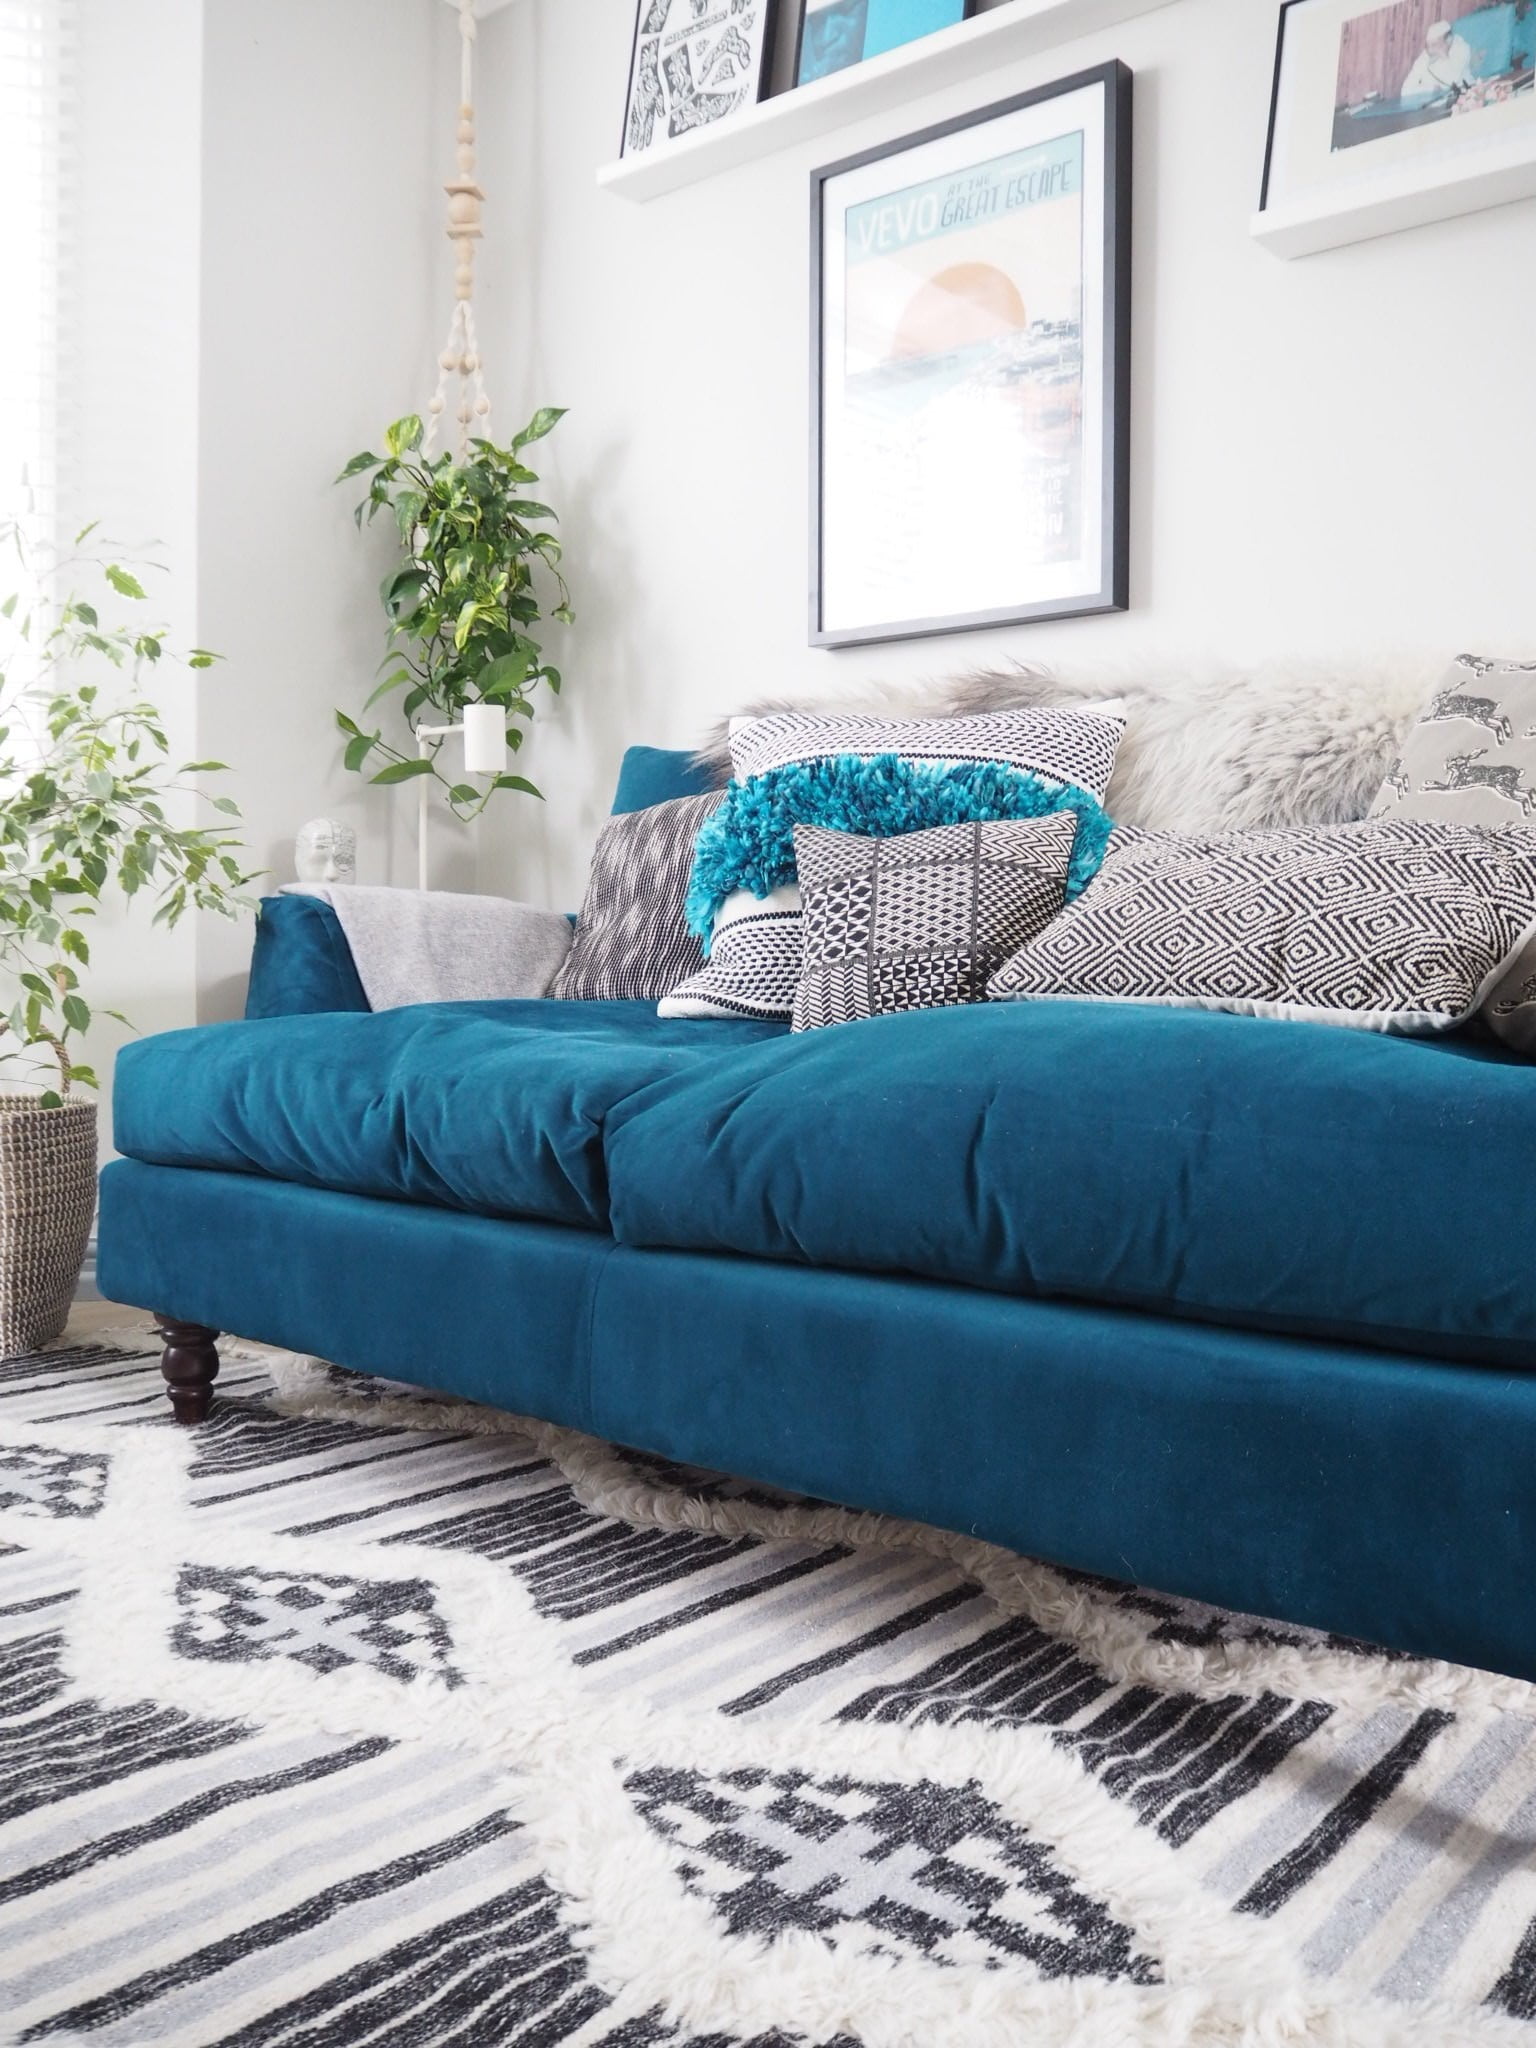
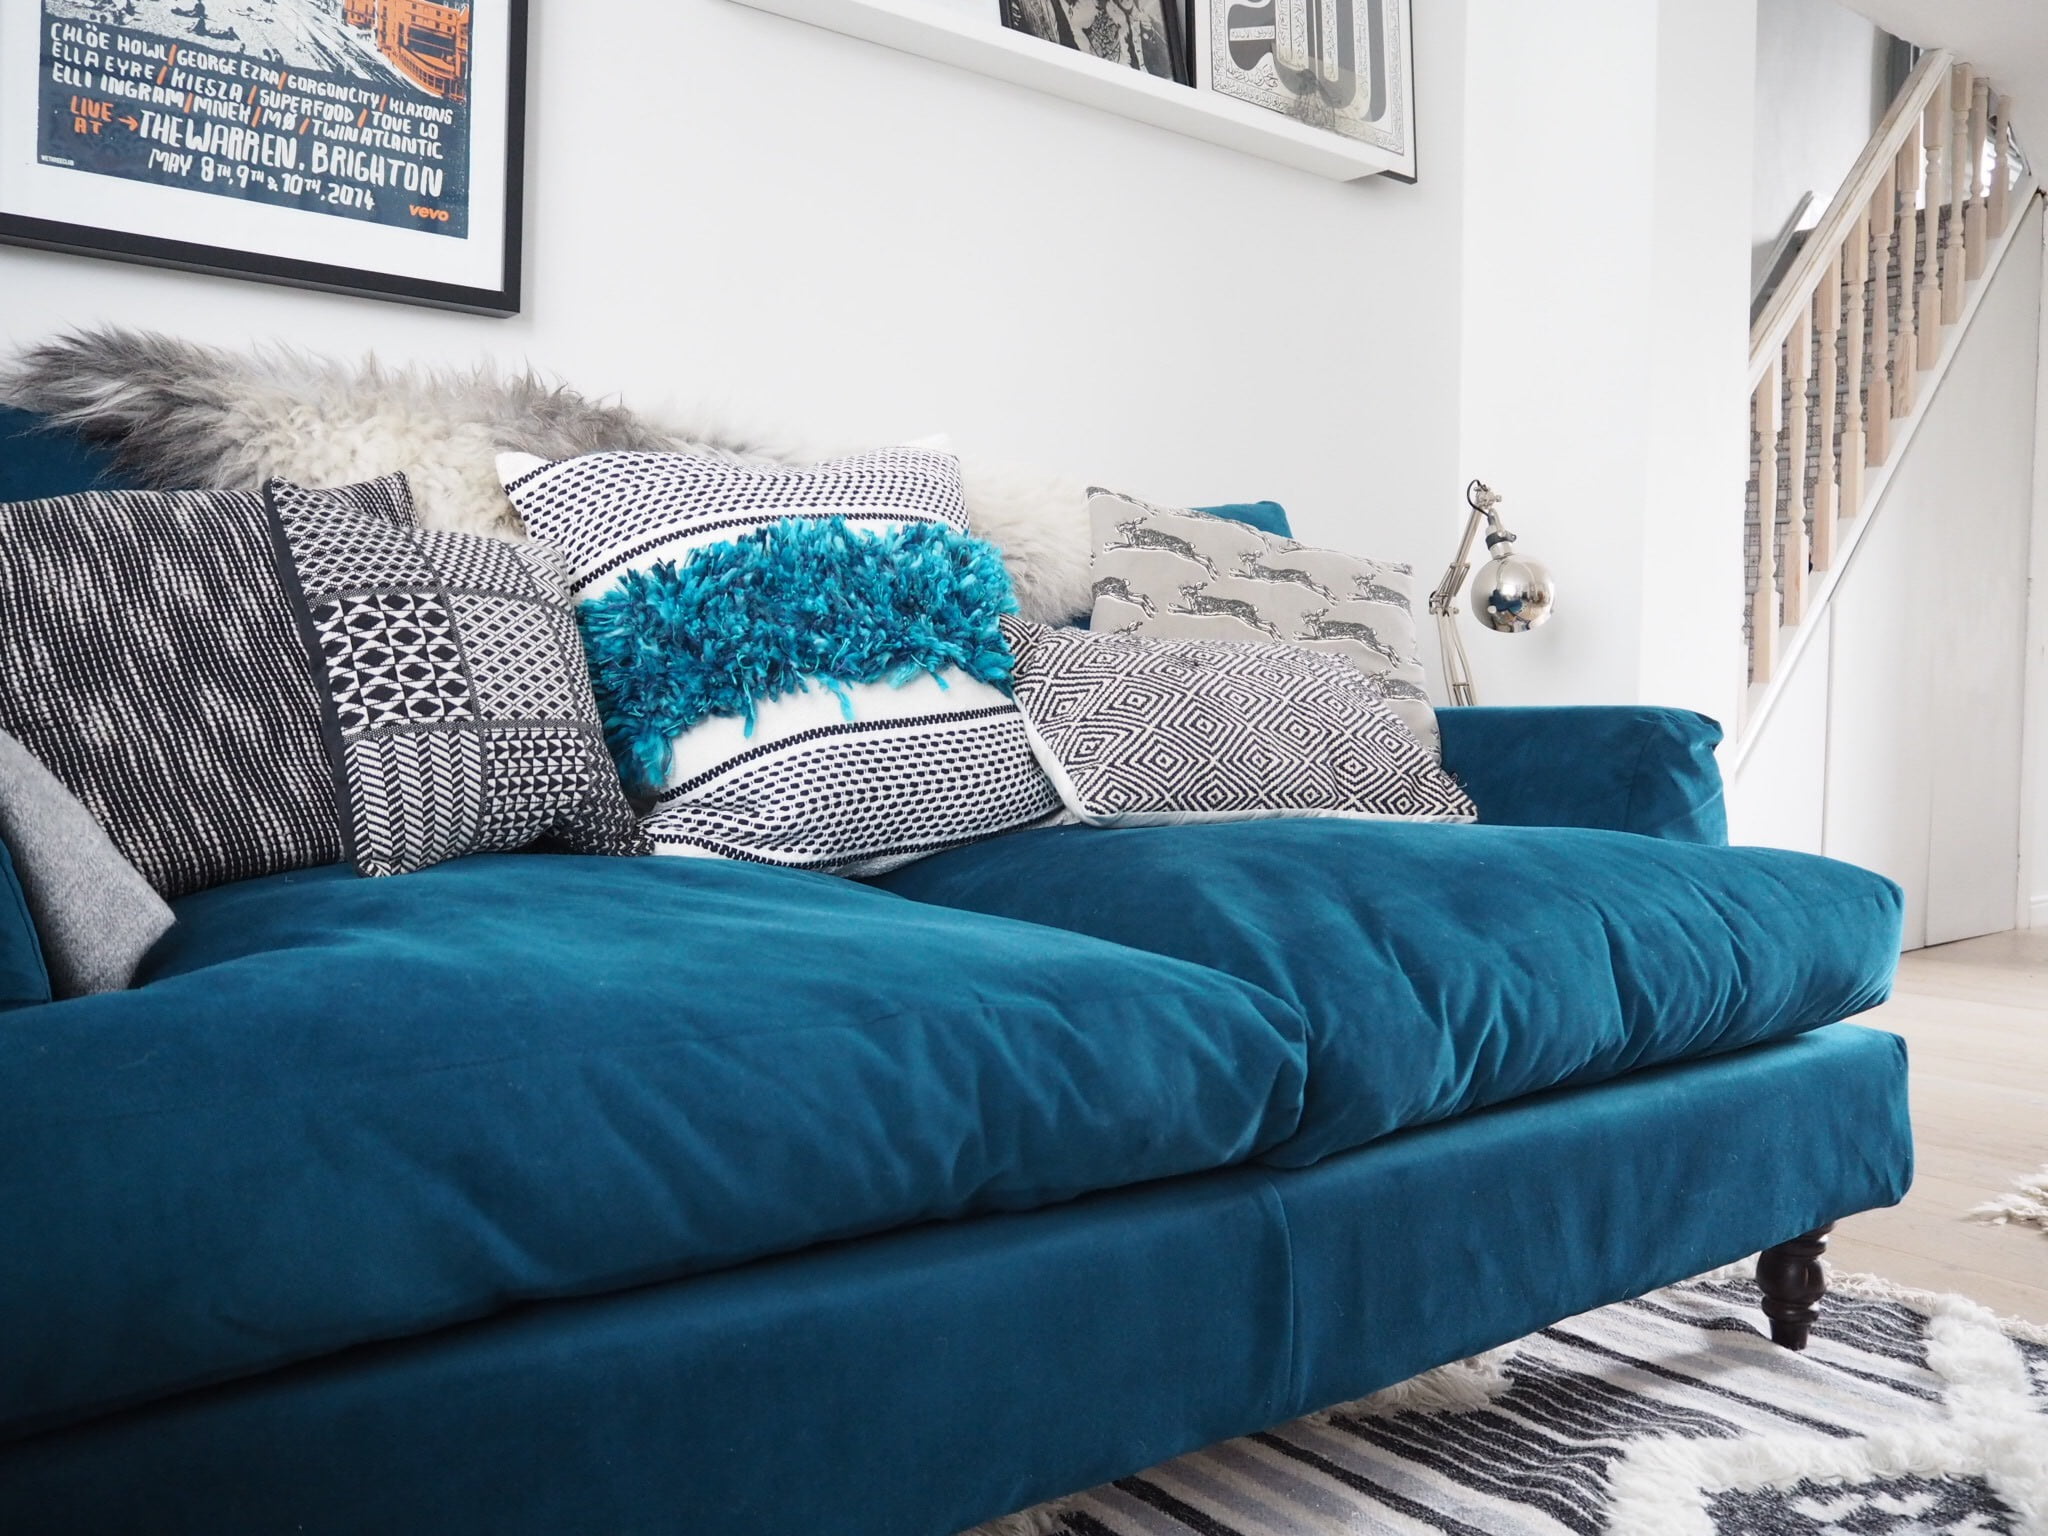
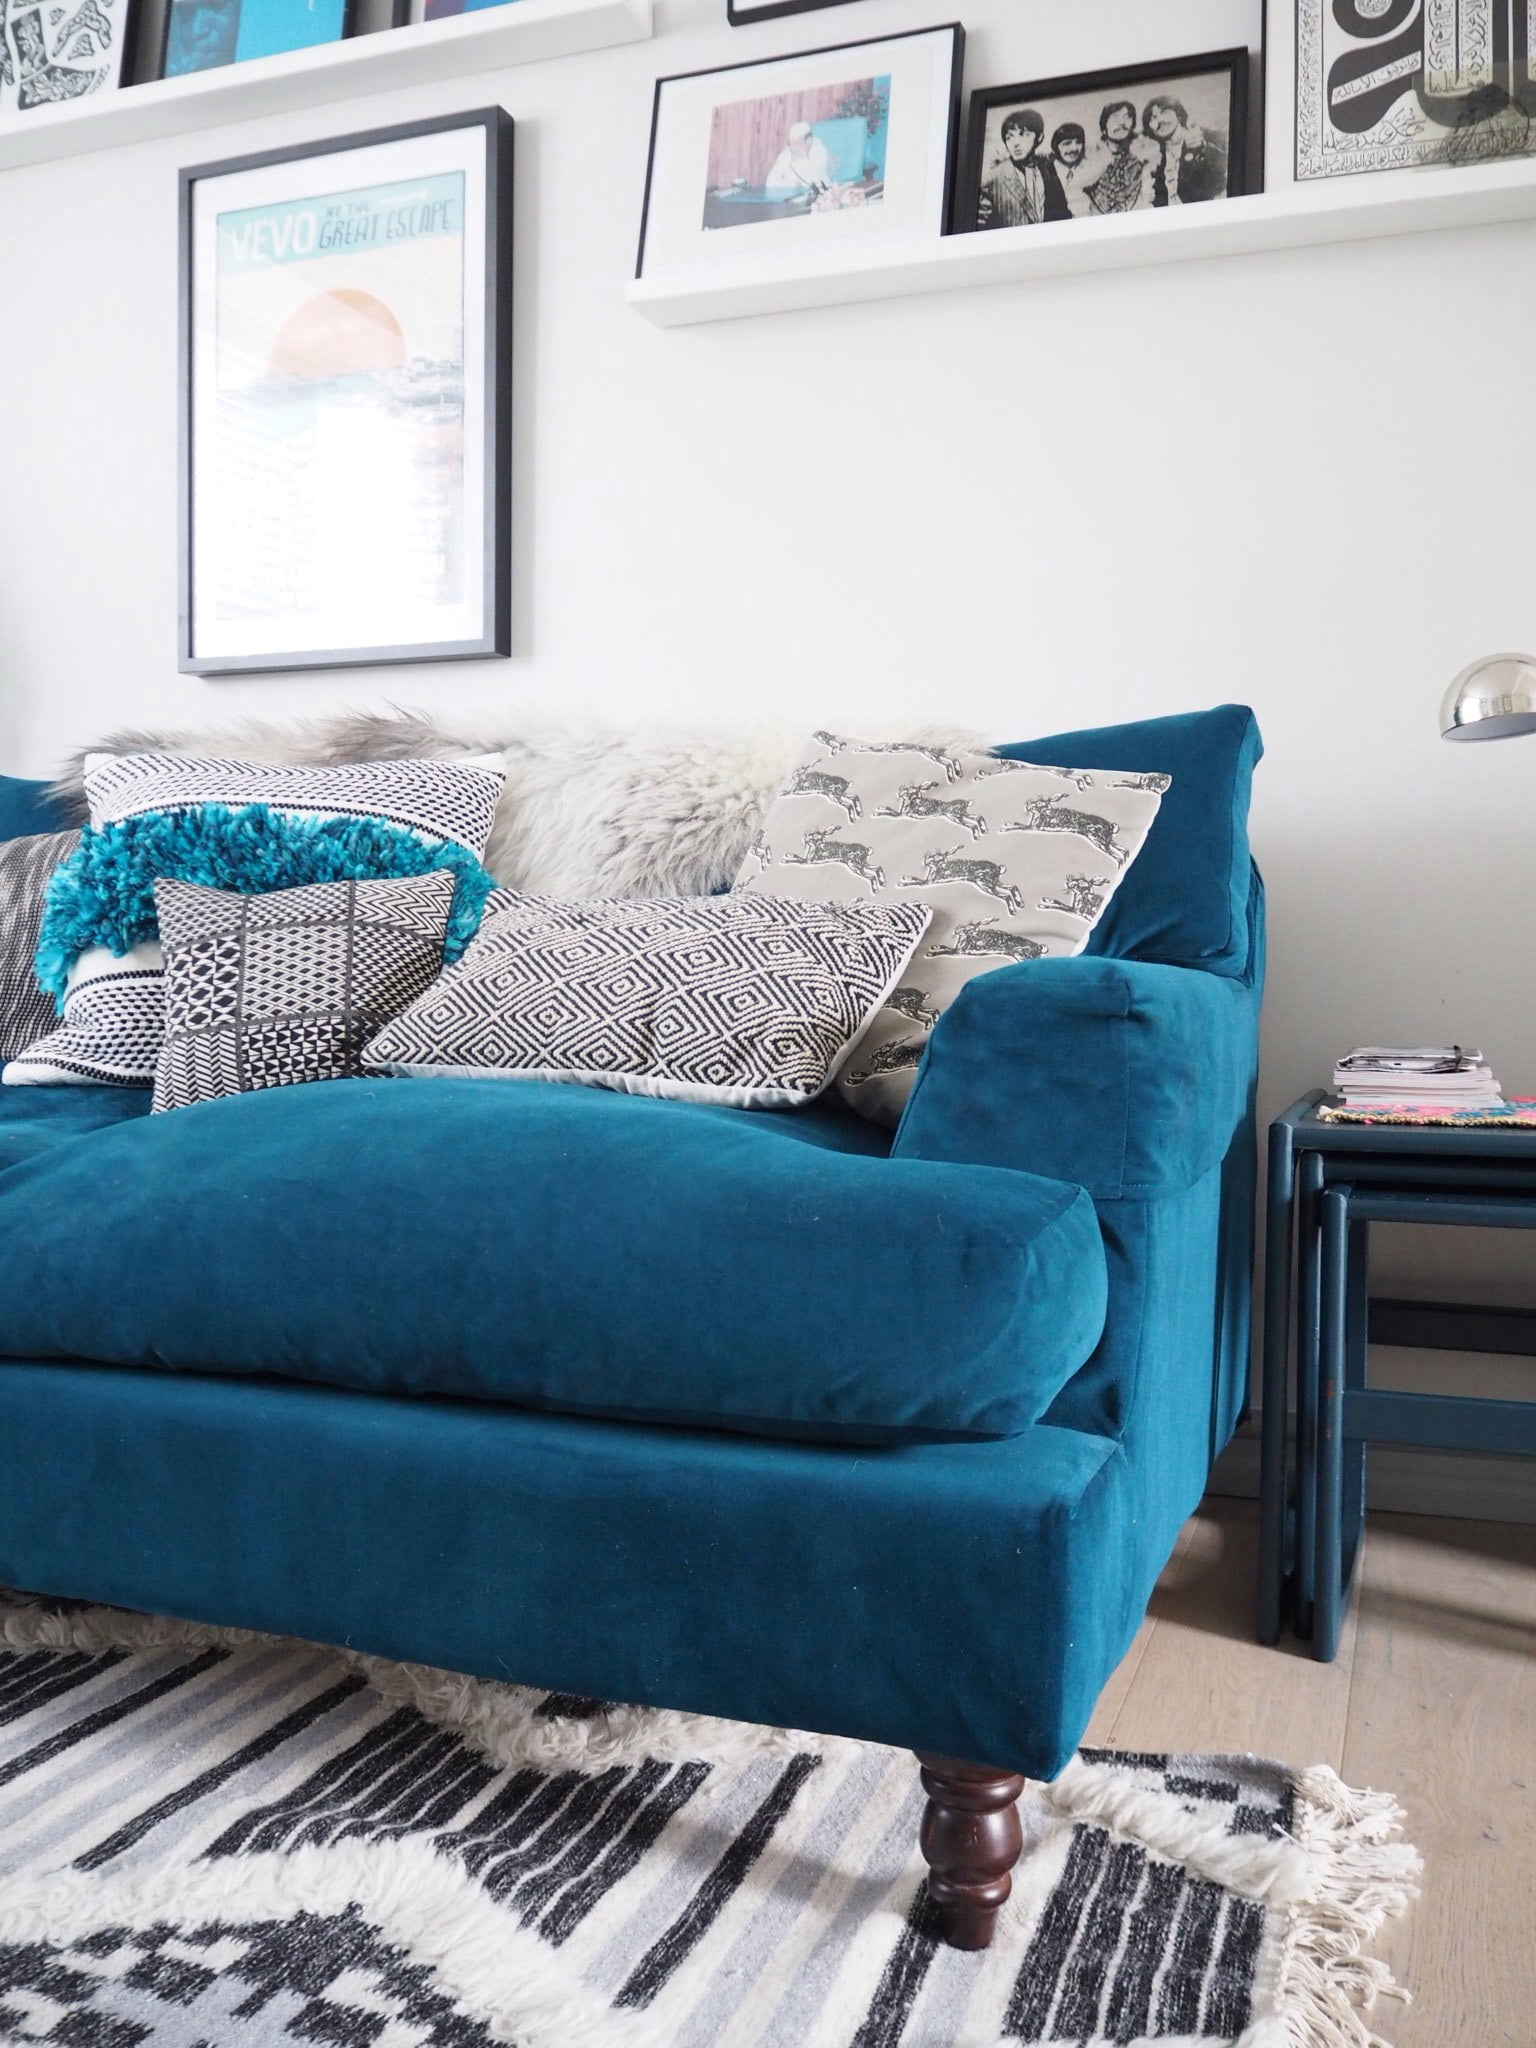
My sofa had a makeover too. I had new covers made up in teal velvet to pick out the teal hearth surround – you can read about that here. The cushions i have been slowly buying over the last year. Most are from Dunelm Mill and then that tufty one in the middle was from HomeSense.
I ***may*** have a few too many cushions but I don’t care. I constantly move them around my home to keep things feeling fresh.

The art has all been picked up from my travels. The pin ball machine print at the top is by a local artist who makes album covers for bands like Bat For Lashes. It glows in the dark! The Arabic script one came from Marrakesh. The Beatles one is actually a mirror that I have had since my student days – and I painted the frame black. There is an album cover in there too. I have been slowly having all my prints framed up professionally. I’ve found a guy who can do it for a reasonable rate.
The picture shelves are an Ikea find. My mate Ben helped me work out the layout for my prints. You need a second pair of eyes for these things sometimes.
The G-Plan next of tables (again found on the street) I painted in Farrow and Ball’s Stiffkey Blue to match with the sofa.
 What do you think of my Living Room Makeover Packed with Easy styling ideas
Well there you go. That is my living room in all it’s glory. It’s such a happy space to chill out in. I love all the textures in the room and the mix of patterns. The room feels very me and reflects my travels abroad as well as my love of Brighton.
I rent my home out on Air Bnb, and my guest tell me they love looking at all the different elements in the room. There is a lot in here but all of it is considered. I plan to live with this for a bit. I know I want some new lamps and a new cabinet for the alcove – something industrial…and a new armchair when I can afford it.
I’m going to do a blog post soon on all the little details with a shopping list of of how much the room cost. I’ve also got a vlog coming too that shows how to style these accessories in my home which I did with Bairstow Eve.
Pop back in a few weeks to catch that. In the meantime, have a great week.
READ MORE
MY COSY AUTUMN LIVING ROOM MAKEOVER WITH FRENCH CONNECTION
THE BEST PAINT COLOURS FOR TRICKY ROOMS – NEW FOR 2023!
PIN THIS PICTURE OF MY LIVING ROOM MAKEOVER TO SAVE FOR LATER
**Disclaimer. Some of the products above have been gifted to me. All photos and opinions are mine.

Wow! What a transformation! And that sofa is just stunning!!!
Thank you Anne. And thank you for popping by the blog x
What a triumph Maxine. It looks stunning. Btw, you can never have enough cushions. Or sockets! x
o true. Wish I knew that before I started though 🙂
Wow, it looks truly amazing now! I adore your new sofa covers and the floor and fireplace have both been transformed. Love it.
Love my sofa so much now it has cool cushions on it.
It’s always those final few pieces that really help bring things together in a space isn’t it? I love all those monochrome patterns against that vibrant blue sofa Maxine 🙂
Feel like I’m finally getting there.
Hi Maxine, It’s not easy to remodel our living room but I do that at certain times. You know, I like to stay new and like to decorate my room. In this way, always read your blog post and follow you. It helps me to remodel my living room.
I’m so pleased to hear that. Keep popping back.
While I know that this was a tough job and that you literally almost took your home, in certain rooms, down to the studs and it was hard. But, your home and “after” pictures are absolutely gorgeous and it looks custom!
The transformation is just outstanding, how long does it take and how much its cost you.
Very impressive makeover! Must have been a great project. The after photos are stunning, I especially like the chosen colors of the living room, so delighting.
Thank you – lovely of you to say.
Your colour palette is so pretty! And with the colour blocking, you’ve made it a practical, lovely and fun space for a family home – what all hallways should be but rarely are! The white floors look beautiful, looking forward to reading your post about it!