I always think it doesn’t matter how much you spend on a gift, if you wrap it up beautifully then it will look a million dollars. Today, I’m sharing with you a quick DIY Christmas gift wrapping idea with the help of Ronseal paints.
It’s such a sweet idea – and so simple to do – I’m sure you’ll be using it for birthdays and celebrations as well as this Christmas.
** Sponsored Post **
My 3 DIY Christmas Gift Wrapping Ideas
If you are looking to add a little festive flare to your Christmas gift wrapping, then you have come to the right place. Sometimes you just want to make that special gift even more special with a thoughtful wrapping style.
In this post, I’m going to show you how to DIY your Christmas wrapping paper with a splash of paint and lots of imagination with two cute ideas. Follow my easy steps to wrapping perfection this season.
Happy wrapping!
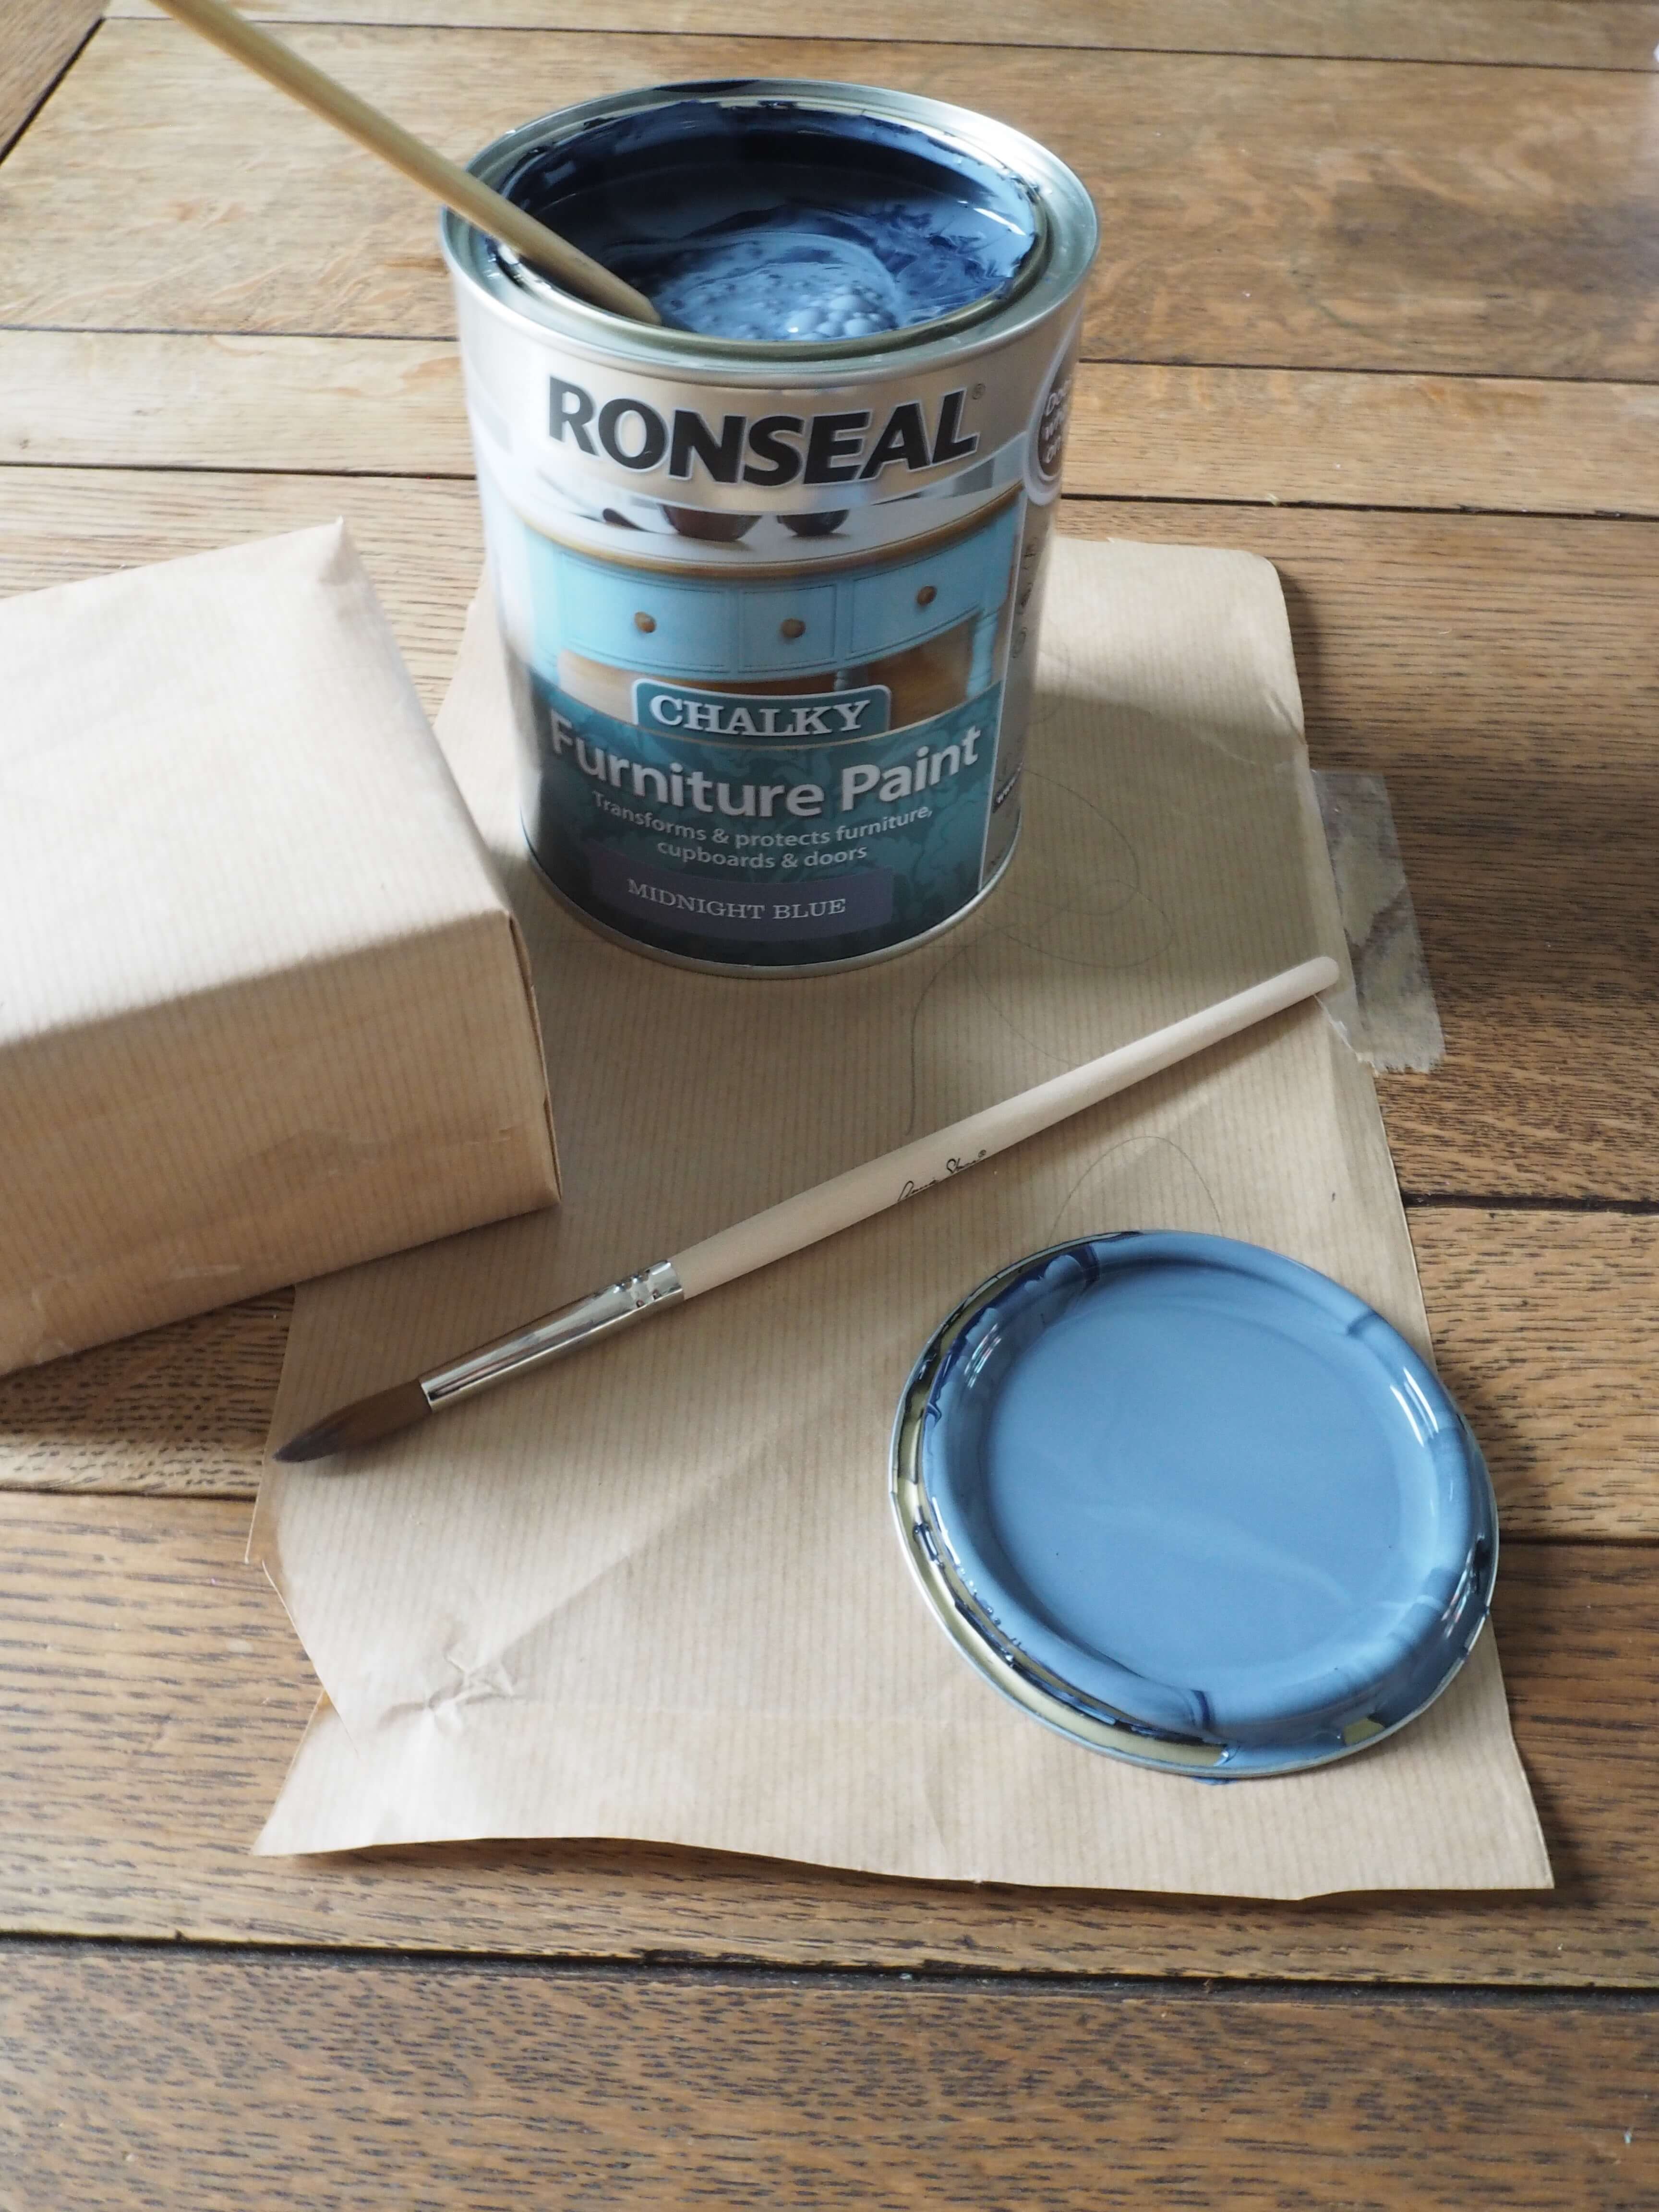
Get crafty and creative this Christmas
What you’ll need:
- Ronseal Chalky Furniture Paint
- Flat artist’s paint brush (I like this set)
- Brown paper or brown paper bags of various sizes
- Metallic wrapping paper
- Sticky tape
- Ribbon
- Wooden stars like these ones
- Marker pen and pencil
You can easily paint your own Christmas wrap with this simple styling idea
Bow Wrap
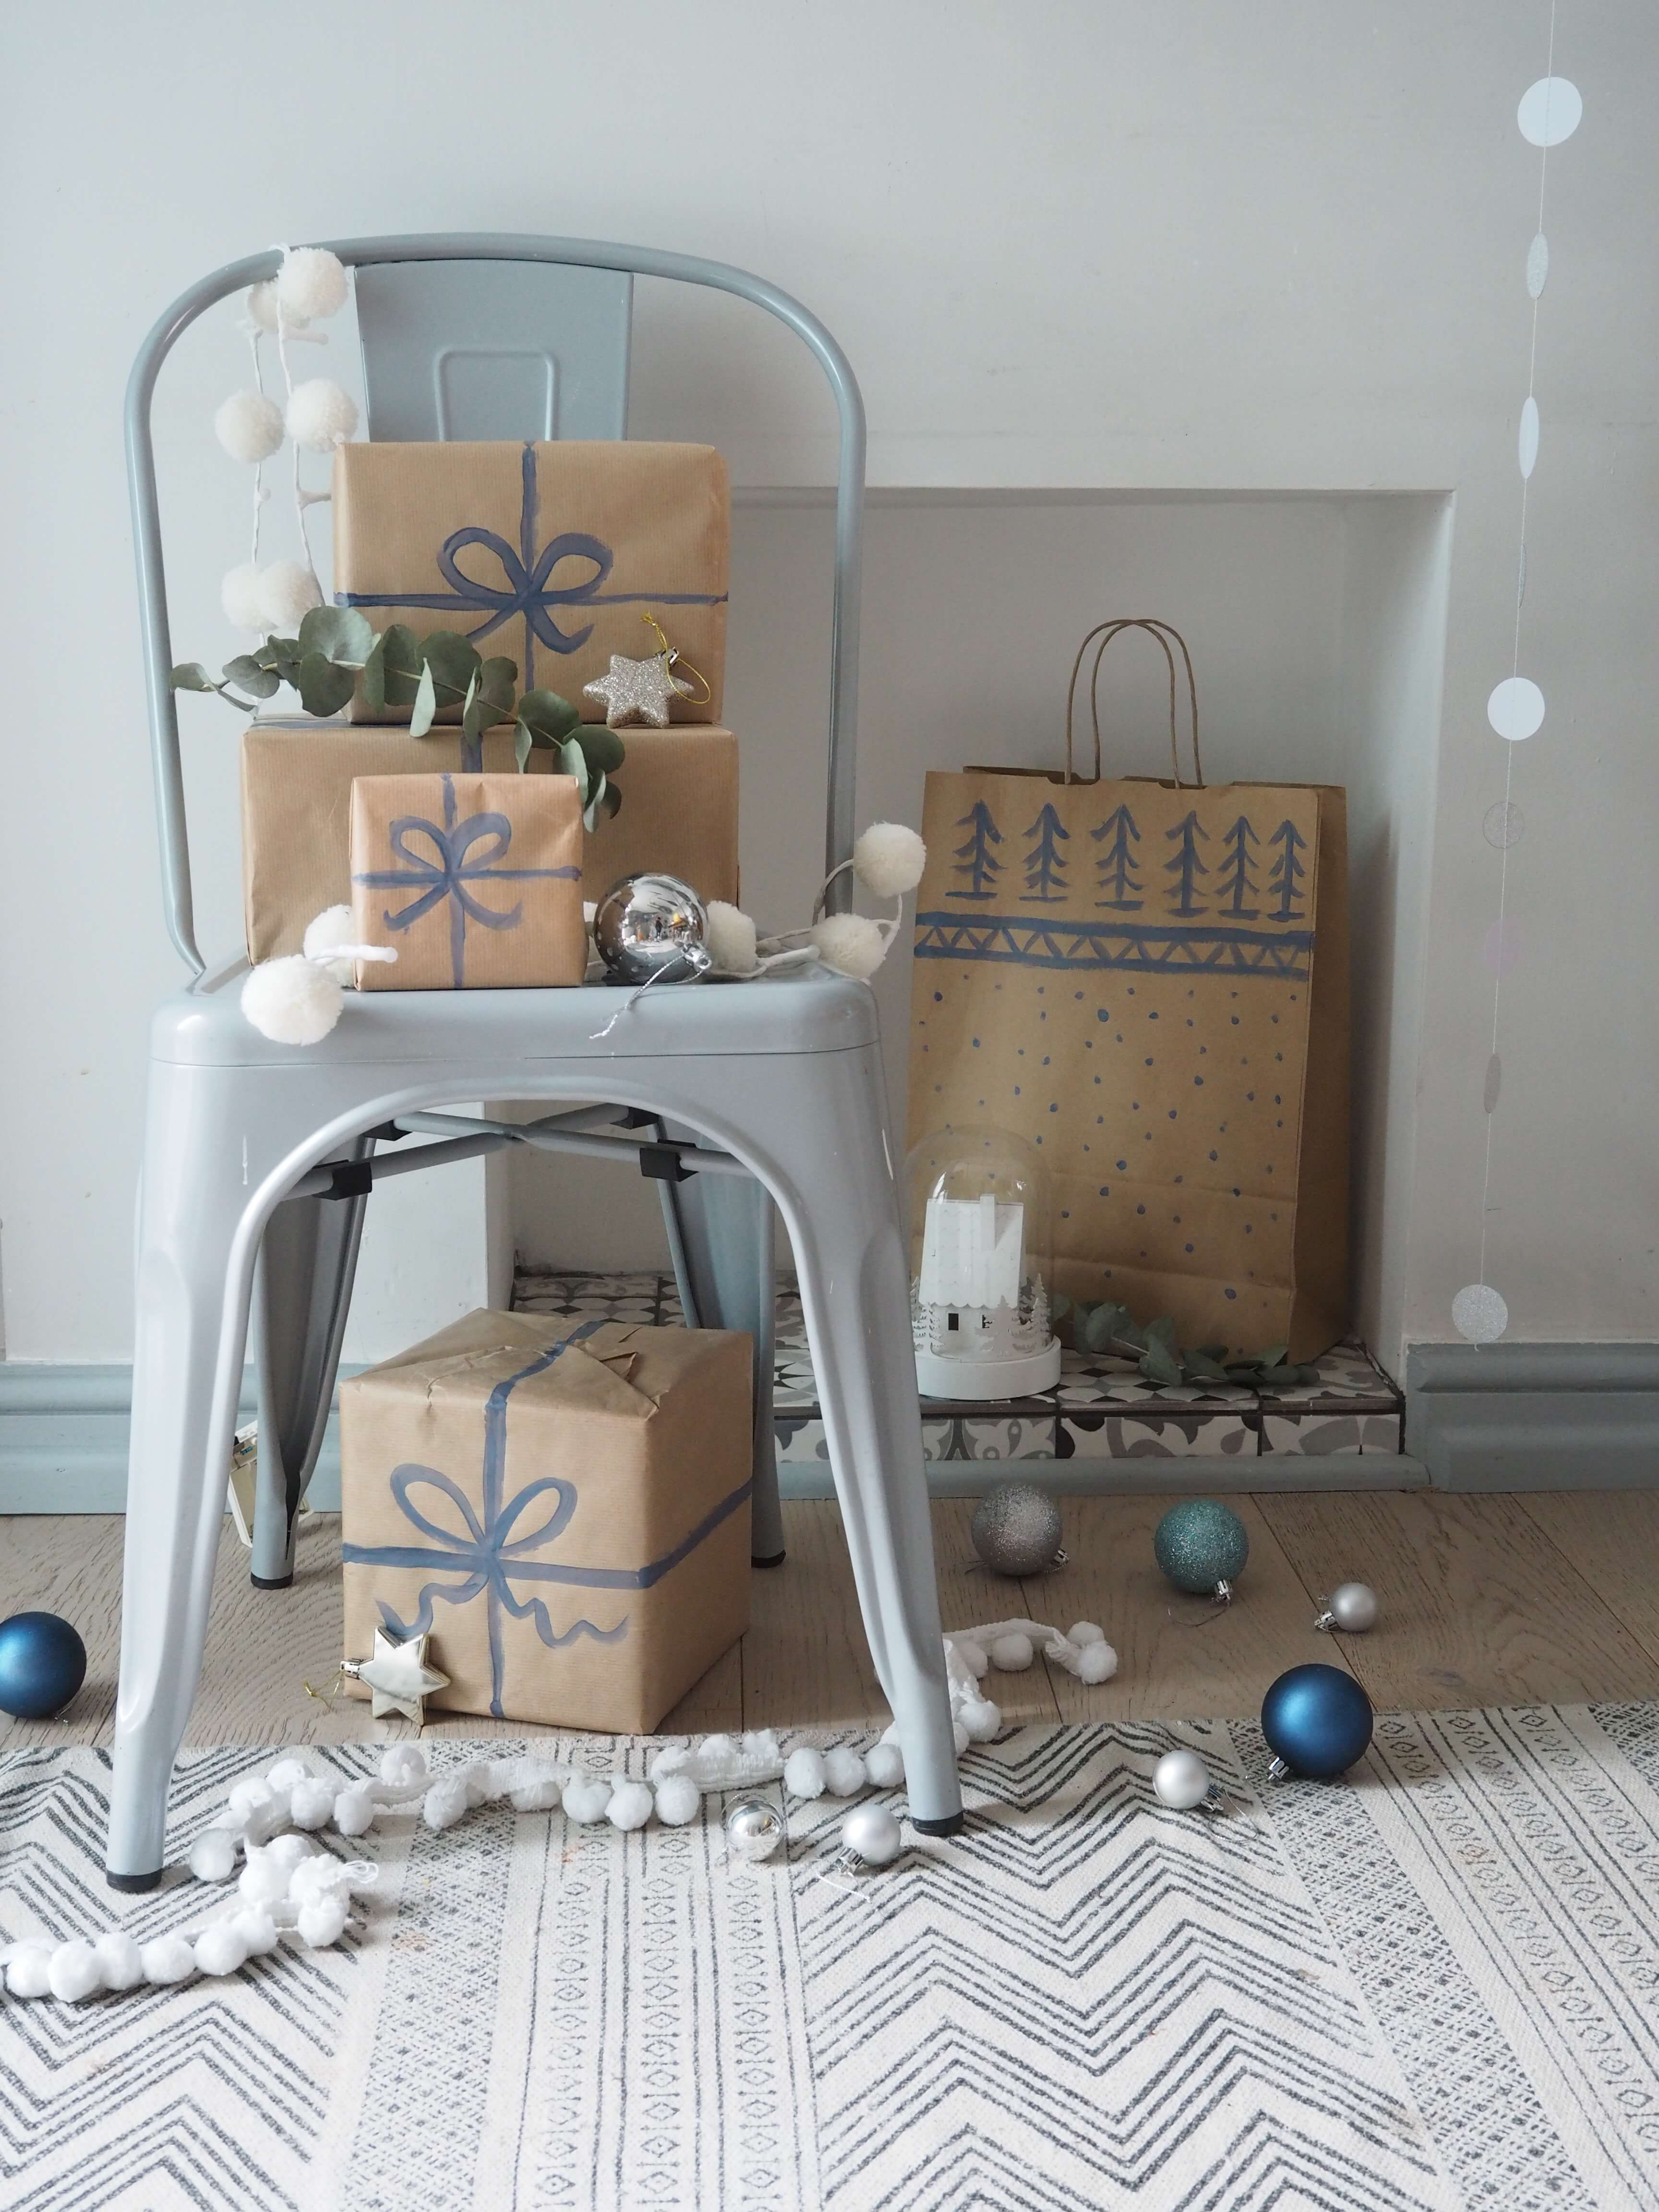
This style of gift wrap has little ones in mind with it’s cute crafted bow in blue paint. Don’t worry too much about being perfect. This Christmas gift wrapping actually looks prettier when the line is a bit wonky.
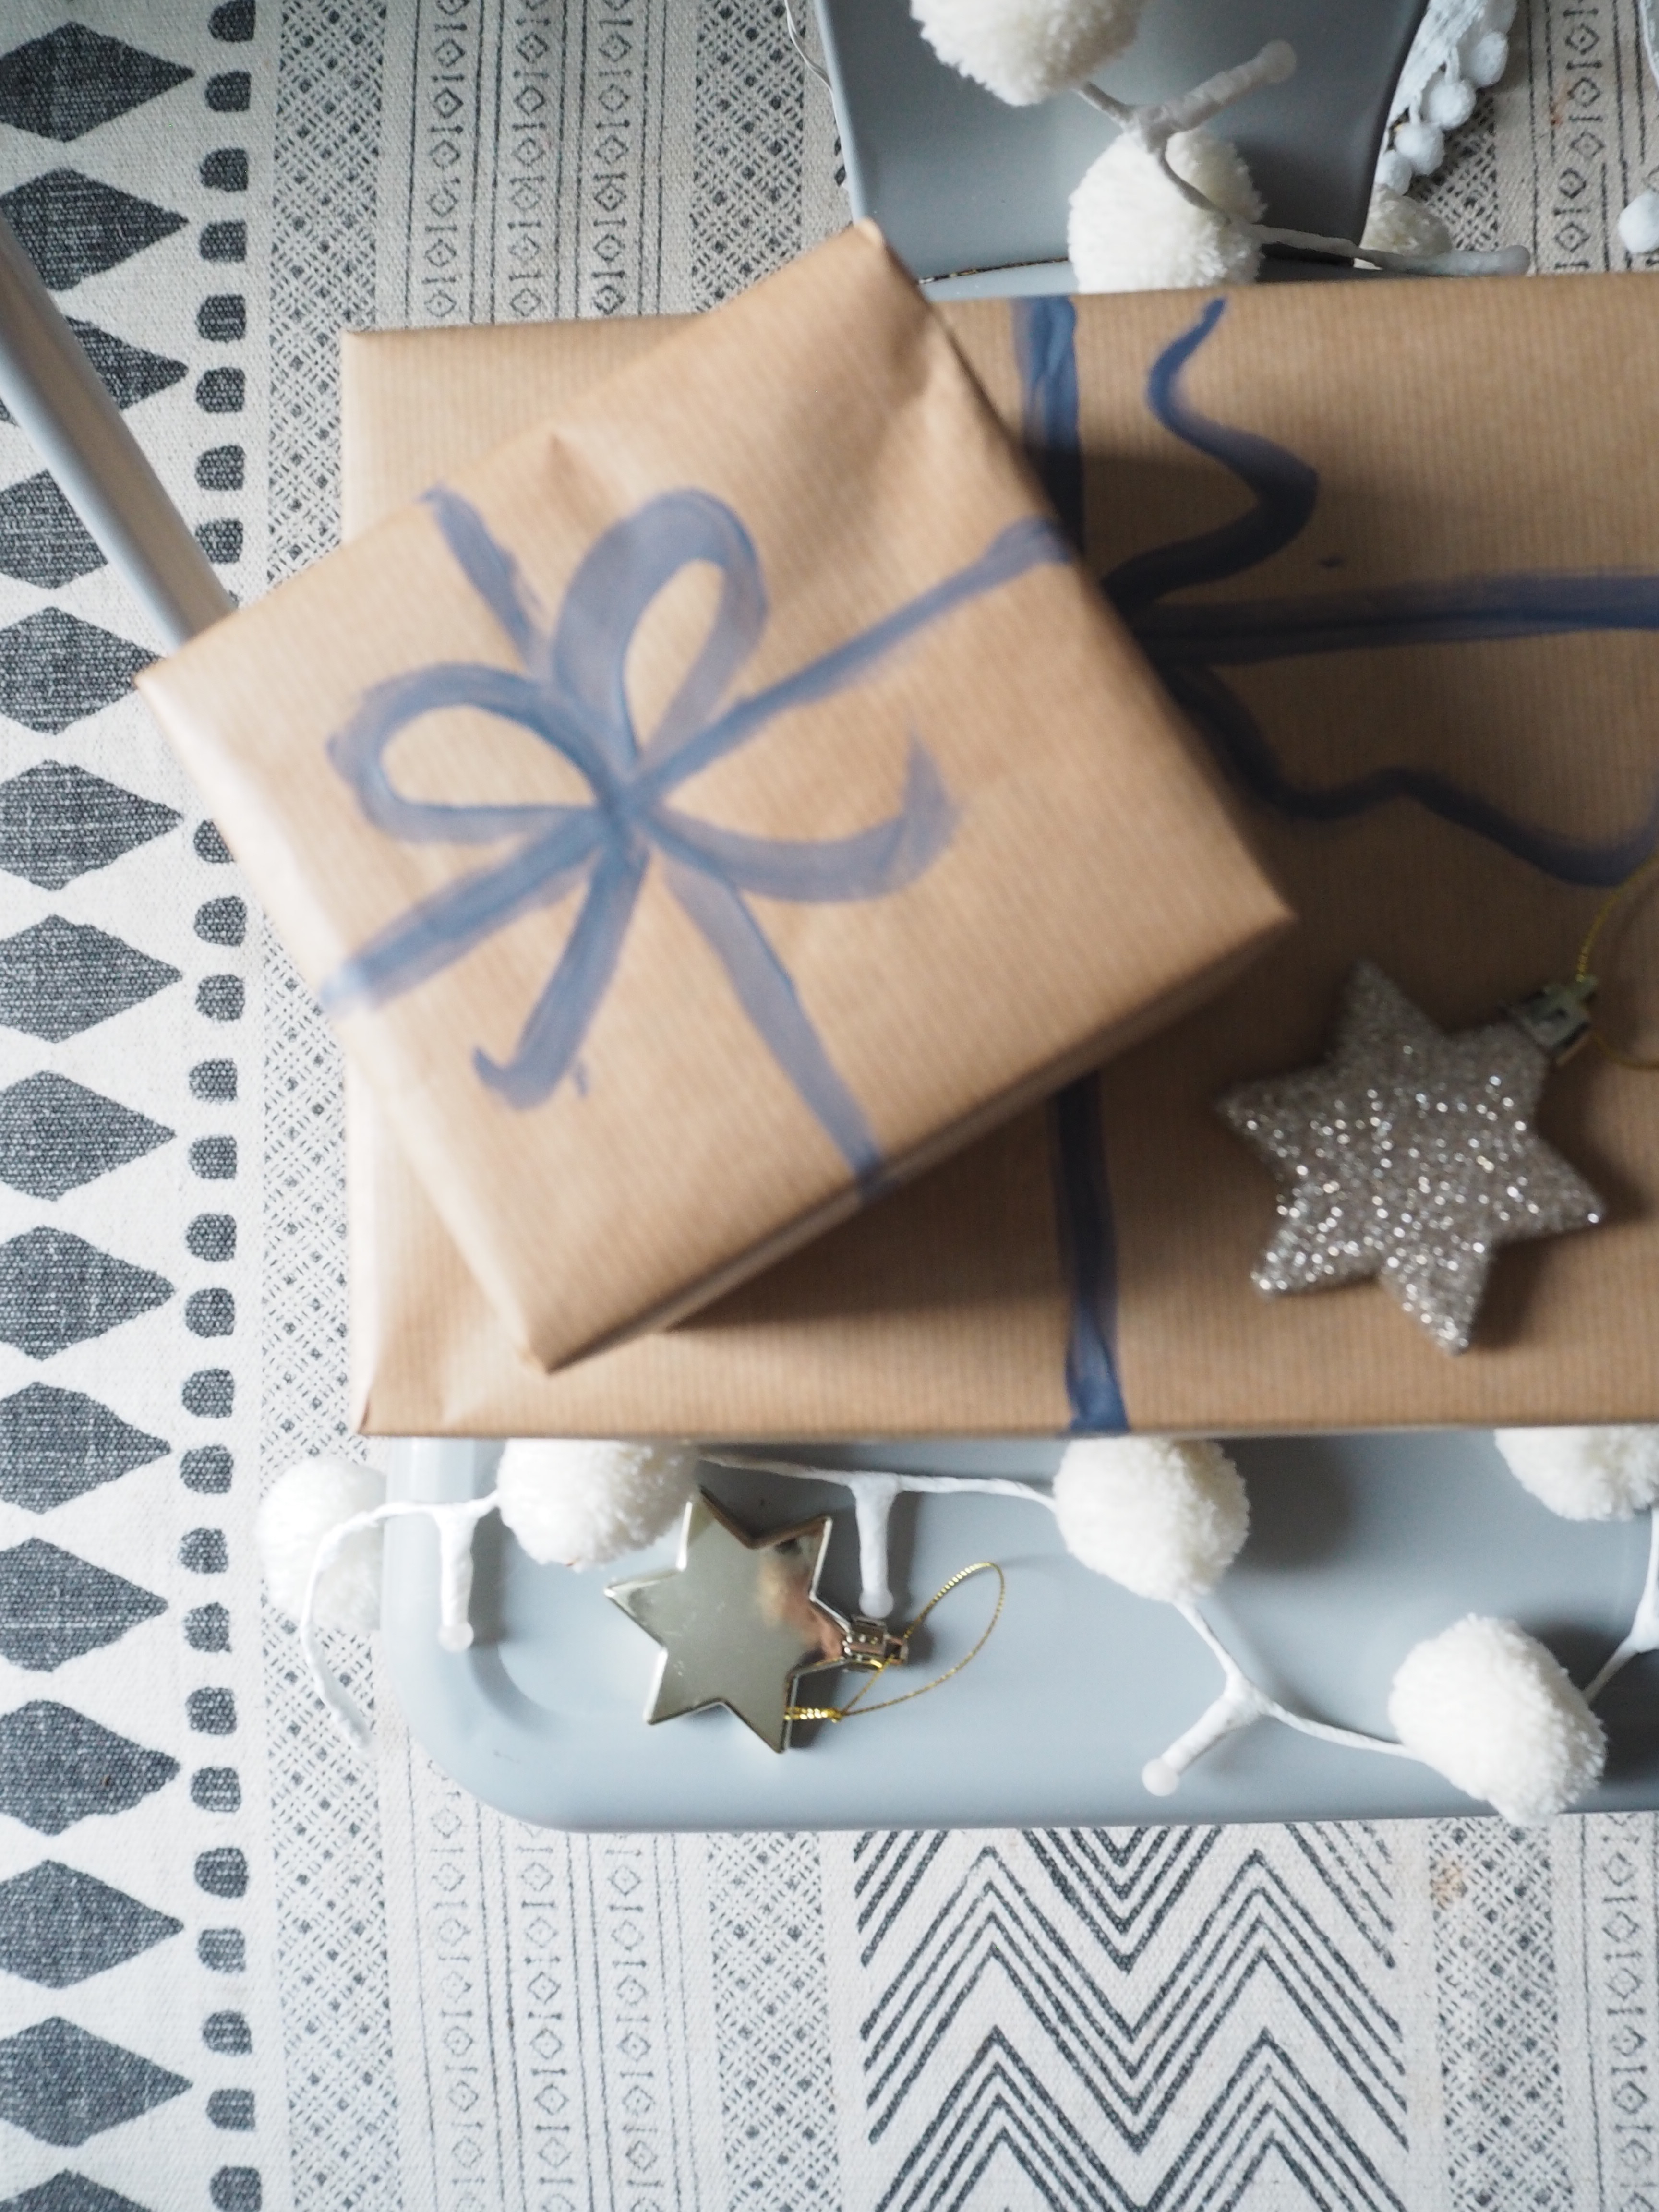
How To Make Bow Wrap
Step One
Start by wrapping your gifts neatly in brown wrapping paper. If you have odd shaped presents, pop them into a cardboard box. In the months leading up to Christmas, I save up all my recycling so that I have boxes of all shapes and sizes to wrap up gifts in.
Try to fold the paper at the edges to create sharp crisp lines, and use sticky tape to hold your folds in place. Or if you prefer, pop pressies in a brown paper gift bag. Much easier!
Step Two
Using a pencil and ruler, faintly draw on lines around your wrapped boxes. Don’t make them all the same for a handcrafted feel. I had some where the bow was off centre. I lightly drew on a bow shape in the middle.
Or the paper bag, I used a ruler to mark out the stick tree effect.
Step Three
Make sure you give your Ronseal chalky paint a really good stir. I use a chopstick for this! I went for the colour ‘Midnight Blue’ as it stood out against the brown paper the best. For a more classic look you could try ‘Vintage White’ – or for an on-trend blush style, try ‘English Rose’.
Using a flat brush, test out your design on a scrap of brown paper first. Practice makes perfect! My advice is give it a few goes to see how much paint you need to apply and get used to the brush strokes.
Once you are ready, carefully hand draw on top of the pencil design. Allow to dry – and there you are.
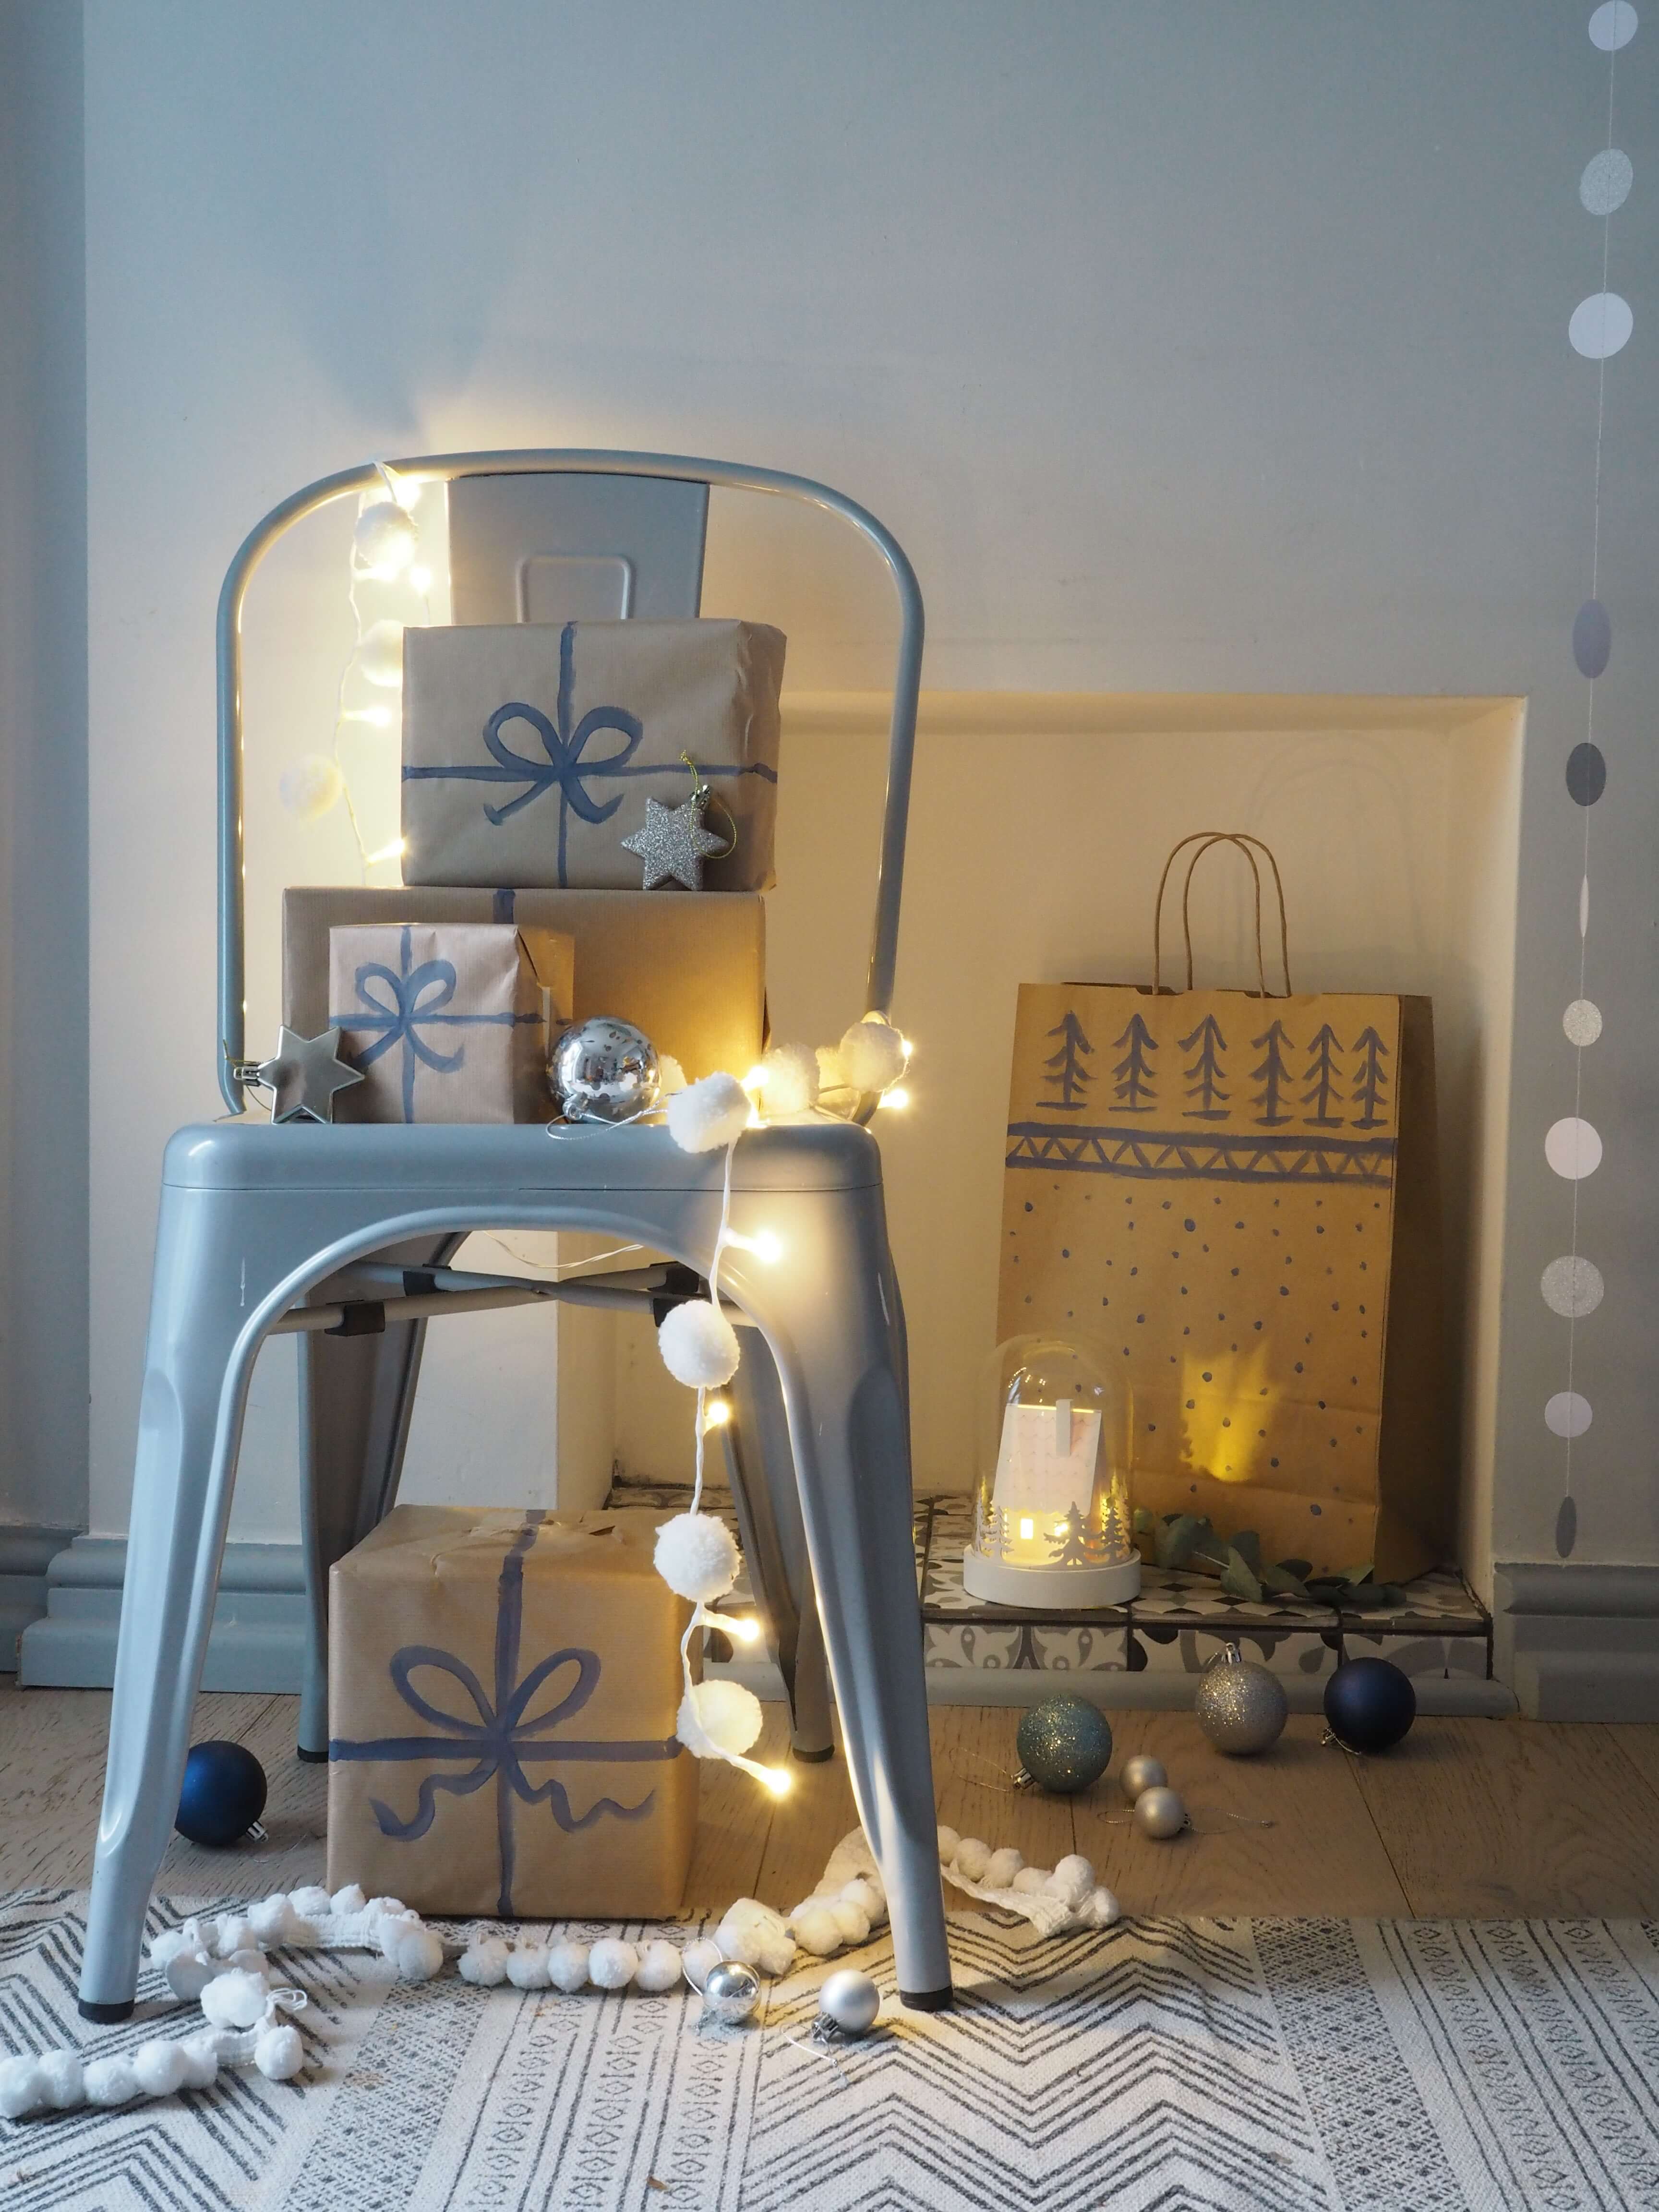
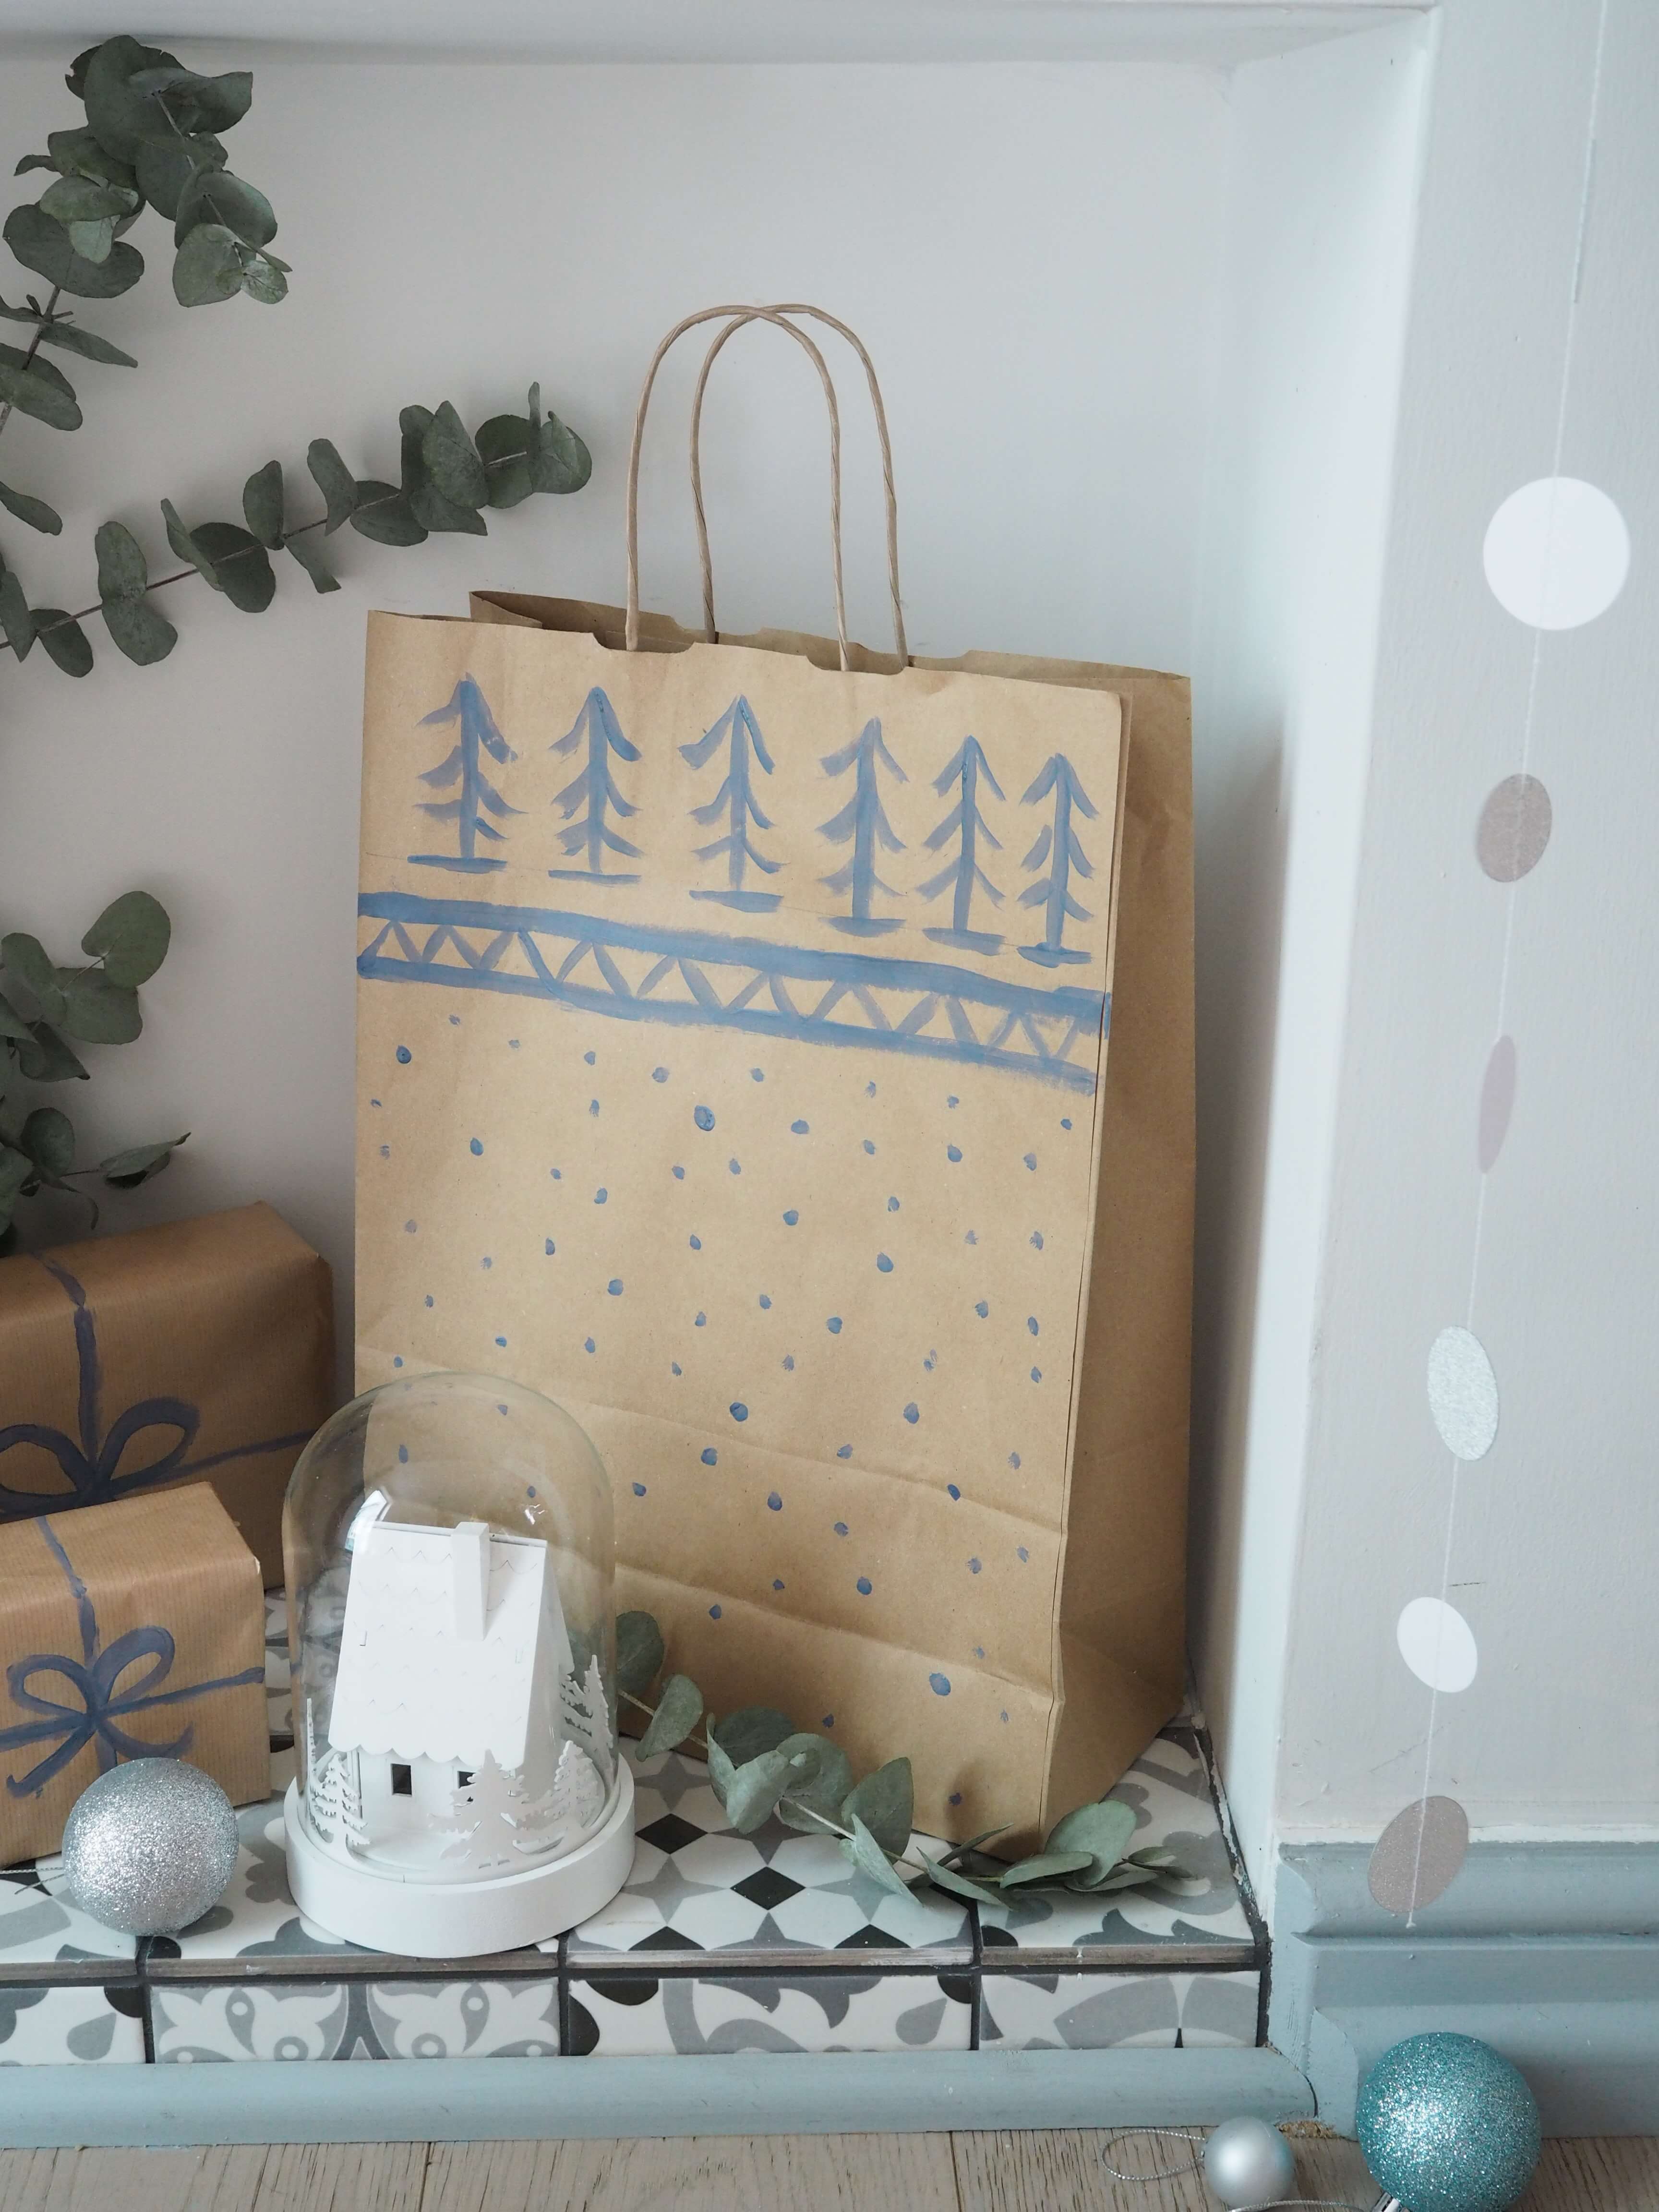
If you are short on time, paint paper gift bags
Holly Wrapping
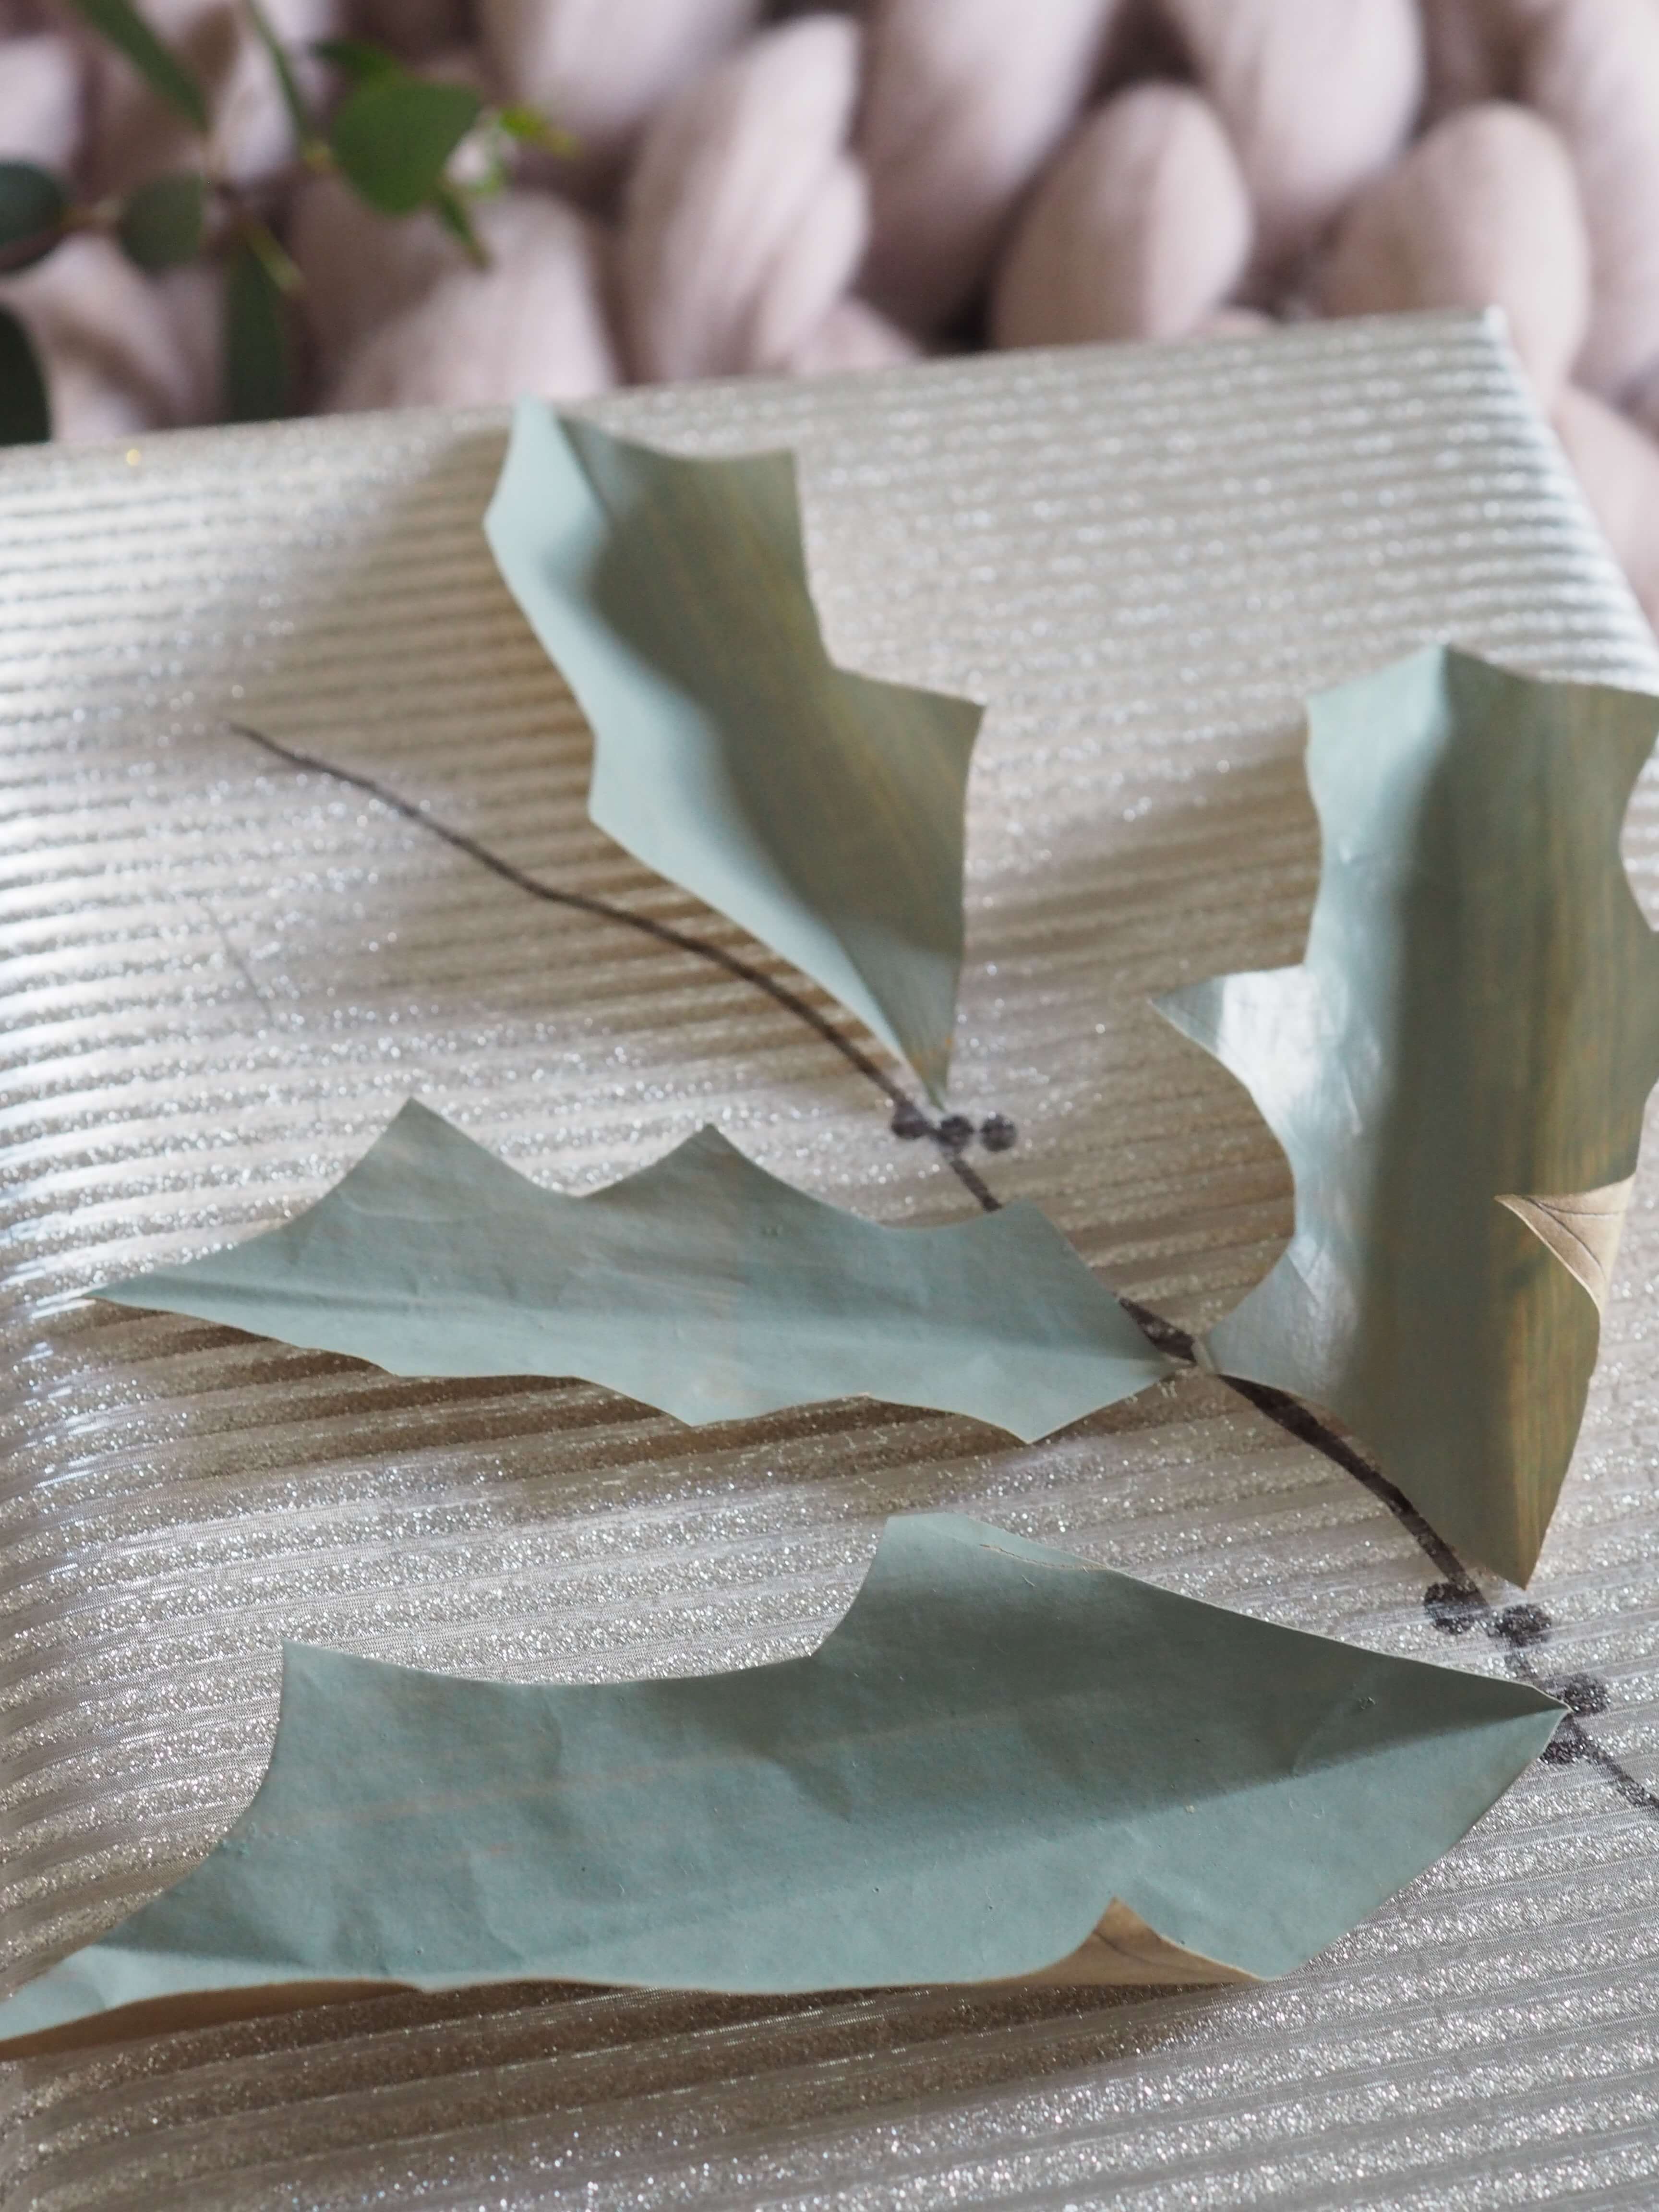
Bring festive foliage to your gifts with this holly inspired gift wrapping ideas. The freehand branch with berries and the painted leaves will elevate your wrapping. Here, I used duck egg blu epaint and silver stripped paper – but you can use any paint shade to get the desired effect. This is an ideal way to give someone really special a gift that they will adore.
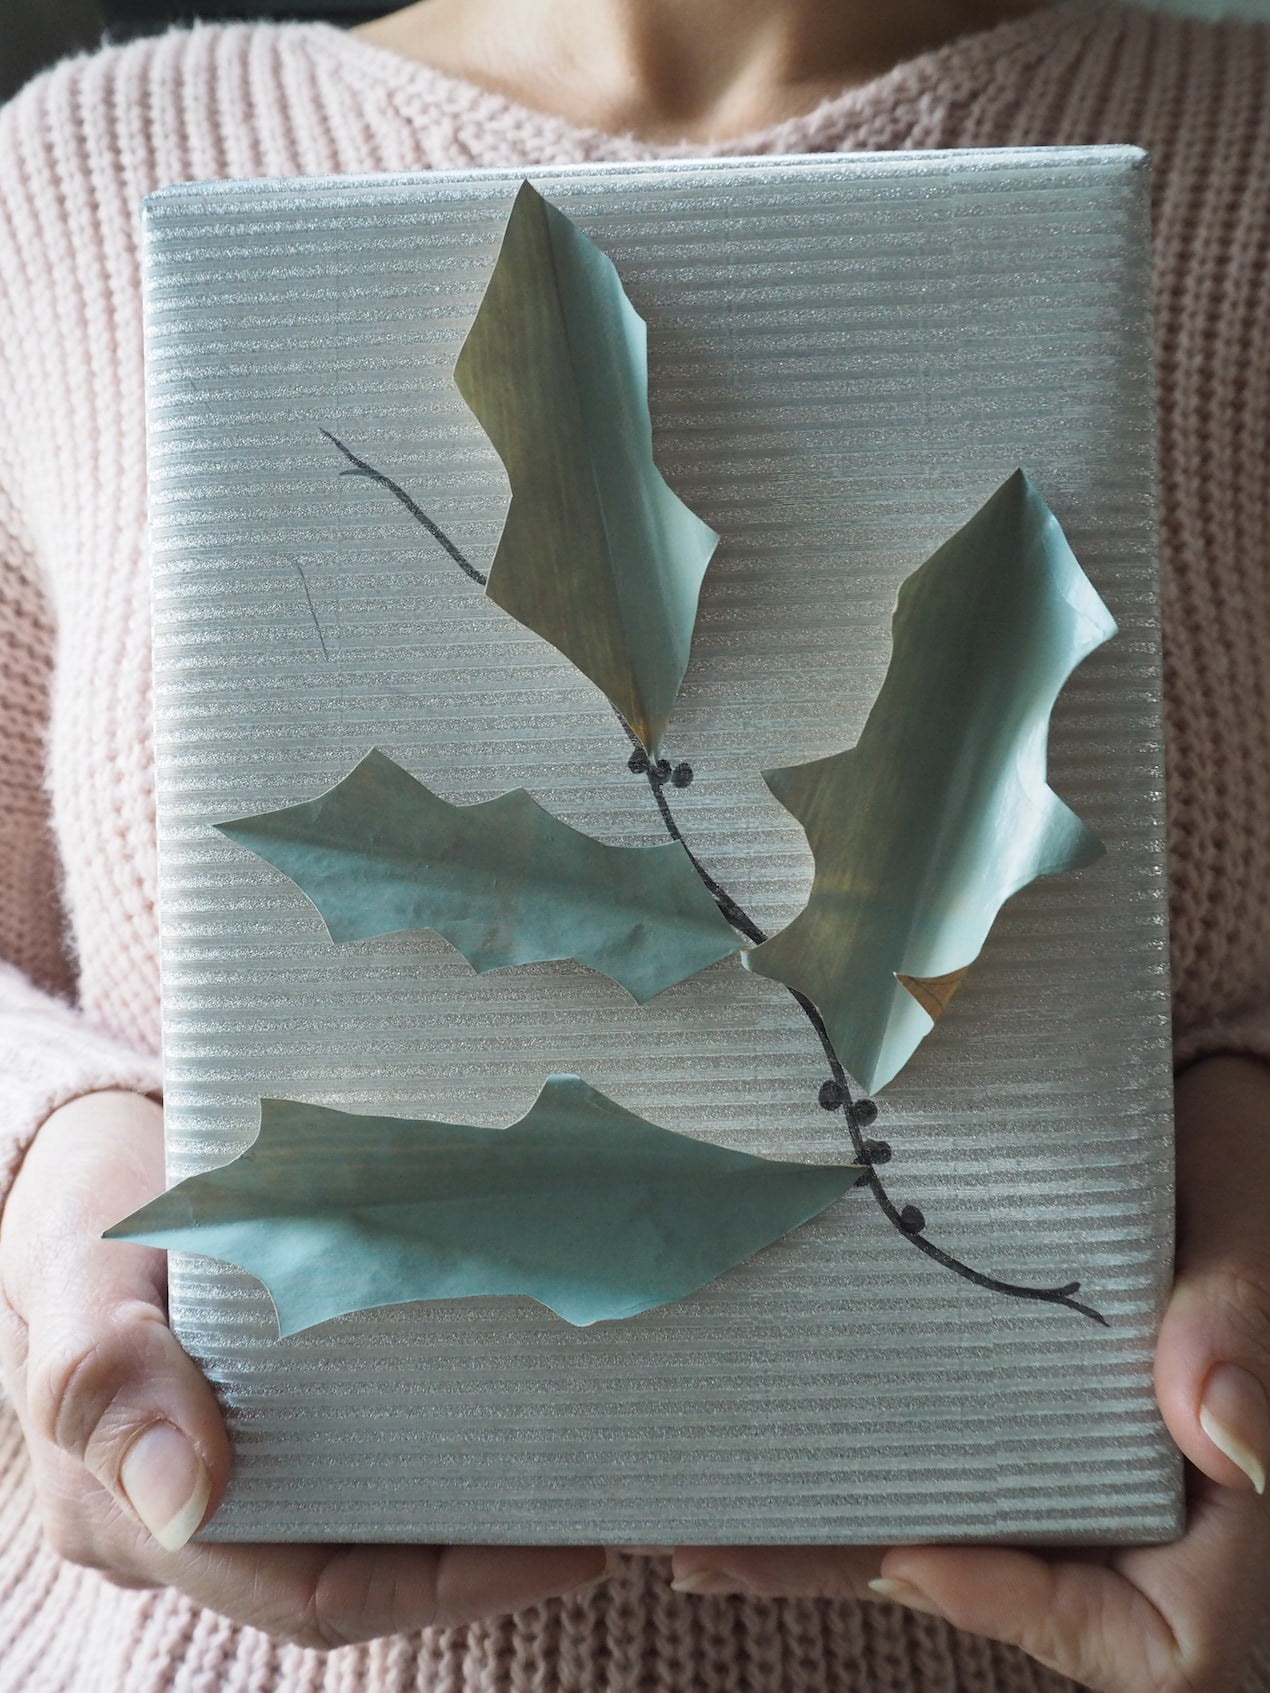
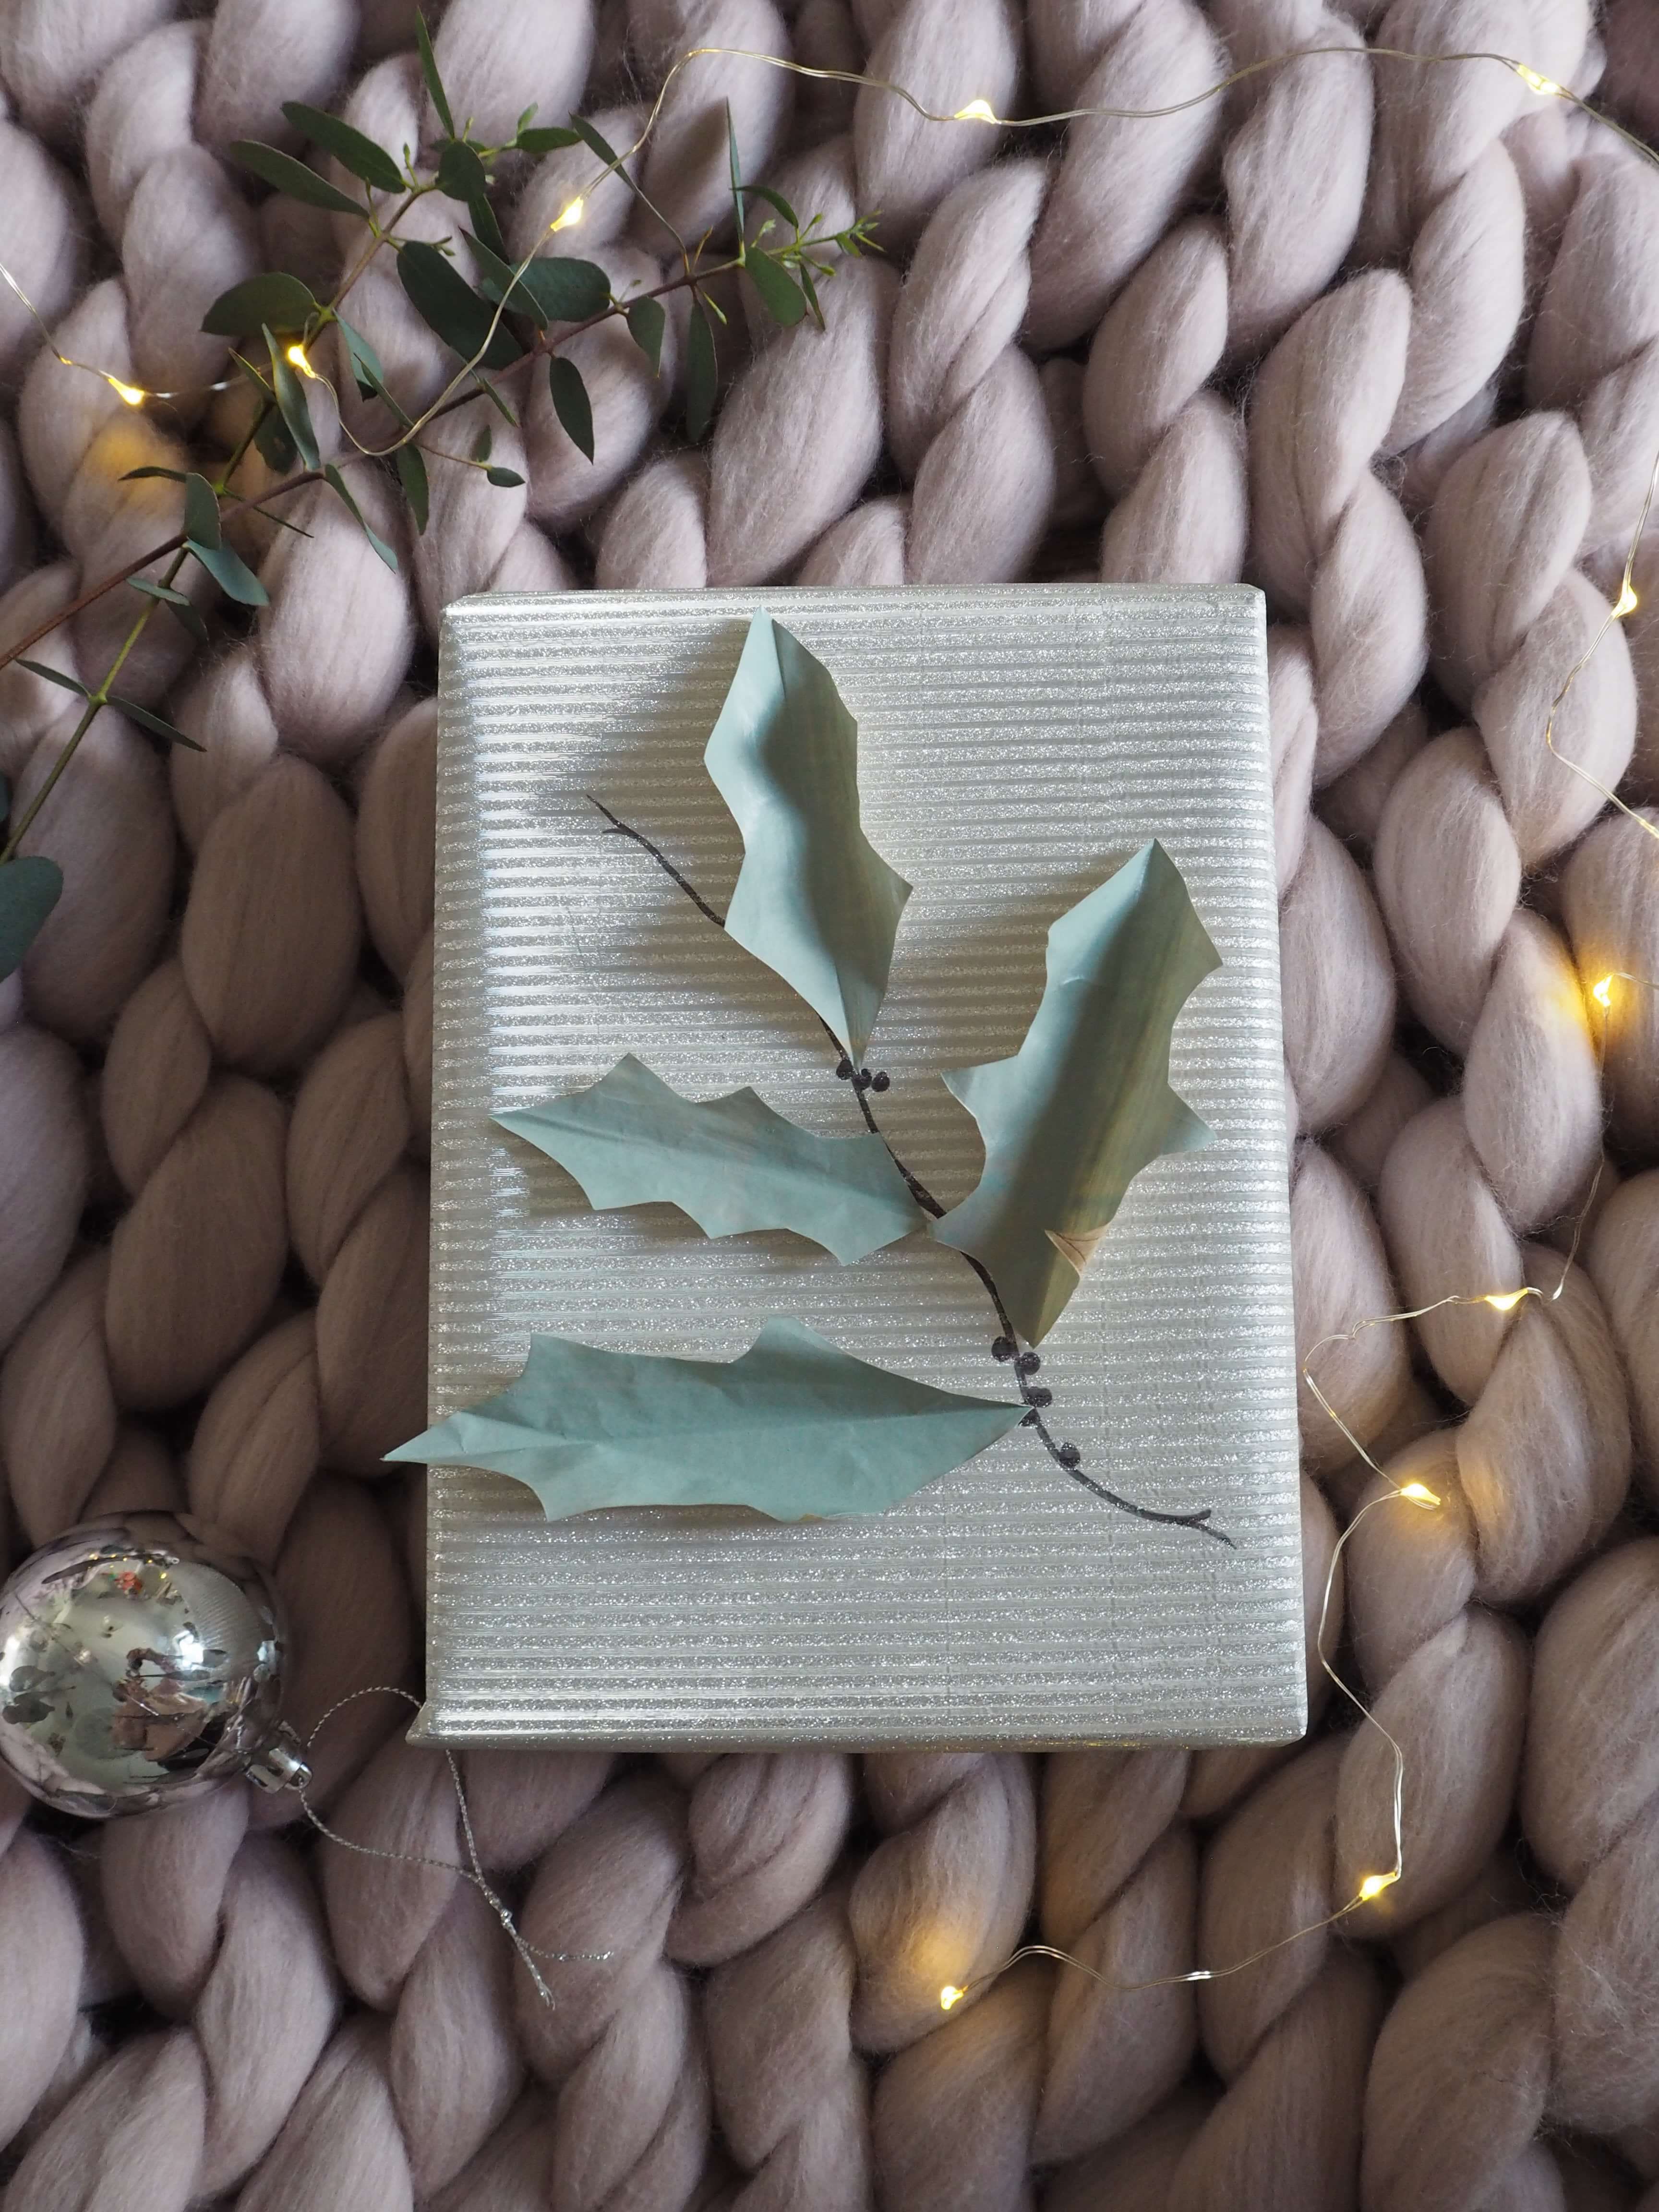
How To Make Holly Wrapping
Step One
Paint a section of paper about 30cm x 30cm with chalk paint, and leave to dry flat. I painted brown paper as it is thicker and doesn’t tend to crinkle when wet.
In the meantime, wrap your gift box in wrapping paper.
Step Two
Cut the painted paper into 8cm x 10 cm rectangles. Fold each piece in half, and on the back draw a leaf shape with a pencil. Cut out your design with scissors to create the holly shape.
Step Three
Free hand draw using a marker pen, a branch shape with small berries trailing across the top of your box. Be careful not to smudge your lines!
Then glue your leaves into place (I used double sided tape). Curl the edges of the leaves up to create a 3-D effect.
Holly wrapping will give your wrapping festive vibes
Wooden Star Gift Wrapping
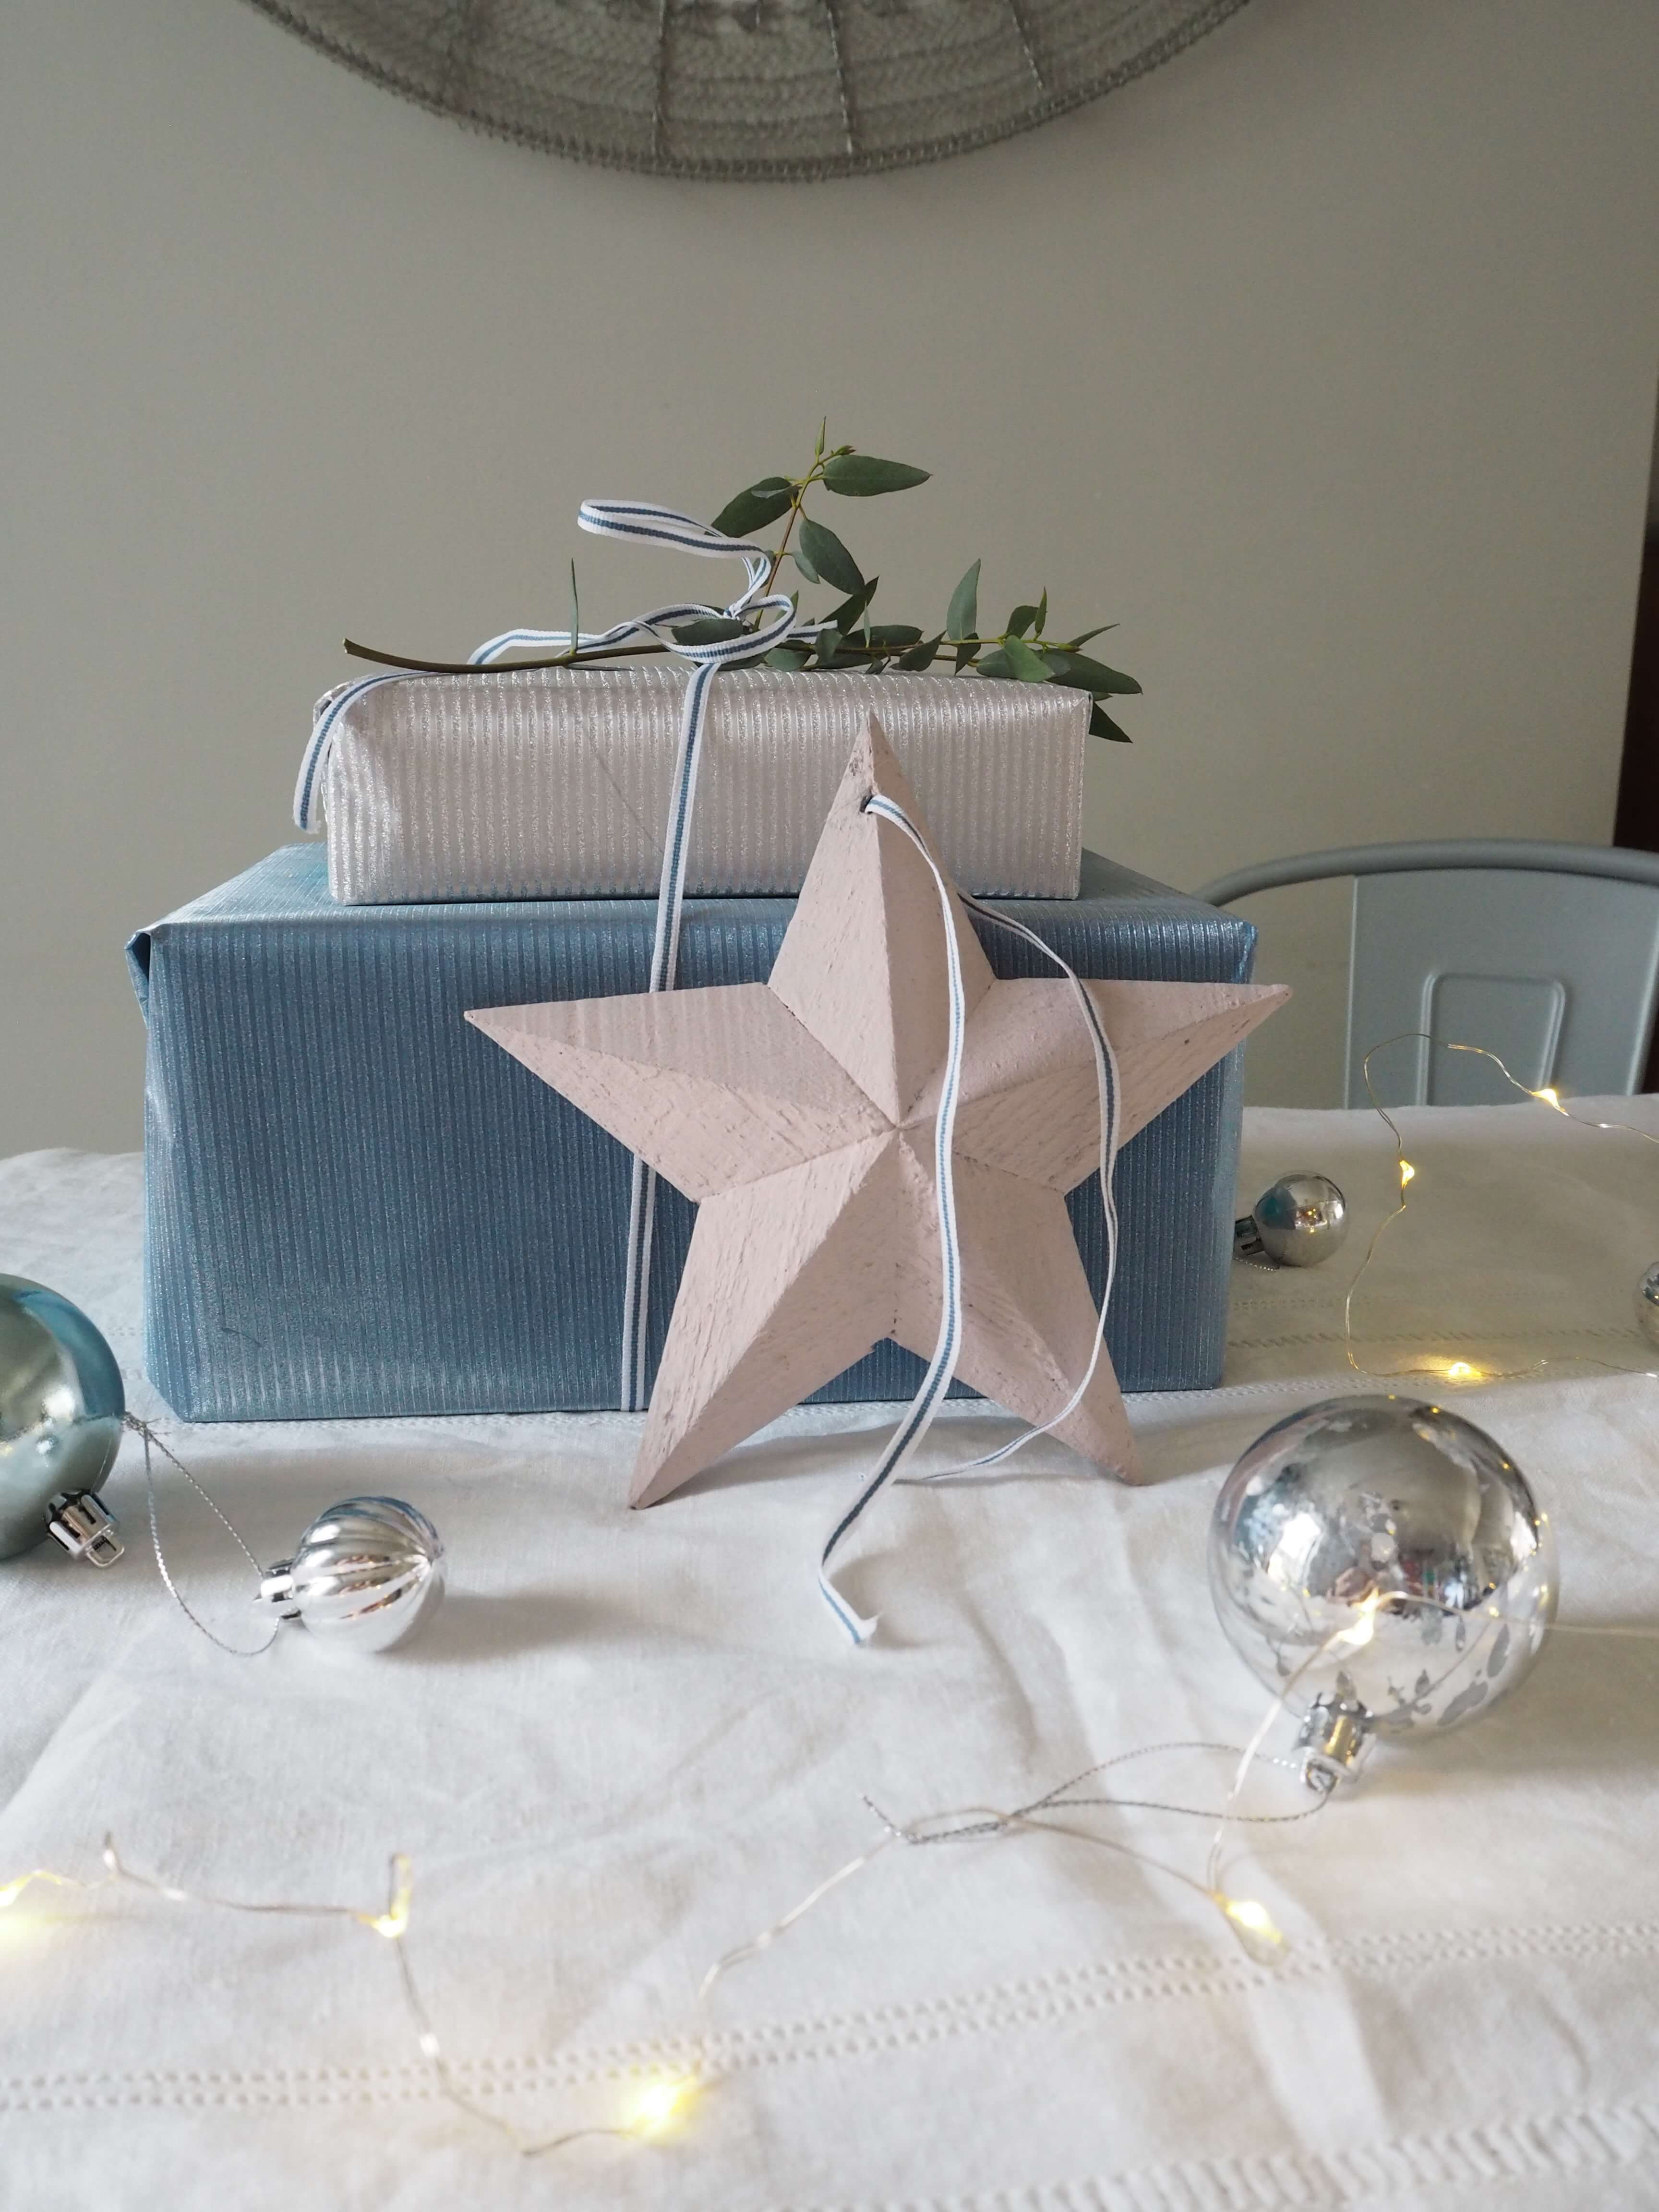
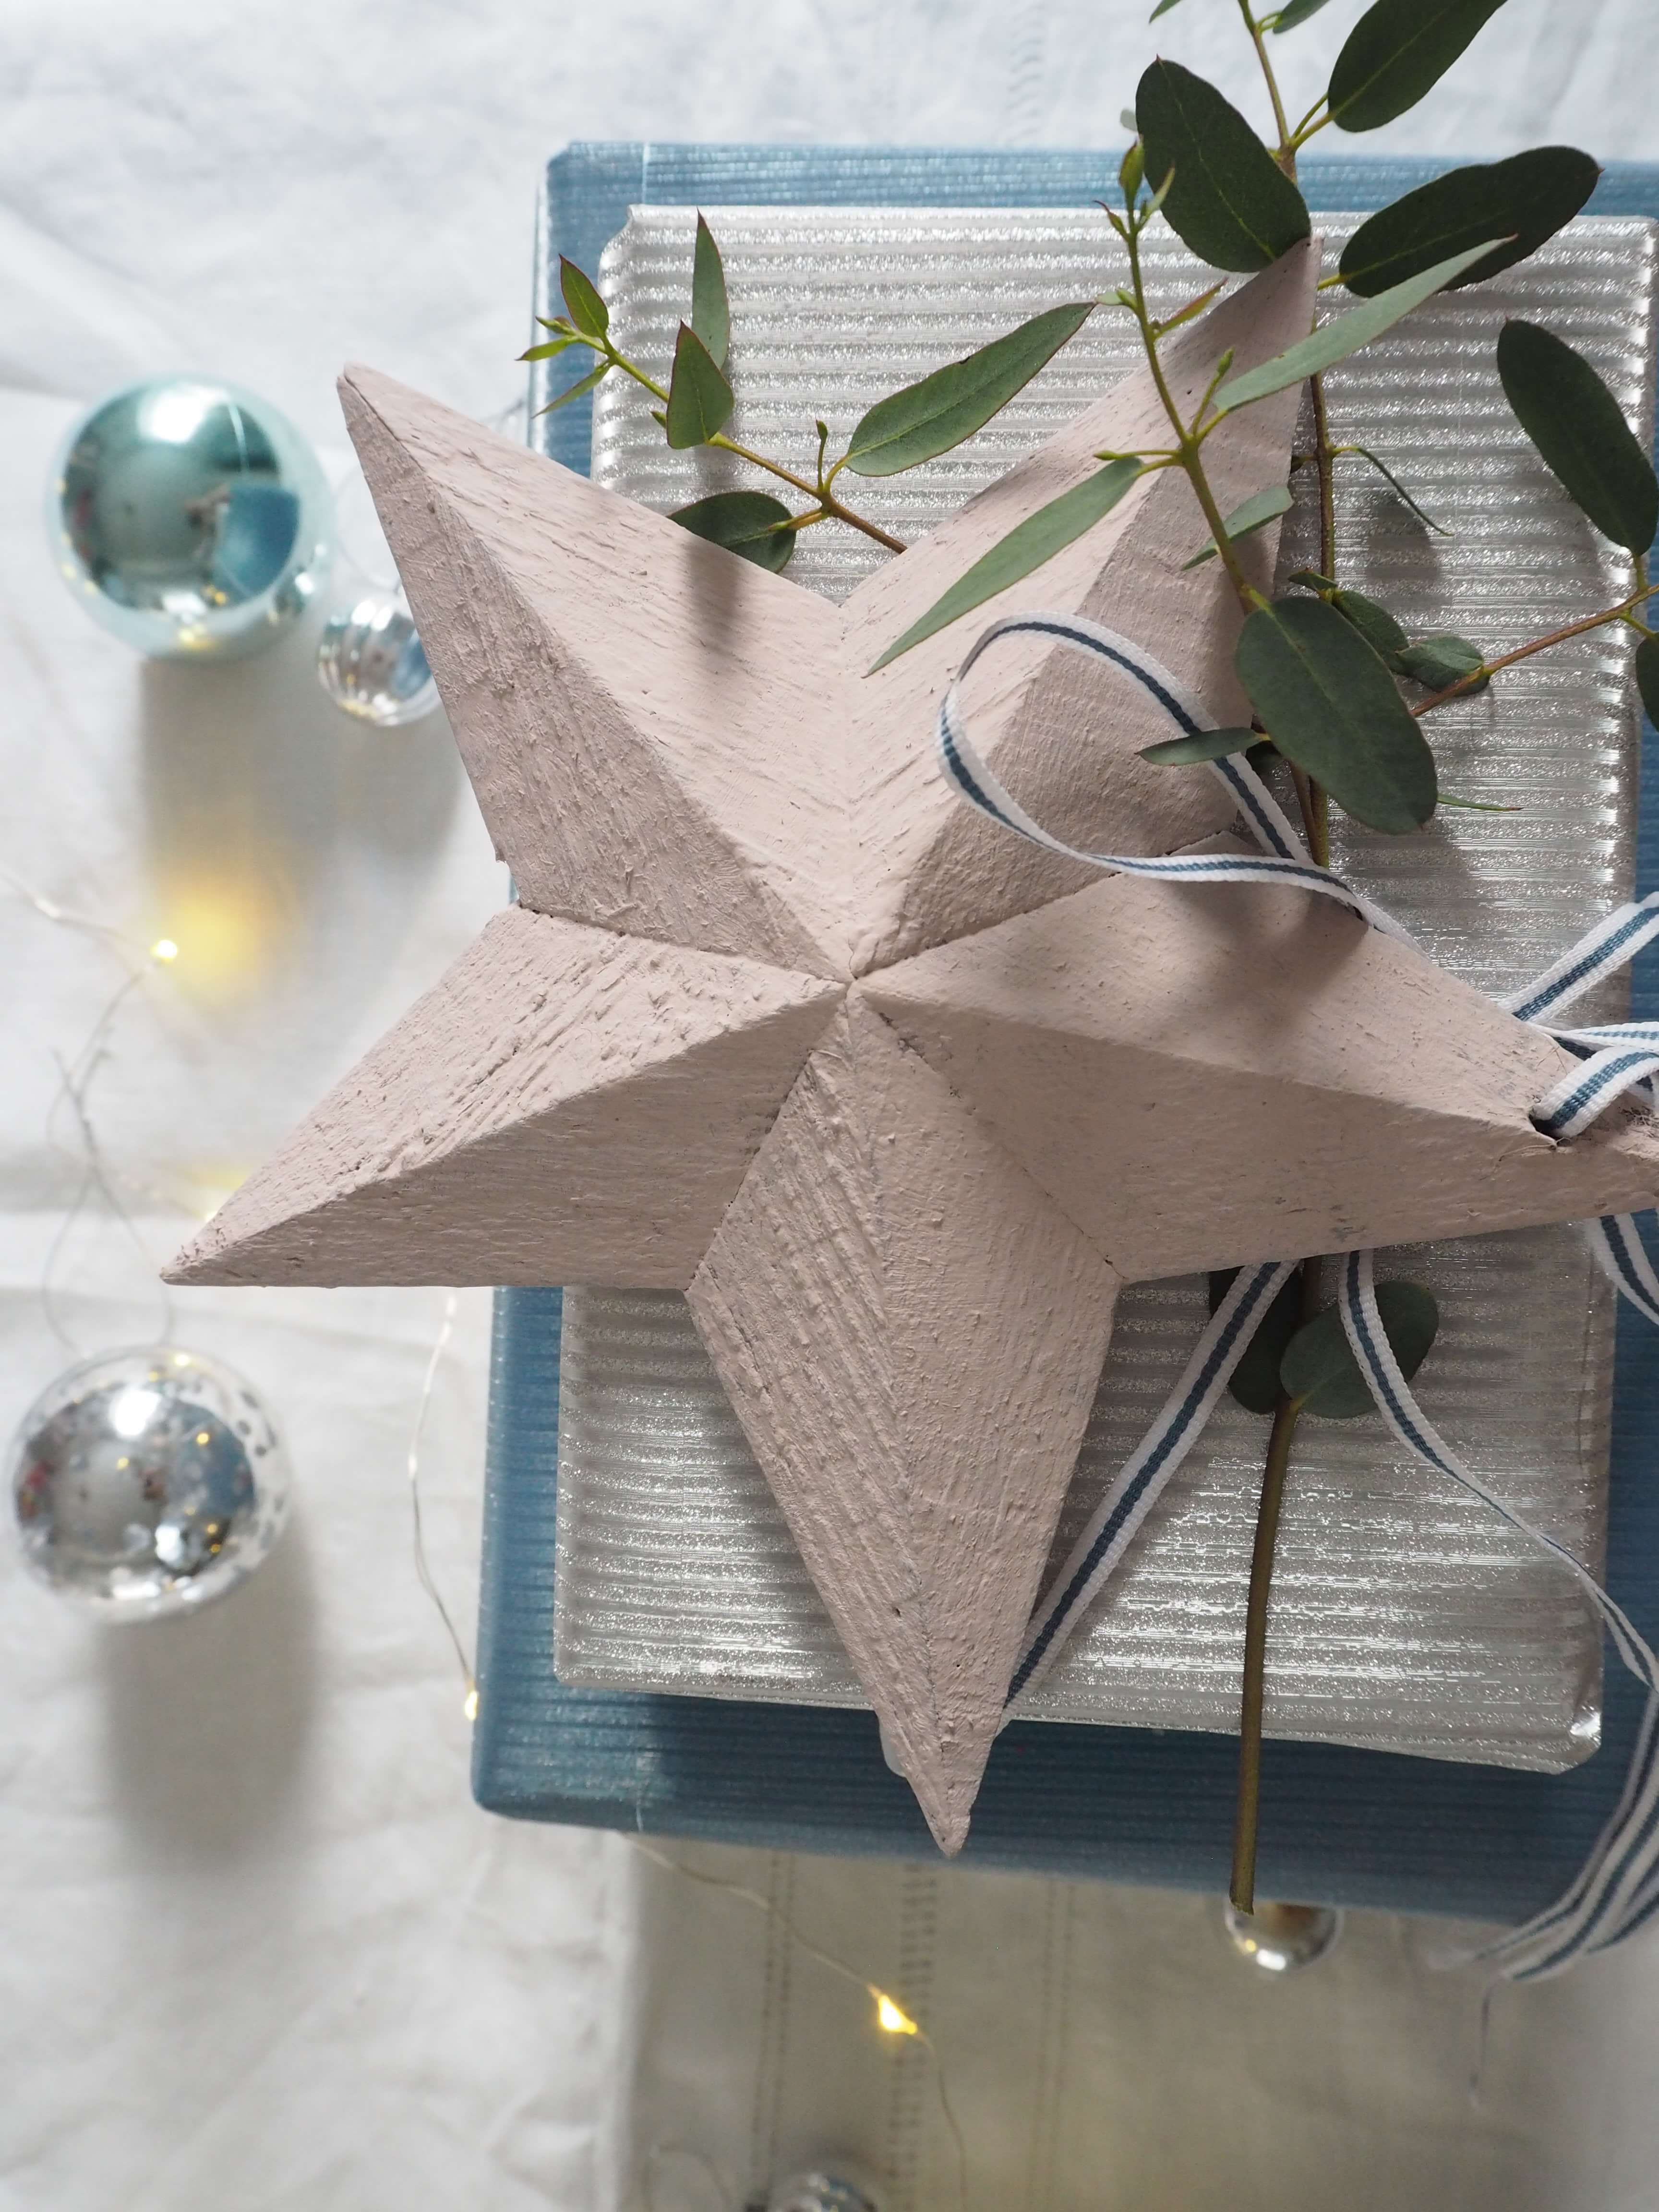
If you are gifting a few presents to someone, why not bundle them together and they tie on a painted wooden bow. I’ve used blue and silver metallic paper, then painted a wooden star (which could also work as a gift tag if you like). Tie the parcel up with ribbon and then finish with a spring of leaves. I picked mine from my garden! But a little branch from your Christmas tree would work just as well.
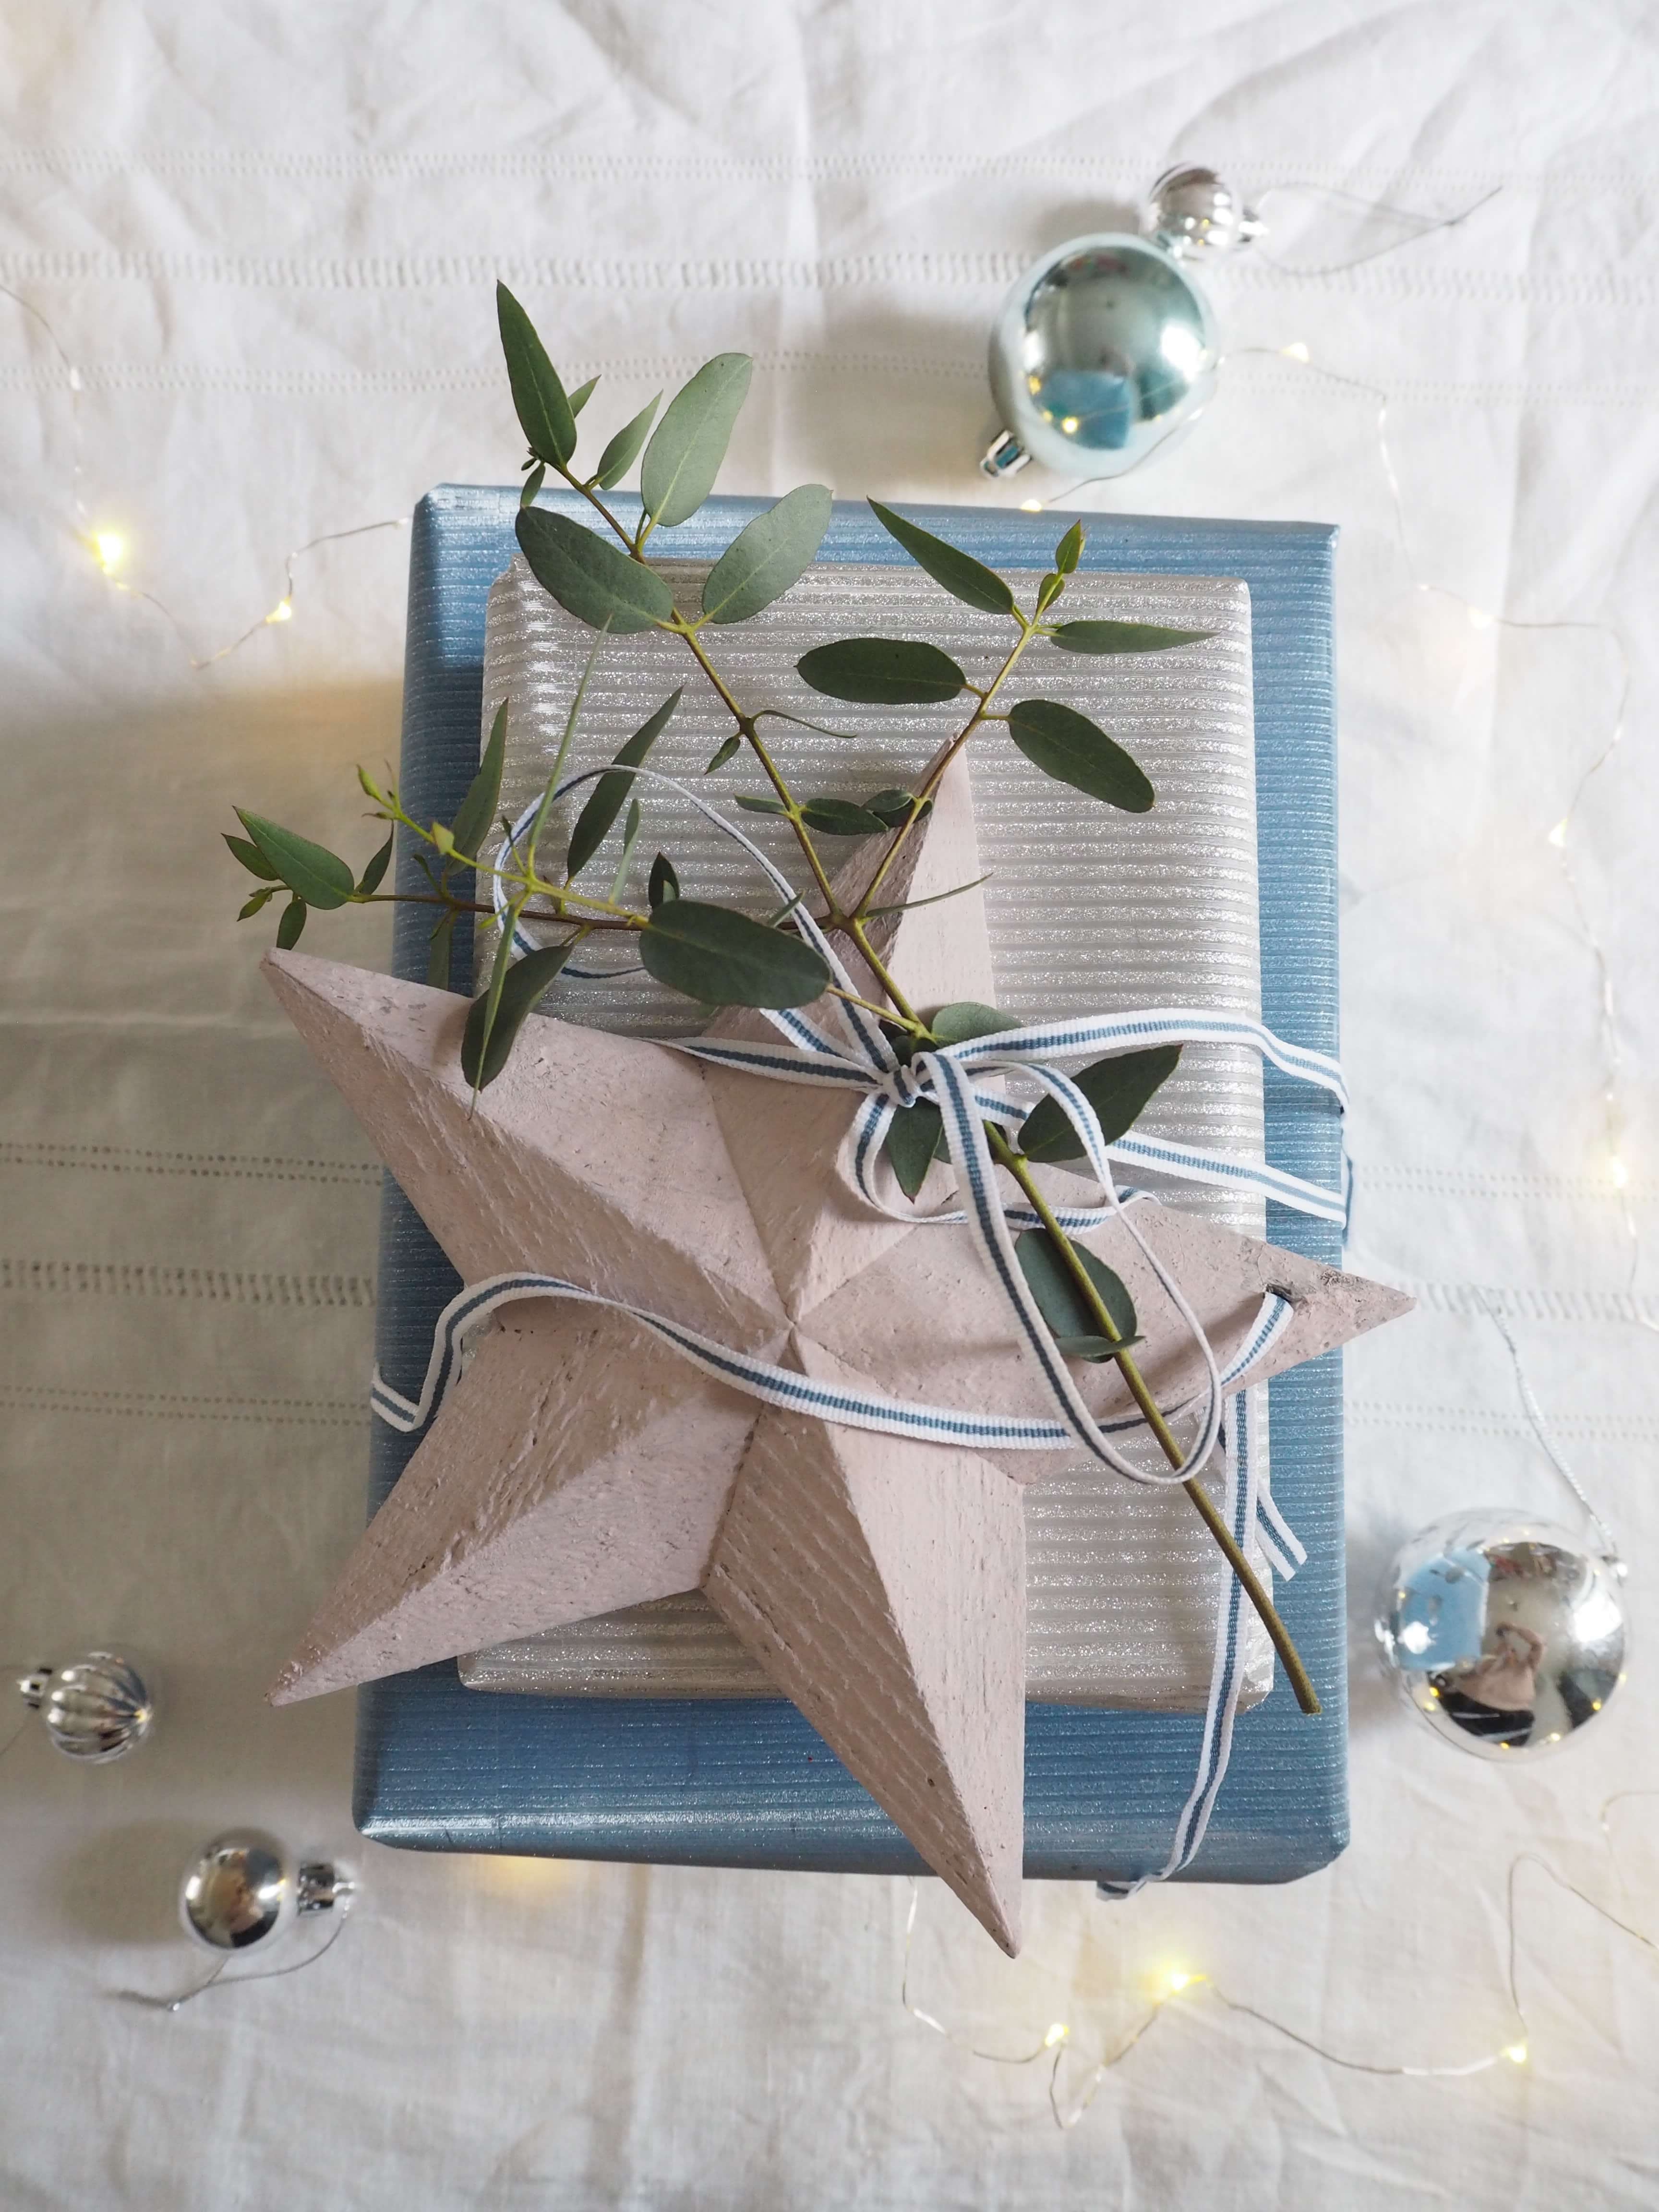
How To Make Wooden Star Gift Wrap
Step One
Wrap your gift box in wrapping paper. Mix and match your paper colours. I have gone for plain but you could go for different patterns. The star can be used as a tree decoration afterwards.
Step Two
Paint your wooden star in chalk paint. I choose dusty rose as it is very girly colour. Once dry, thread the star with twine or ribbon of your choice.
Step Three
Stack your presents on top of each other and tie in place with ribbon. Finish with a sprig of eucalyptus and tie in a bow. Tie on your wooden star for a pretty finish.
Tie on a wooden star as an alternative gift tag
The best thing about gift wrapping crafting is you can be as creative as you wish. Why not try painting on little stars, snowflakes or even snowmen to capture Christmas on your wrapping paper!
For more inspiration, I’ve pinned lots of gift wrapping ideas on THIS Pinterest board for you to enjoy. Give me a follow over there if you like 🙂
I know your friends and family will love these 3 Christmas wrapping ideas! And will really make your gifts stand out from under the tree.
I’d love to hear if you have any Christmas wrapping ideas! Please share in the comments box below.
More Festive Posts For You…
3 Stylish Christmas Dining Trends
4 ways to style your Christmas dining table with lights
Feeling the love for velvet this Christmas
PIN THIS!


** This is a sponsored posts. All photos and words belong to welovehomeblog.com

