
Check out my outdoor garden makeover. In this post, I share my renovation journey where I turned an unloved back yard into a beautiful grassy garden.
Here’s how I turned a gravel graveyard into a lush garden makeover.
My Garden makeover: Before & after Month-by-Month
When I bought my house in 2016, one of the main selling points of my new home was the generous outdoor space.
Sadly, the previous owners had left the garden untended for SEVEN YEARS! And you could tell as there were rotten fences, crumbling walls and weeds everywhere. It took buckets of love (and FOUR MONTHS of hard graft) to turn this area into a real garden.
I did a little video on this garden makeover if you’d like to see if in the flesh.
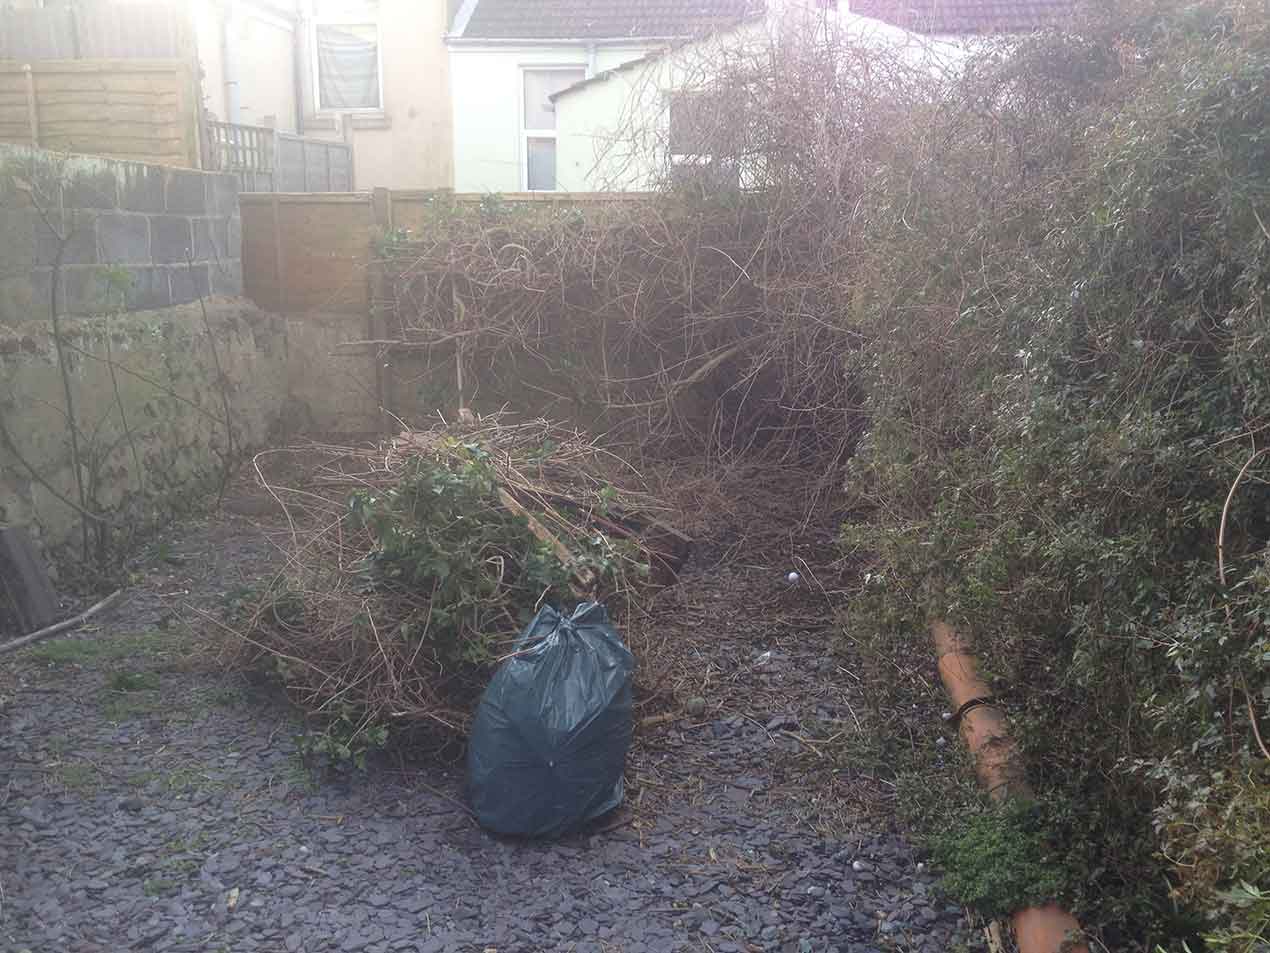
This is my ‘garden’ just two weeks after moving in on a bright day in Feb. A pretty horrific sight (nothing you would see on Gardener’s World).
The ground was covered with grey shale which the local cats used as a litter tray. The ground was covered in weeds. Most of the fencing had collapsed under the weight of a climbing plant.
It was a bit of a struggle to get through the alley into the main part of the garden as it was so overgrown with leaning bushes. The garden looked tiny as all the weeds and large overgrown beds took over.
On a misty day, I decided to give my outdoor space a tidy. Using an electric saw, I hacked away at the ivy. My neighbours were so happy that I was getting rid the weeds that were growing into their garden, they gave me a hand. In less than two hours, there was a huge pile of debris, leaves, roots, bits of bricks and plastic hidden in the bushes.
I’m not an experienced gardener and I didn’t have a clue about what I was doing which became clear very quickly.
In my previous home, I’d a decked terrace where I grew lots of potted plant – which you can see here. And I’d helped my mum in her garden before. My idea of clearing the garden ready for summer turned into an epic DIY project.
After about two weekends of sawing, pulling, digging and lots of trips to the local dump, I had cleared most of the space.
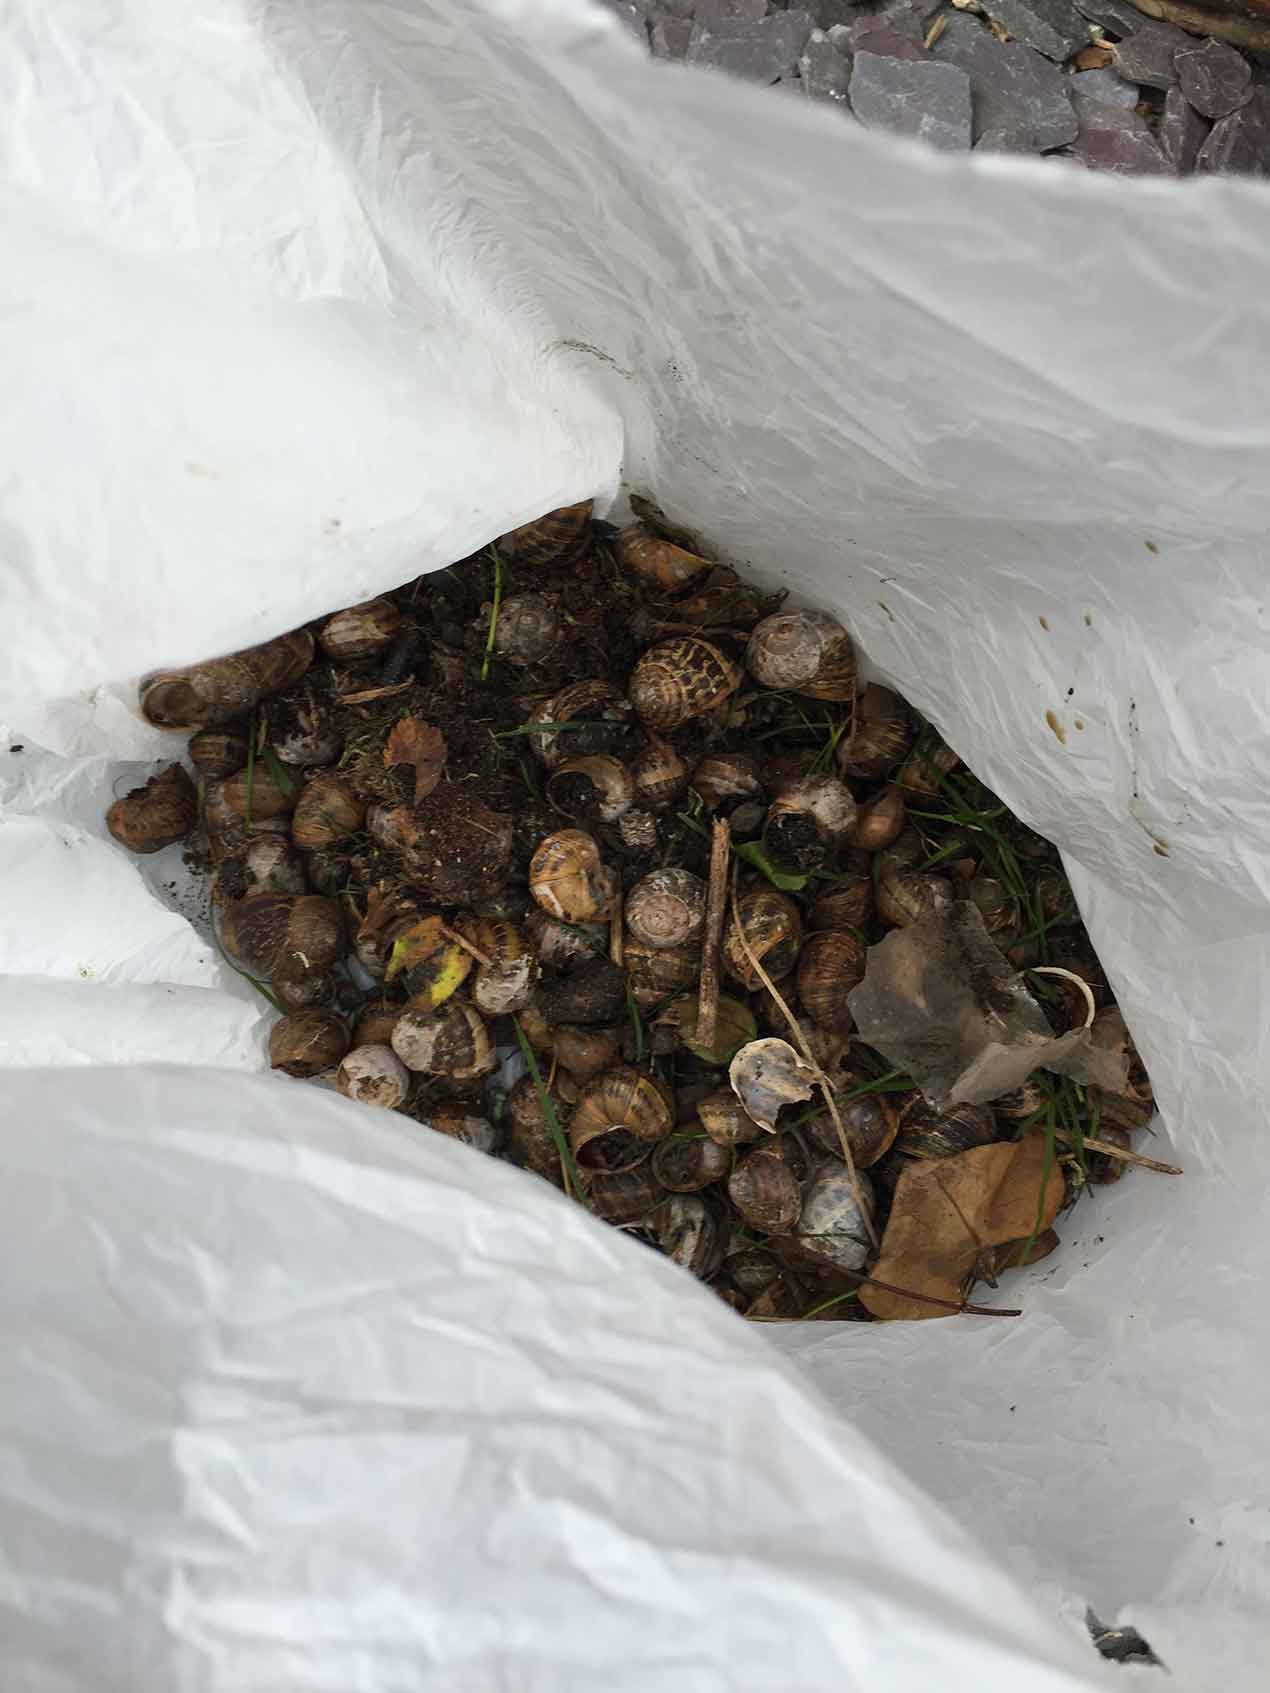
I discovered we had a snail problem. Thanks to lots of gardening blogs, I’ve now become a bit of an expert on how to get rid of them naturally (so as not to harm my dog, Teddy if he eats one)
#Tip: Use left over coffee grounds in a watering can sprinkled over your garden.
April 2015: Calling In The Pros
A local gardener, Chris Quigley (and friend), helped me finish off the job. Chris spent the day clearing and hacking back the garden for me. Chris filled his van full with rubble bags full of rubbish – which you can see below in the photos.
May 2015: Putting In The Fences
Chris came back and fitted my fence panels (paid for as part of an early Birthday present from my family & friends). He had to dig out the old concrete posts deep in the ground to make way for the new panels.
Look how happy he is at work (in the rain again).
My green-fingered Mum came over and single-handedly dug out all the ivy roots that were deep in the flower beds. You can see how good the earth is in the photo above.
I ordered these beautiful ‘hurdle’ fencing made from hazel branches from Primrose. They feel more in keeping with the house. They make the garden feel sheltered from the elements.

End of May: Digging Out The Hardcore
In May, I decided to have a look under all the shale to see what was under there. I turn over the gravel to make the basis for a lawn. It look about a week of digging to level.
My garden was turned from a gravel pit to a full blown mud pit. I found a rusty oven and tons of metal piping and paving stones buried in the mud.
I managed to get rid of a lot of the paving by giving it away for free on GumTree. The pets loved the mud and were sunbathing in it at every moment. My whole house was covered in dust and muddy poor prints.
I bagged up about 20 bags of shale which we recycled.
READ: GARDEN DESIGN ADVICE – PLANNING TIPS FOR YOUR OUTDOOR SPACE
June 2015: Installing A Lawn –
I thought for ages what to put down in the garden. I considered astro turf as I loved the huge ranges on artificial grass woodland hills ca website.
In the end, I chose a real grass lawn because:
1# It’s good for the environment as rain water drains away into the earth which helps stop flooding in the area.
2# A real lawn drains away rain water which prevents the house getting damp.
3# The pets love a real lawn to play on. Insects, bugs and worms can make a home there which in turn feeds smaller birds.
4# I want to do Yoga out there
Pretty much over night I turned into a grass geek. I did a ton of research, watching videos on Youtube.com late into the night on different types of lawns.
In the end I choose ‘Medallion’ real lawn by Rolwan. It is the best for my area – and this type of lawn is a beautiful lush, green colour. It comes on a roll which is simple to lay out. The ground was levelled, then the lawn carefully roll out.
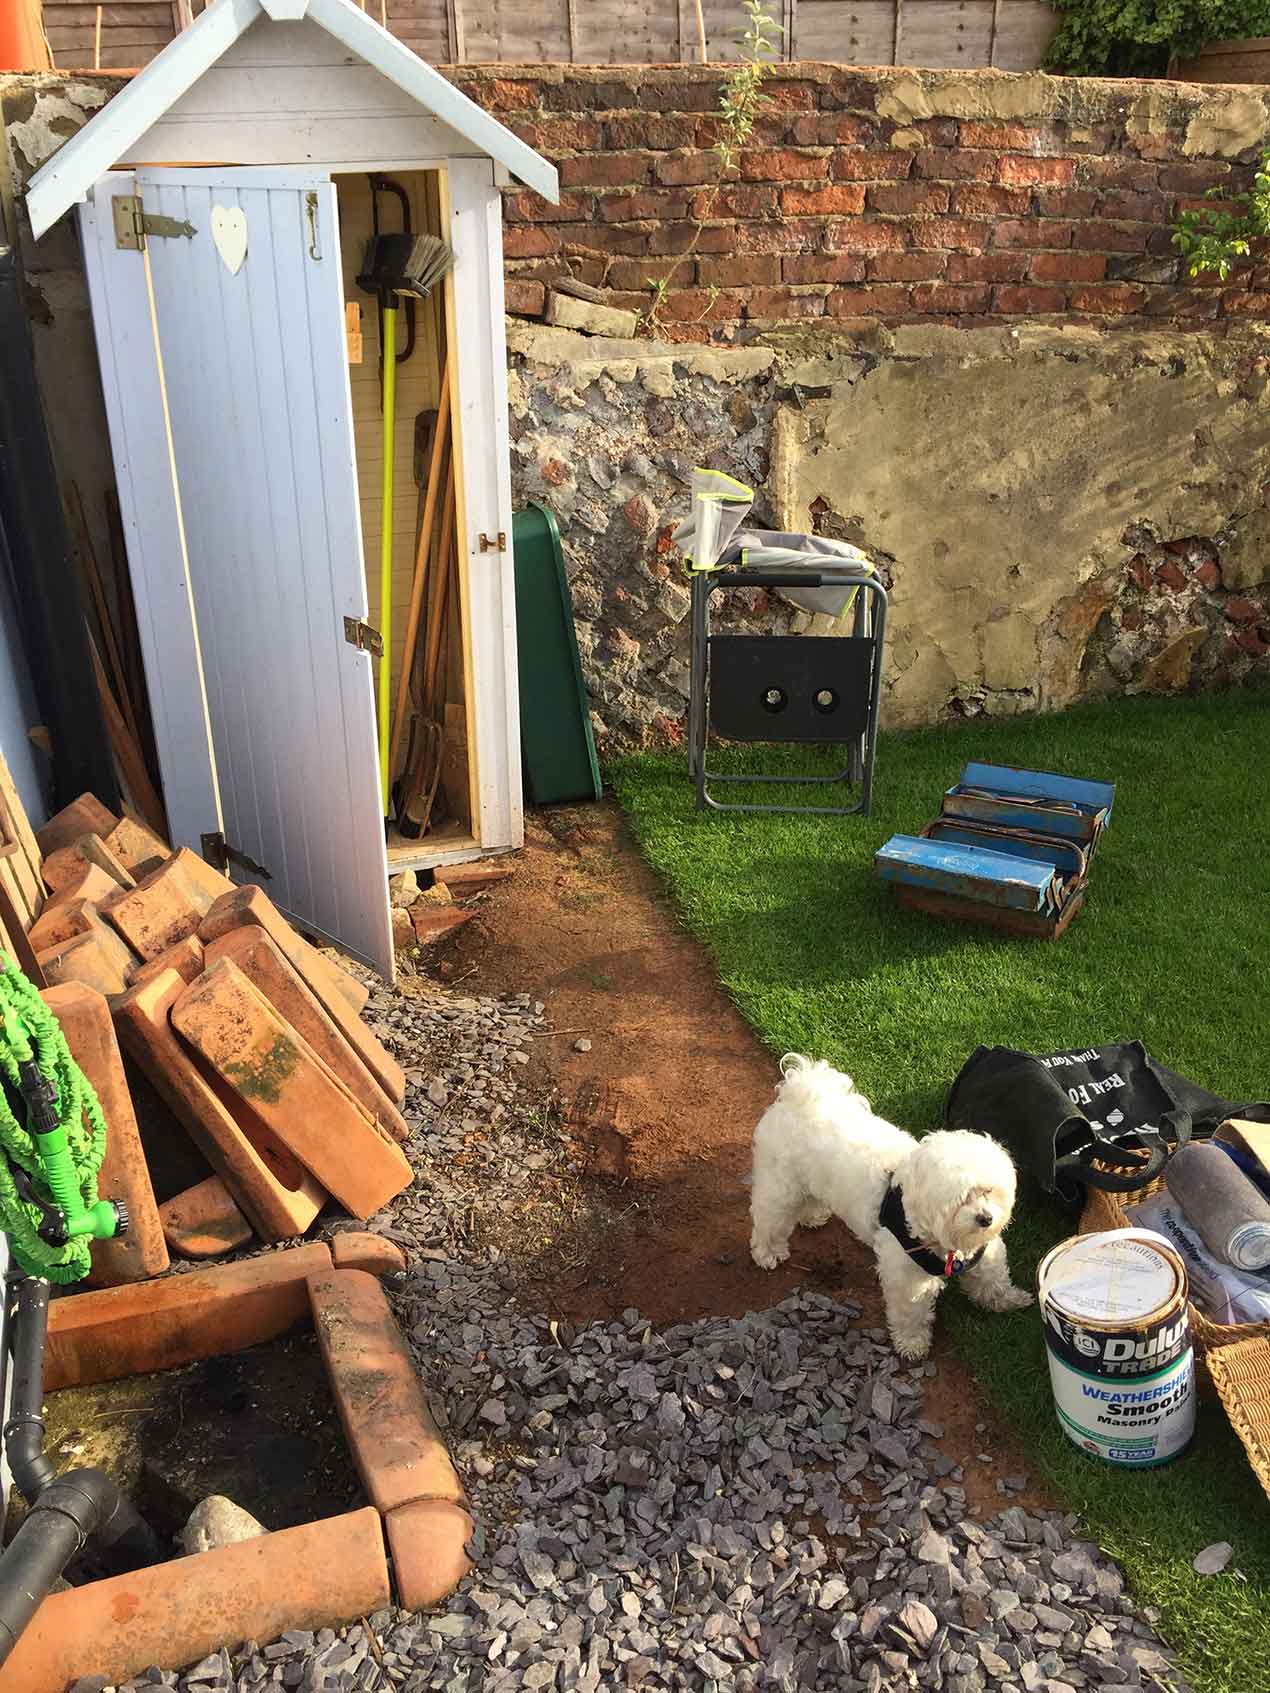
I free cycled the old shed which was too large for my garden, and bought a beach hut style one on Ebay for £60.
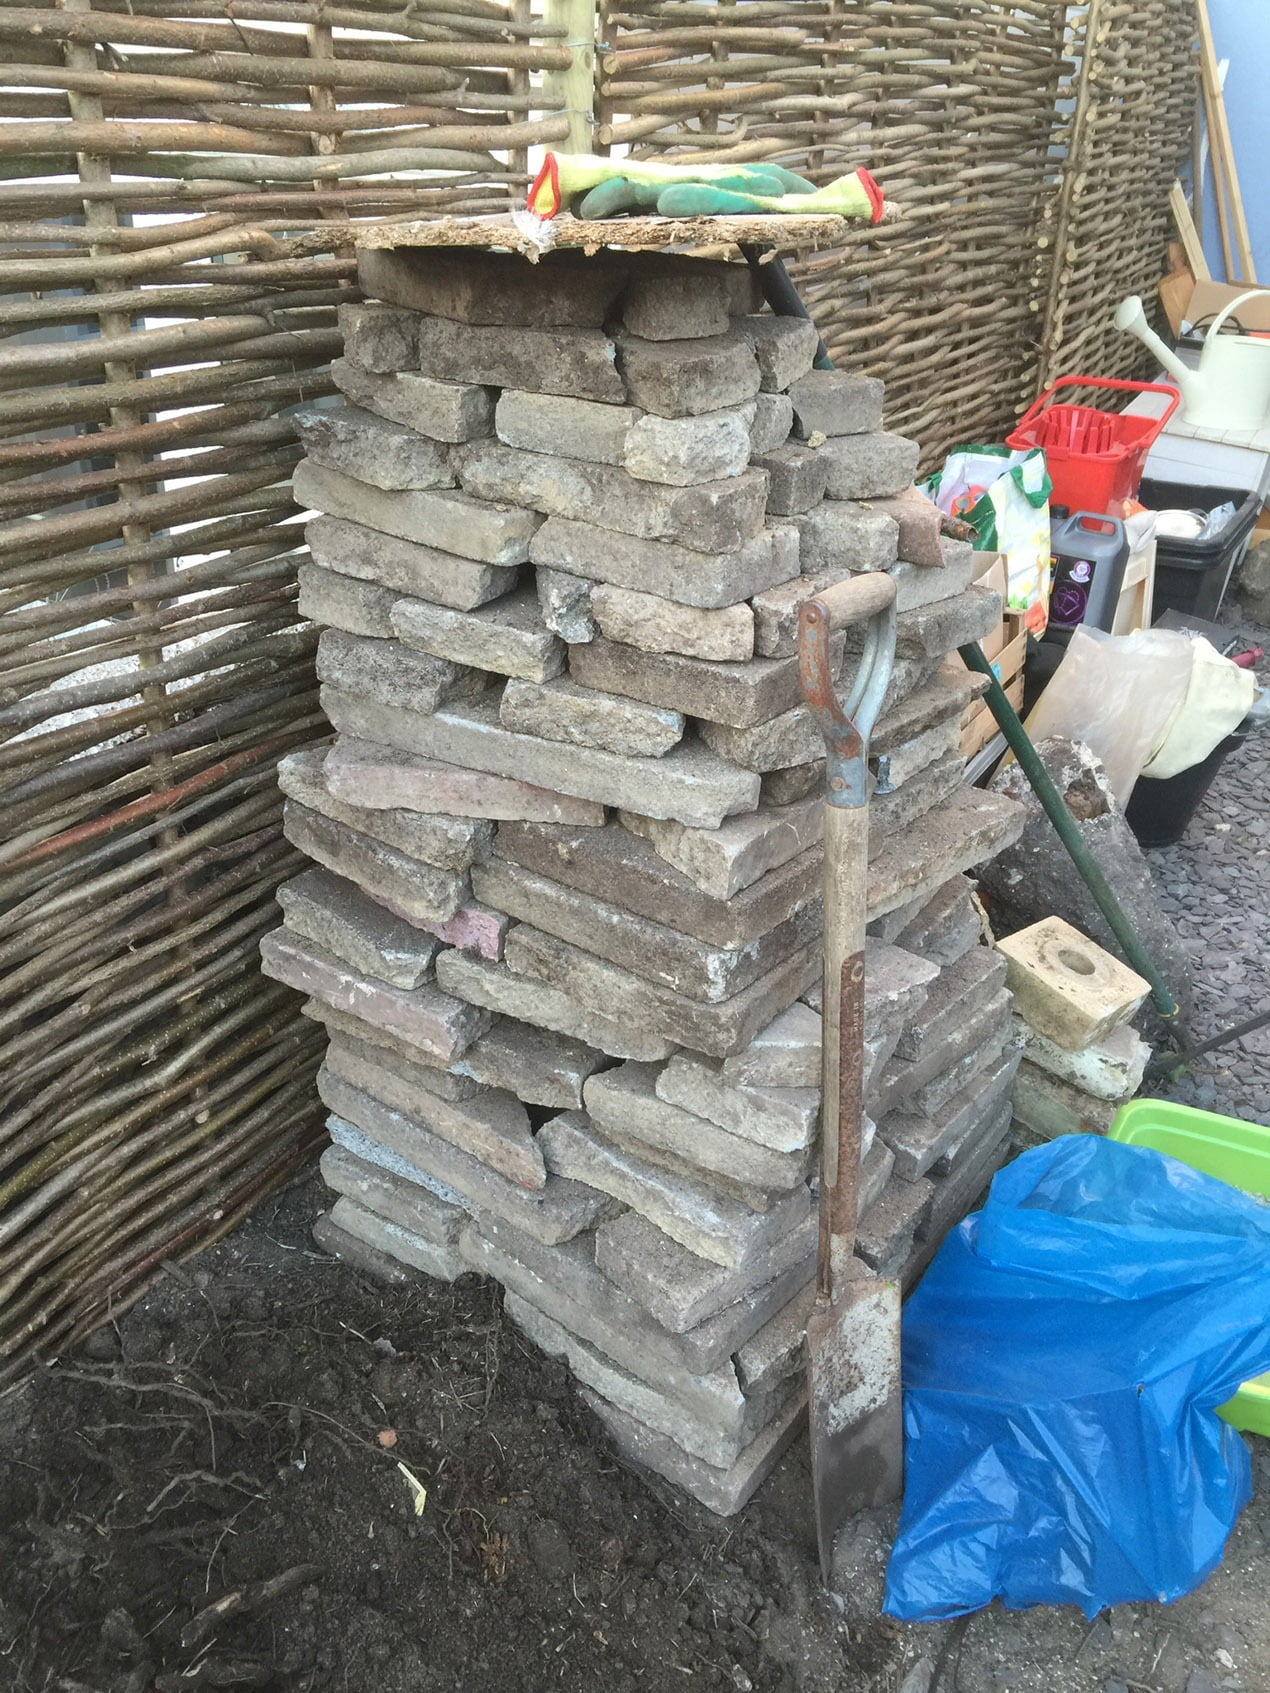
We salvaged the Victorian terracotta tiles (stacked up against the wall in the picture) for her vegetable patch. We reused as much of the shale as we could for the high traffic areas.
READ: HOW TO PREPARE FOR A GARDEN MAKEOVER
July 2015: Adding Personality To The Garden Makeover
I’ve been tinkering with the garden most weekends.
First, I painted over the ugly concrete brick wall in green Weathershield masonry exterior paint. We’ve used vintage creates on the wall and filled them with potted plants in colourful pots to add colour.
I’ve revived the old rose bushes which have burst into life this summer.
I’m going to make the flower beds bigger so I can squeeze in more flowers & plants. My ideas it to fill my garden makeover with pink and blue flowers only like lavender and rosemary bushes. And in the area just off the kitchen I’ve filled large pots with with salad and herbs.
I love the idea of getting a some yard signs cheap for out here! Just for something a little fun to perk up my lawn. I love the smilie face one.
I picked up these original deck chairs a campsite park in Rottingdean that was closing down. Snoozing in the photo is my flat mate Walt who was recovering from a hectic weekend in one of them!
I’ve still got lots of plans for my garden makeover – from a recycling store to hide my bins…to hanging up festoon lights above and I’ve taken lots of inspiration from landscape design in Cincinnati. Take a look and you’ll see what I mean!
That’s a little rundown of my garden adventures. Has it been fun? Yes but I keep having to remind myself that a garden takes a while to blossom. When I look back at my first vlog home tour of my house, I can see how bad the garden was before. It’s little reminder of how hard we’ve worked. I’m still busy pinning ideas for what to do in the garden.
What do you think of my Garden makeover?
Let me know what you think of my garden makeover in the comments box below.
READ MORE
So beautiful to see how it turn into a lovely garden.Very inspiring you did a great job.Thank you for sharing
Thank you
Beautiful garden. I absolutely love it! Could you please tell me what is this fence made of? Is it wooden or plastic? Thanks xx
It’s wooden but painted white 🙂
I like the last picture – the old brick wall, with the plaster breaking away, looks better with the roses, other flowers and the small shelf, than a new, freshly painted one would do.
How about the next stage? Trellises with wisteria or clematis and a few cedars to hide those damaged walls? A miniature tree such as a Japanese maple? And definitely a variety of small bushes in golds, reds and greens to soften the edges of the garden. Hardscapes such as a bird bath and/or a water feature, some large rocks, a statue or sculpture as a focal point at the end of the garden. Even inexpensive privacy screens that have a design in them can be mounted against the walls with vines in between them. I see a lot of potential in that garden…and what fun it would be to beautify it and add your own personal touches!
Have you seen my latest posts on how my garden looks now?