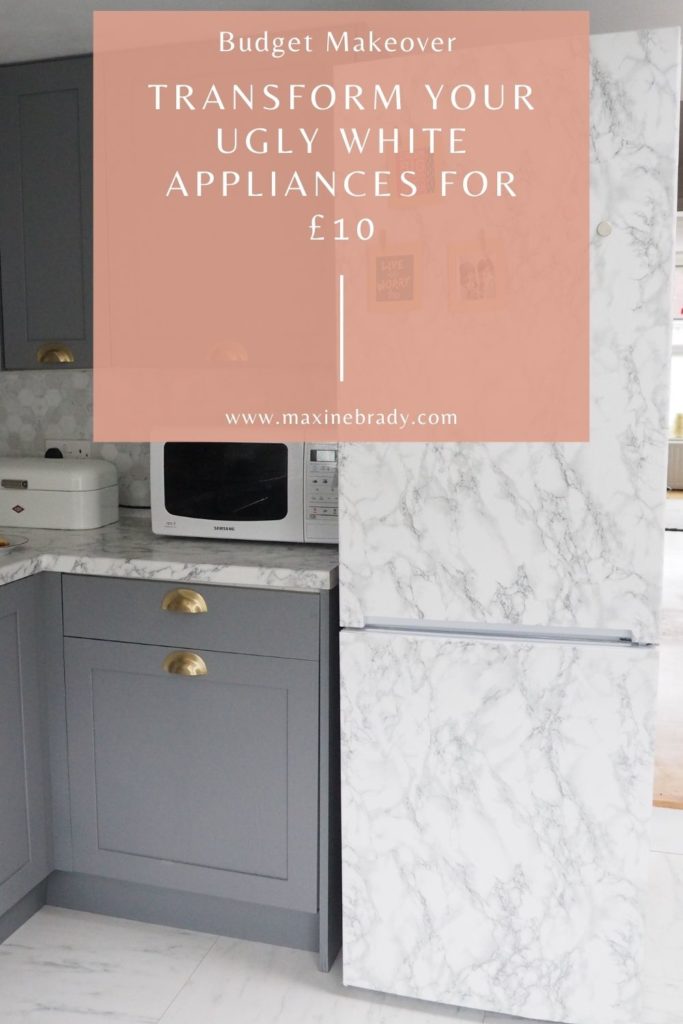
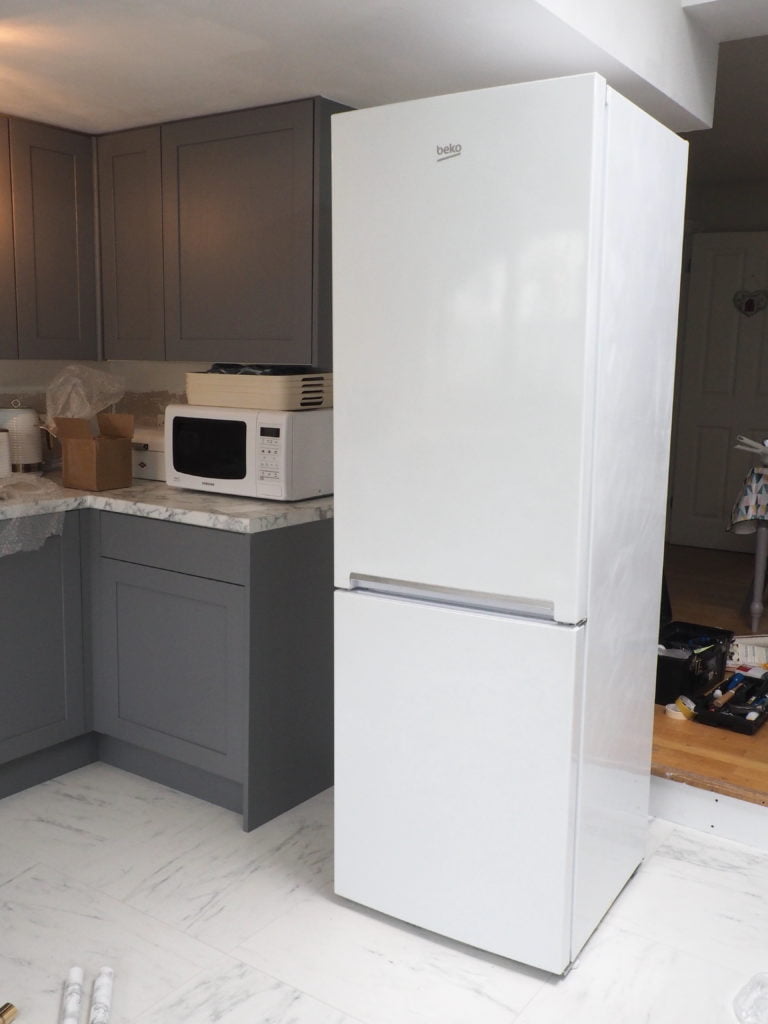
If your kitchen has an ugly white fridge but you can’t afford to replace it, this is the post for you!
Last summer, I gave my sister a budget (and eco-friendly) kitchen makeover. With little money to spare, we couldn’t afford to replace her white appliances for new. You can see the makeover in this post here. So we gave her fridge a DIY makeover totally transforming it.

How to Makeover your fridge with sticky film
That’s when we struck upon the idea of up-cycling her boxy white fridge with sticky backed plastic film. Now her standard fridge makes a style statement in her kitchen, complementing the new unit fronts, tiling and floor.
Plastic film can be cut to fit your fridge, dishwasher, worktop, tiling or even washing machine! x Slap the sheets onto the front of your appliance, and hey presto! It’s shiny and new.
The sheets cost as little as £3 a roll, so this refrigerator makeover is so much cheaper than the cost of a brand-new appliance. How to makeover your ugly white appliances for less than £10 by interior stylist Maxine Brady
Time to teach your old appliances a new trick?
What You Need
- Degreasing spray cleaner
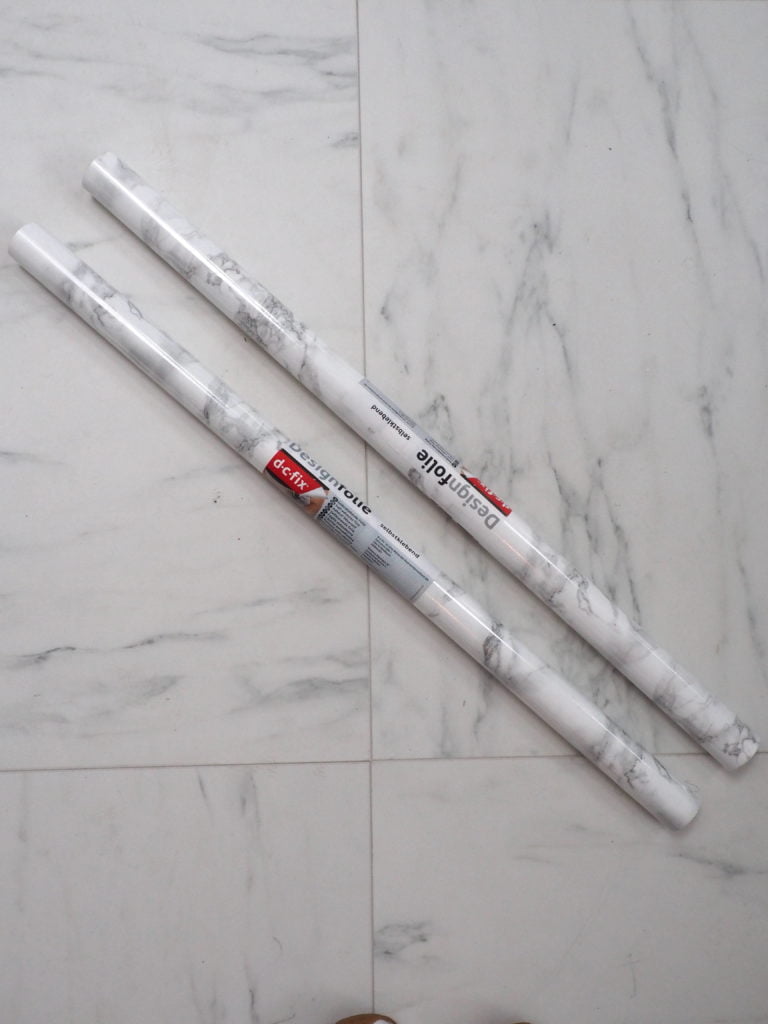
- Rolls of sticky backed plastic – I recommend DC Fix or Dunelm
- Sharp stanley knife
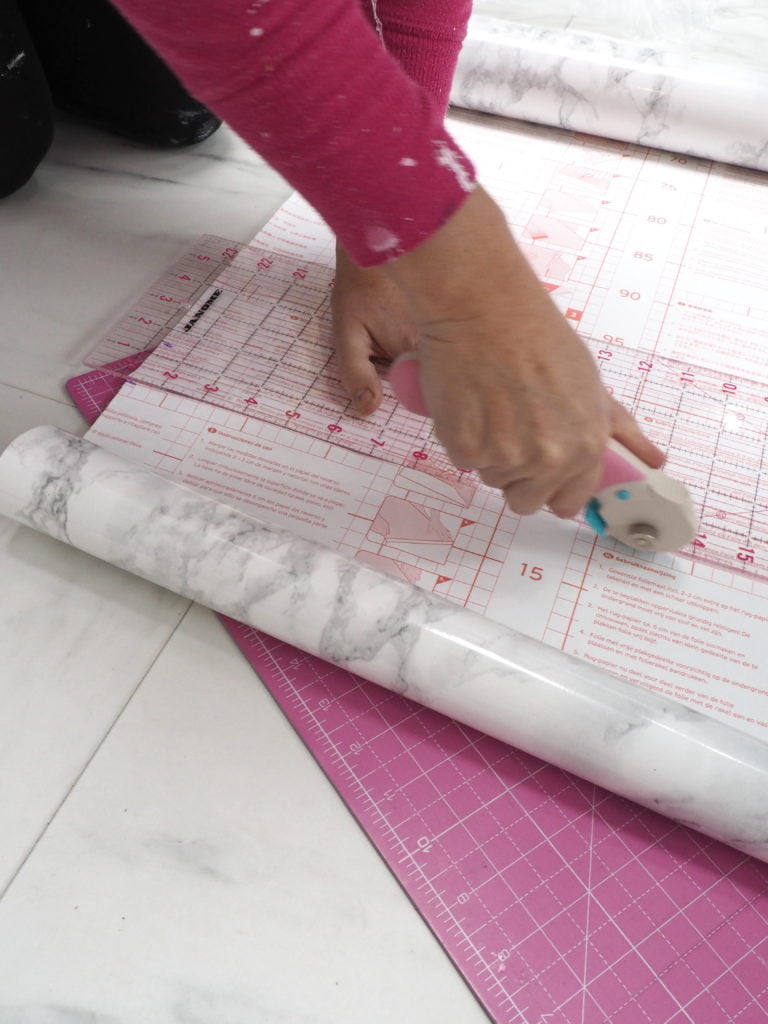
- Pattern cutter blade and a surface to cut on (we used my sister’s sewing pattern mat)
- Credit card or a squeegee
- A spare pair of helping hands!
Note: When buying the sheets for your appliance, measure the dimensions carefully. You want the roll to be the same width as your appliance to avoid any nasty seams at the front.
Follow These Steps for your appliances
- Clean the surface of the fridge with a degreaser. Dry throughly with a clean cloth. Make sure the surface has no lint or dust on it.
- If your fridge has a brand logo on it, remove it with a screwdriver or blade.
- Measure and cut lengths for your appliance – leaving a little excess. The film we used had handy grids on the back making it easy to cut a straight line.
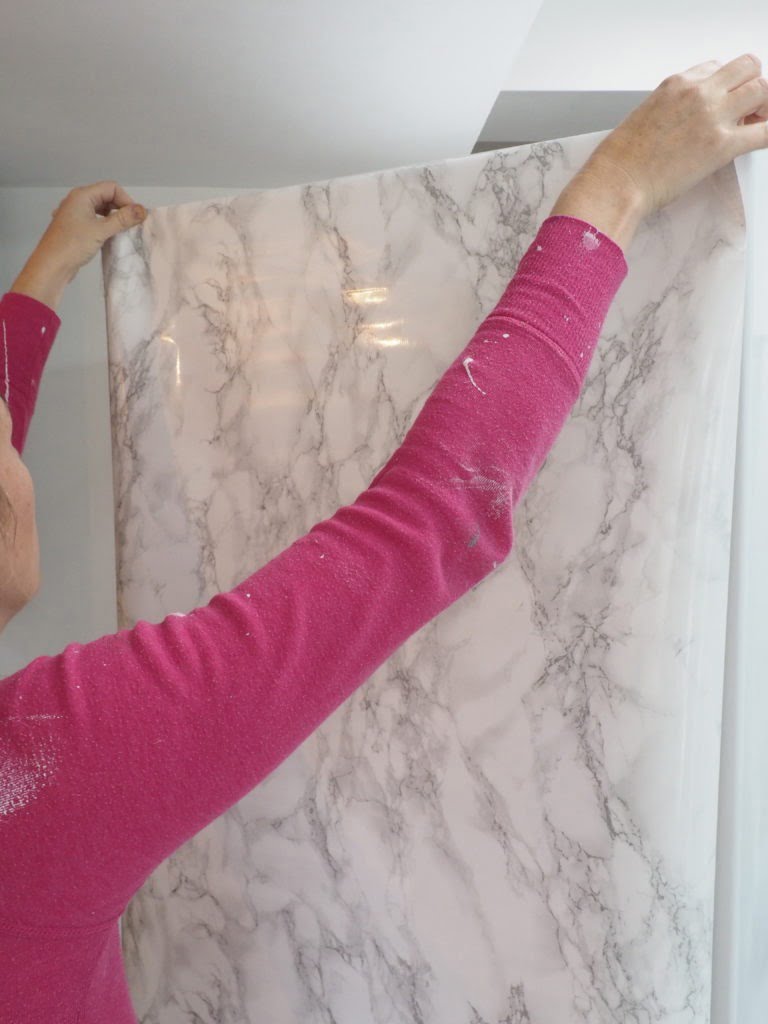
- Apply the peel-and-stick film to one corner of the fridge. Peel off just a few inches of the film’s backing, and beginning at the top of one corner, start applying the film.
- Pull the backing away slowly and steadily in a downward motion.
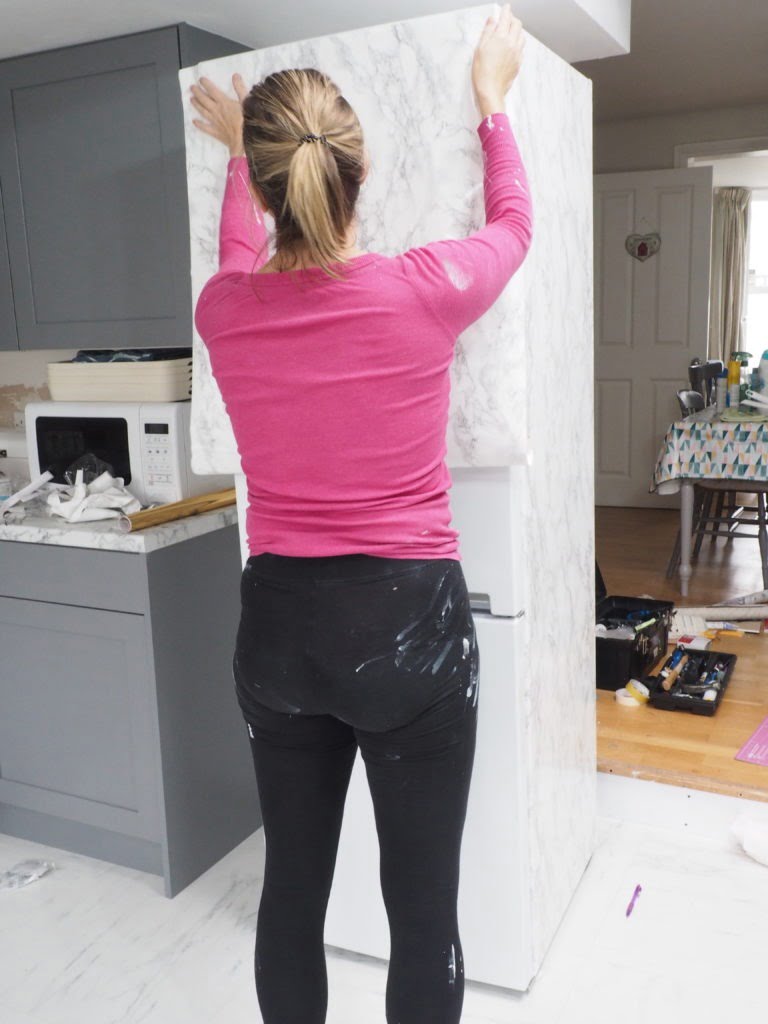
- As you pull, get your ‘assistant’ to smooth the film as you go, using a squeegee or credit card. We found using out hands worked best as a card can catch if your appliance is scratched and tear the plastic.
- Gently push any air bubbles from under the film out toward the edges. Continue removing more backing, working a few inches at a time down the appliance. Patience is key here, so don’t try to rush! If you notice an air bubble, gently pull up the film until you get to the bubble and then reapply.
- When you get down to the bottom of the refrigerator, trim off the excess film with a utility knife. Hold the knife perpendicular to the fridge surface and let the bottom edge of the refrigerator guide the cut.
- Repeat on the other edge of the appliance. At the sides, leave a little excess which you can tuck around the sides for a smooth line.
TIP: If you have stubborn bubbles, don’t drag them across as you may damage the film. Instead, carefully prick them with a needle and they will flatten out overnight.

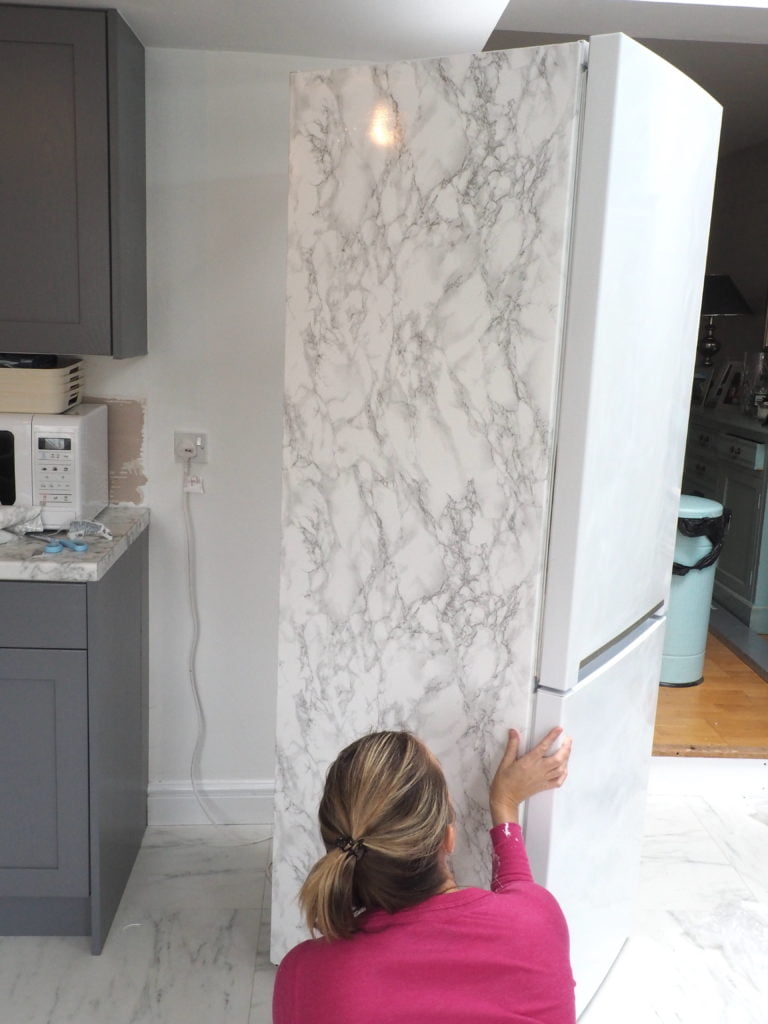
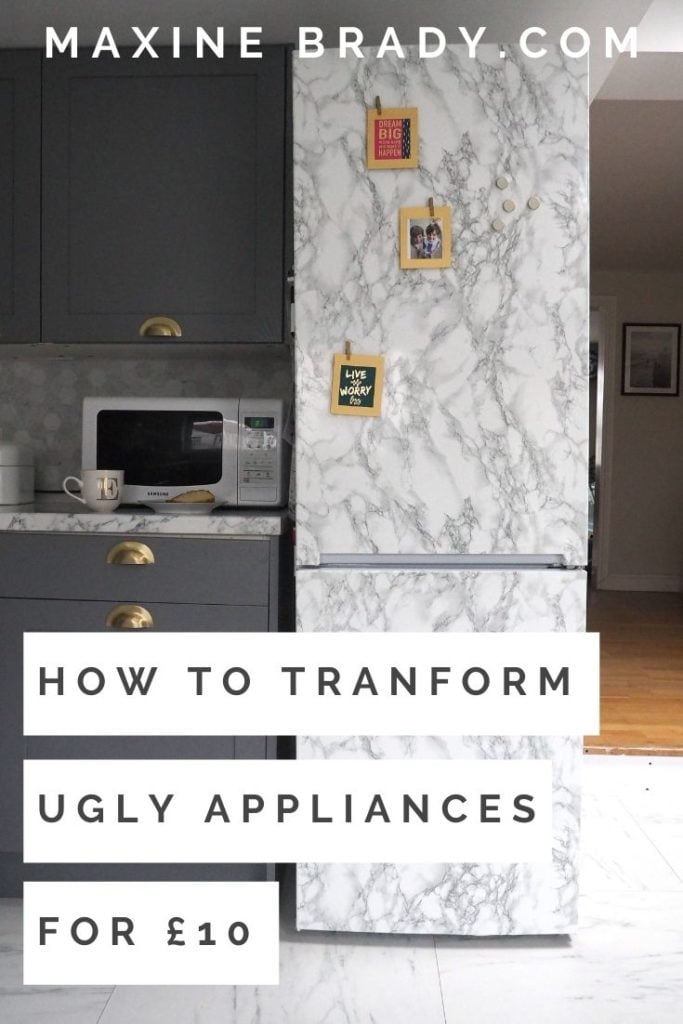
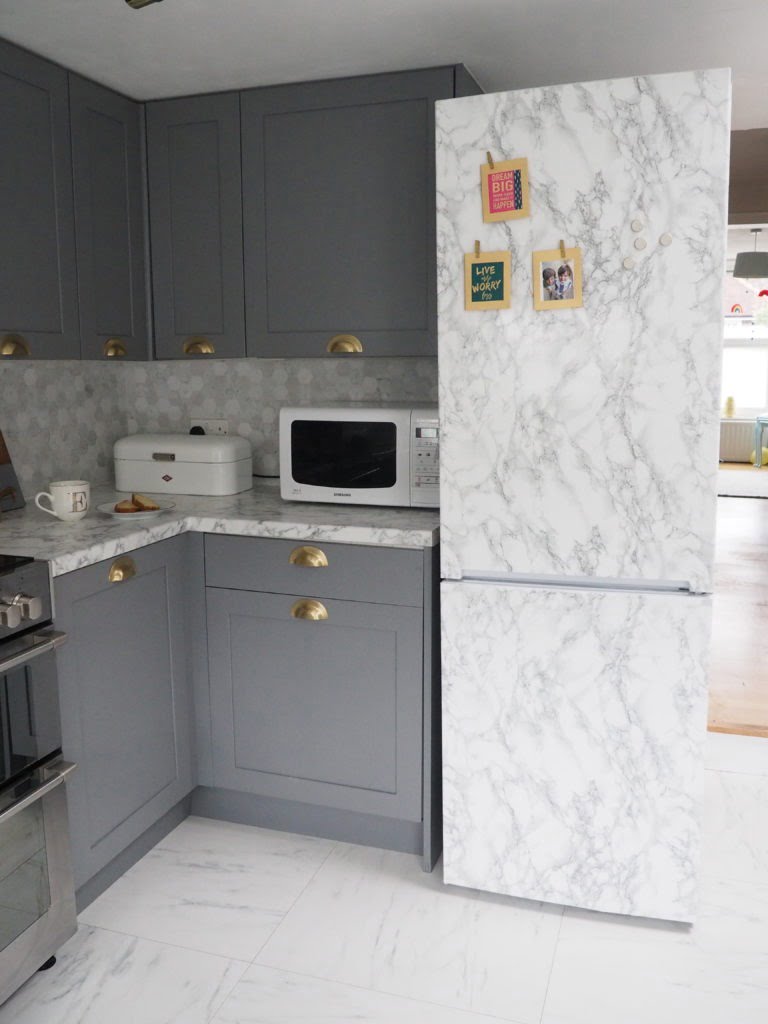
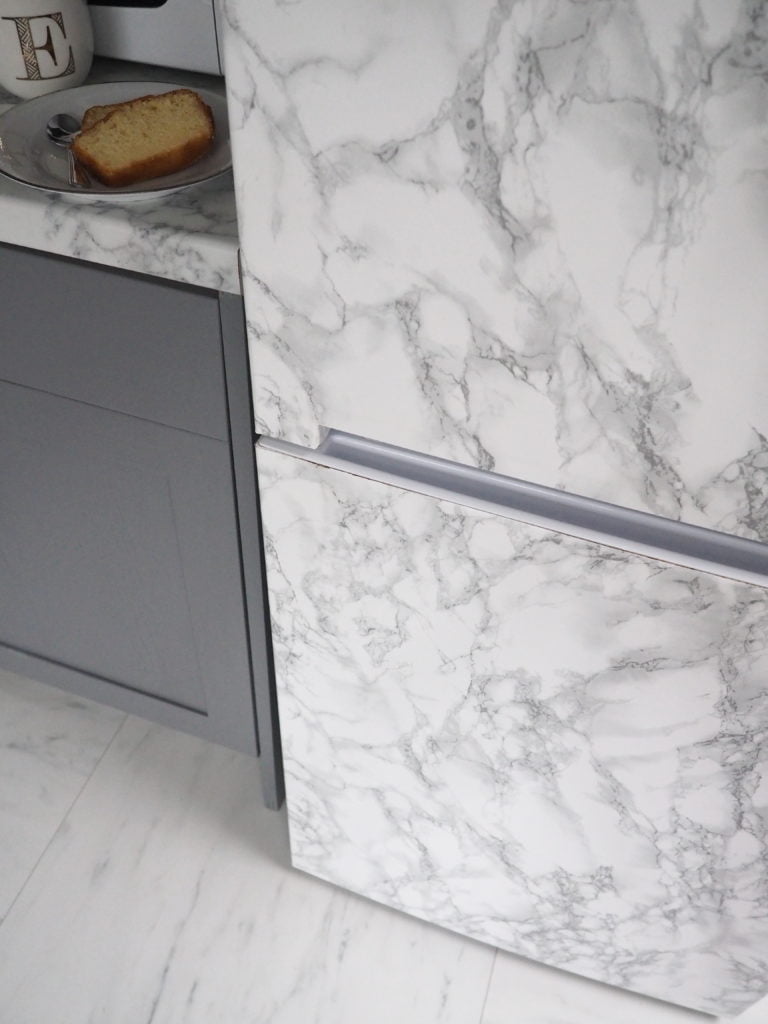
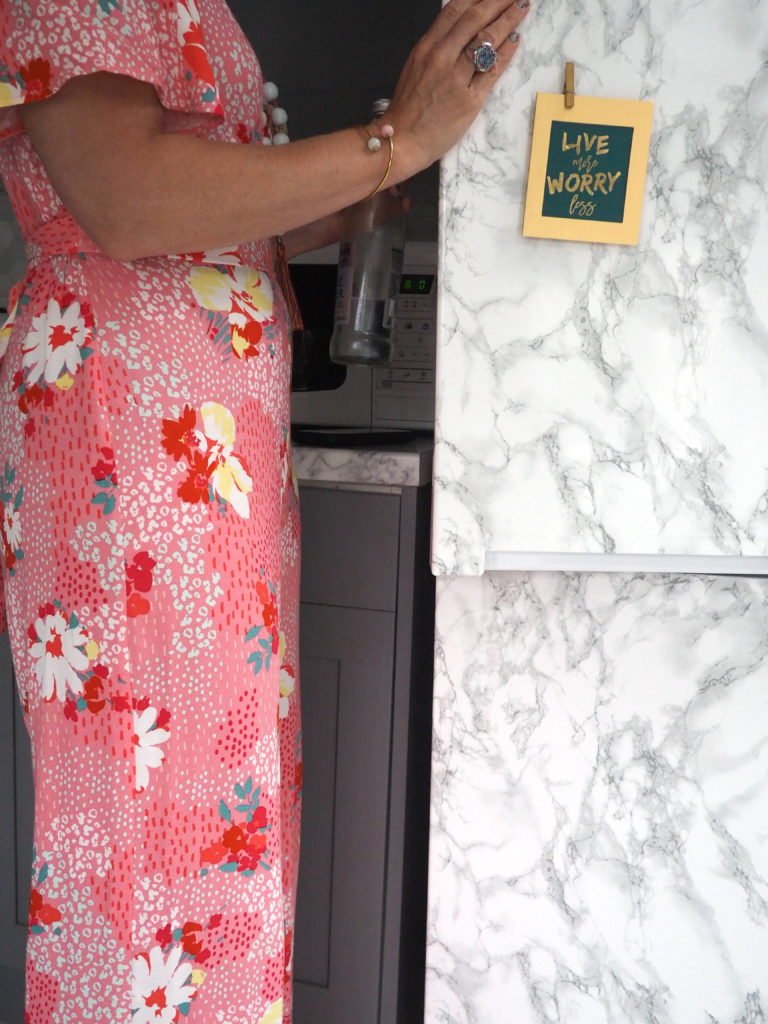
Voila— enjoy your beautiful new Fridge!
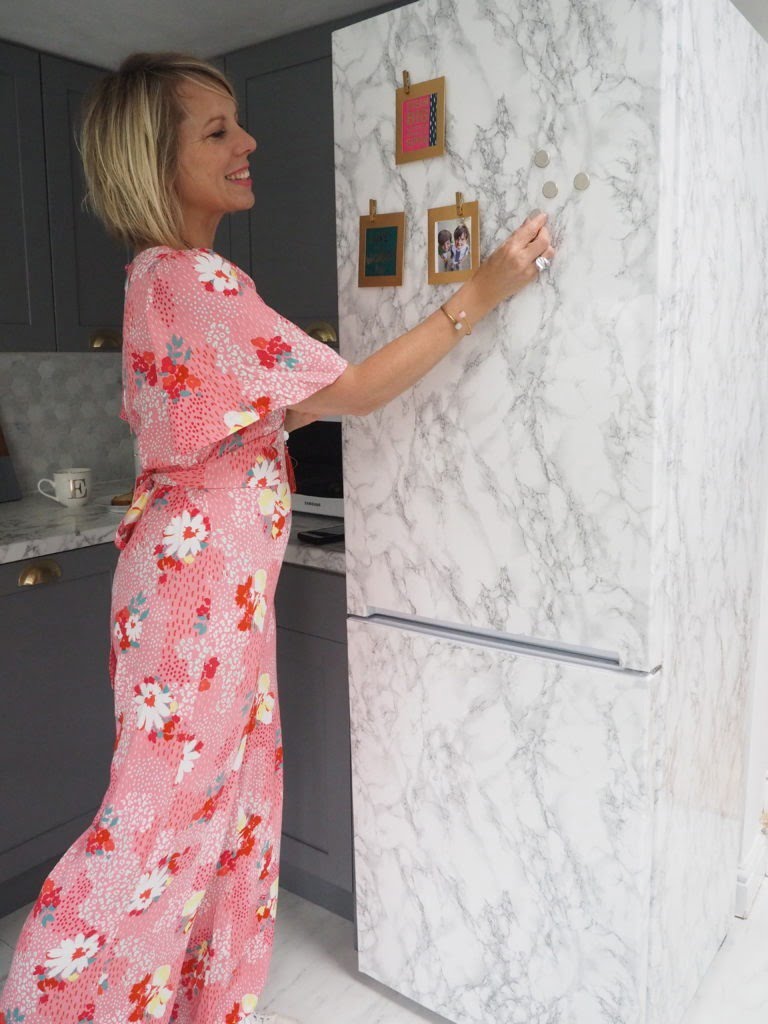
You can clean the surface as you would normally, just avoid any cleansers that contain alcohol. When you’re ready to move out or get a new appliance, the cover comes off easily with a strong tug.
There are 1000s of designs to choose from – like Terrazzo, Moroccan tiles, stainless steel effect or even neon colours. What are you waiting for?
We used two rolls of this sticky back plastic which cost £10! Bargain.
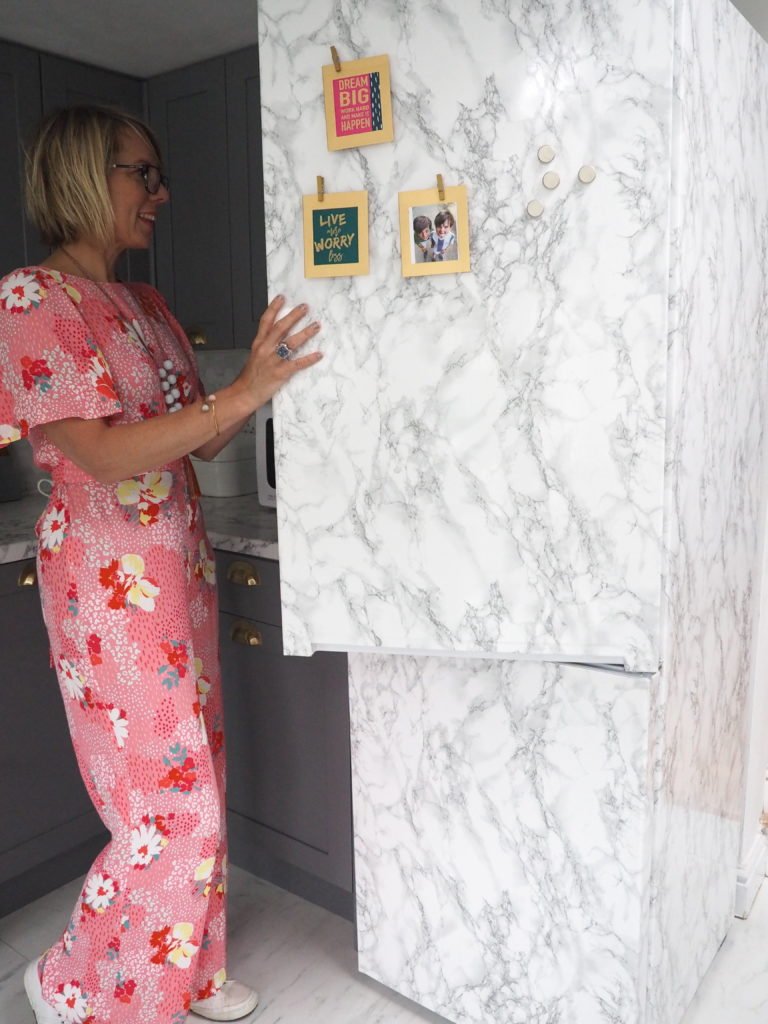
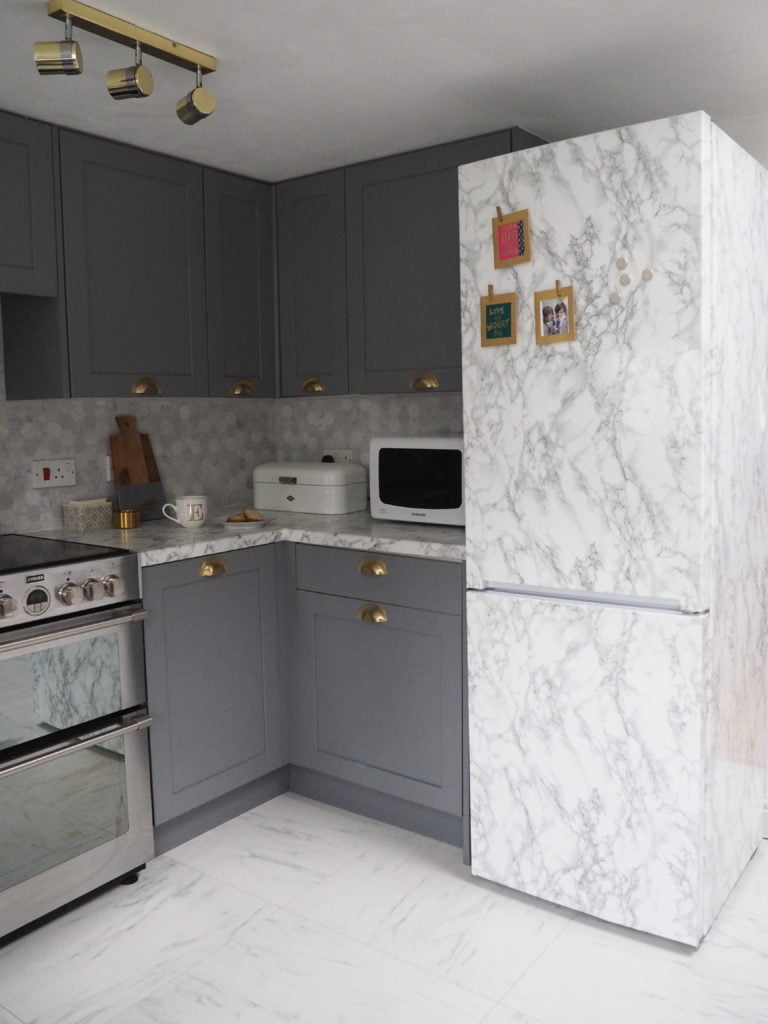
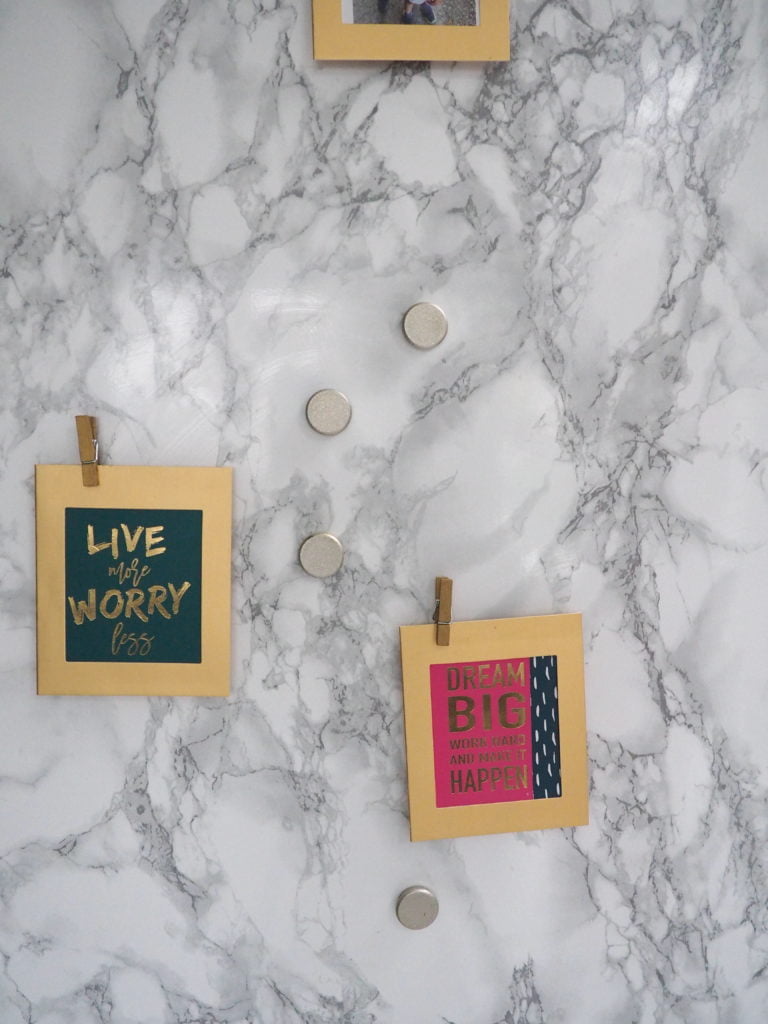
This is very much a temporary fix but my sister’s fridge still looks fab after a year of use. It has become the talking point in her kitchen as it looks like a block of marble! Her new-look fridge blends into her kitchen, and looks like difference appliance.
If you love this idea, don’t forget to save it to your Pinterest board. And check my blog for other DIY posts!
You May Also Like
BUYER’S GUIDE TO DIY WINDOW SHUTTERS
HOW TO DIY DISTRESSED WALLS AT HOME
DIY IDEAS TO TOTALLY TRANSFORM YOUR DOORS